Guide: How to Build an Email List Part 1
Hello {{Name | EduCreator}}!
Whether you’re a beginner or a pro, using Google Forms to collect verified email addresses and share lead magnets, sign people up for challenges, or to start a waitlist is always a good move. With basic built in automations, like transferring emails to Google Sheets and new subscriber notifications, Forms are an easy fast way to collect audience data and personalize future content.
This is a 3-Part Guide. In Part 1, I will take you step by step through the process of setting up your email list with Google Forms and Sheets.
In Part 2, you will learn how to upload your subscribers and create a welcome email with Beehiiv.
In Part 3, you will earn how to set up an automated email sequence for your 5-day educational email course lead magnet.
If you haven’t yet created your AI-Powered Lead Magnet with the Educational Email Course Creator GPT, you can sign up for the free 5-Day course by answering this poll (click yes or no will activate the course):
Sign up for a Beehiiv account with my partner link and get 30 days free instead of 14, plus 20% off first 3 months. If you don’t monetize in 30 days with this system, cancel your subscription. No risk.
Happy EduCreating!
Christel
Table of Contents
Section 1: Creating Your Form
1. Go to forms.google.com
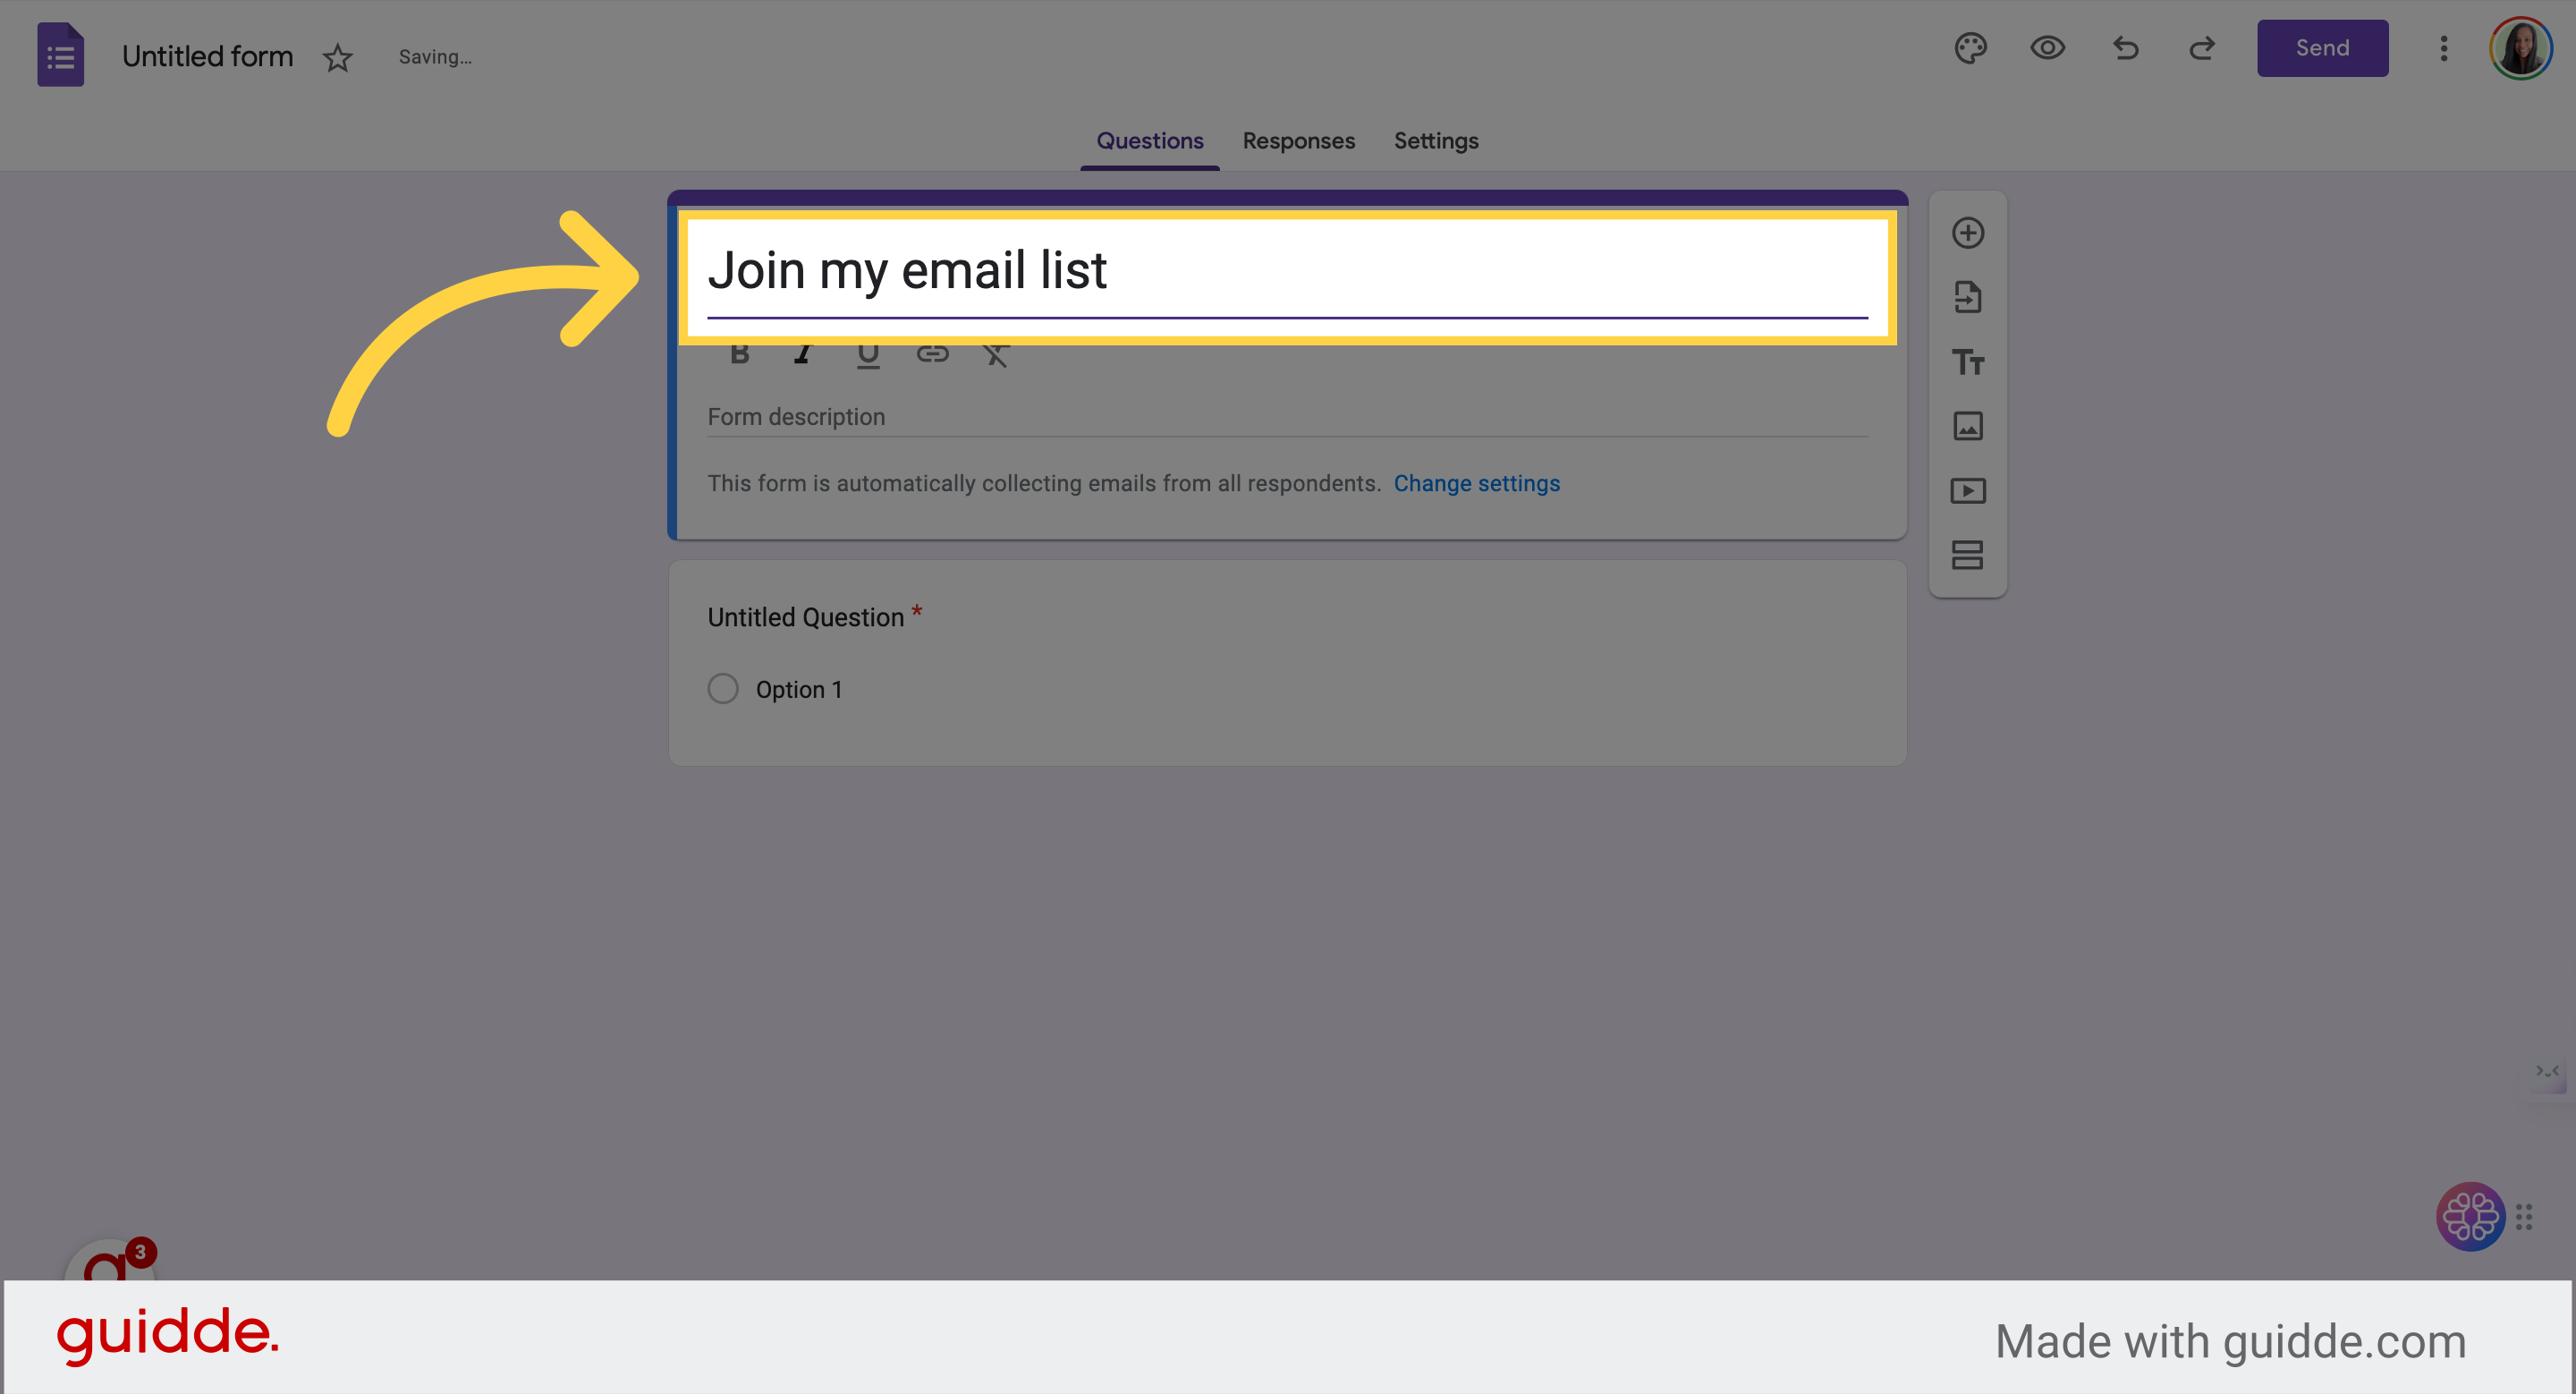
2. Create Title
untitled form” to insert title. Hint: once you are done, click the upper left corner where it says “untitled form” to quickly add title.
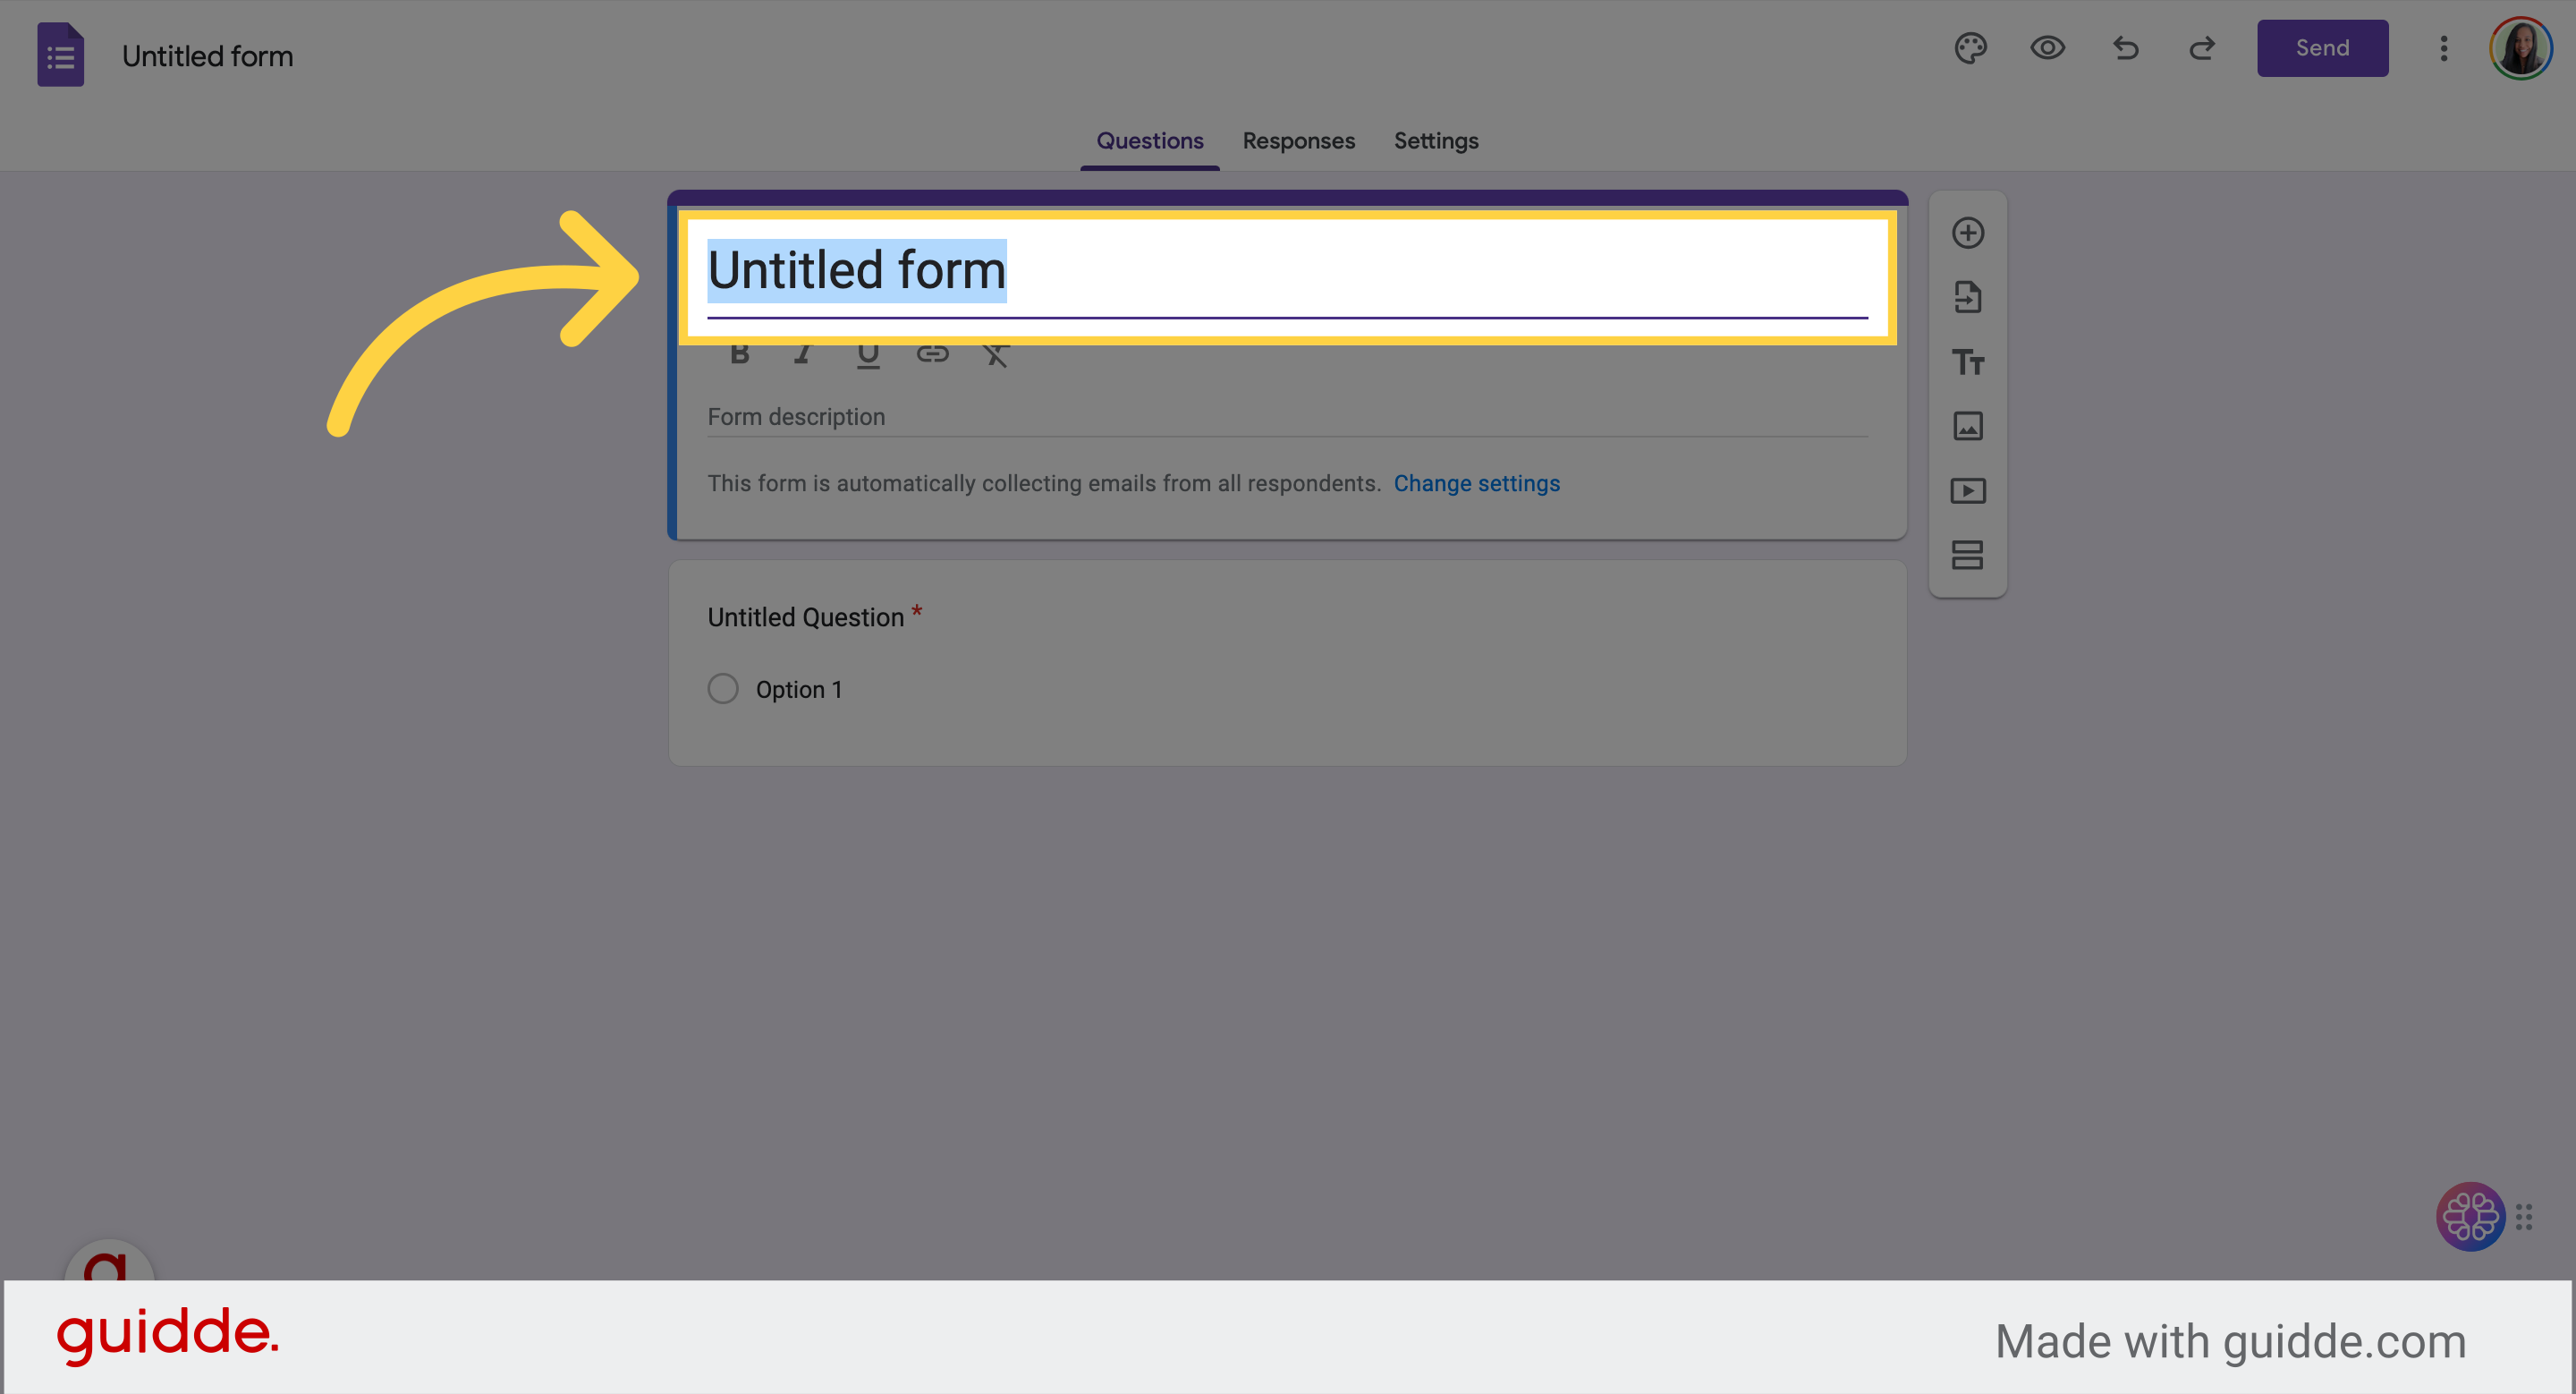
2. Example Title: "Join my email list"
You can also choose to make this a waitlist.
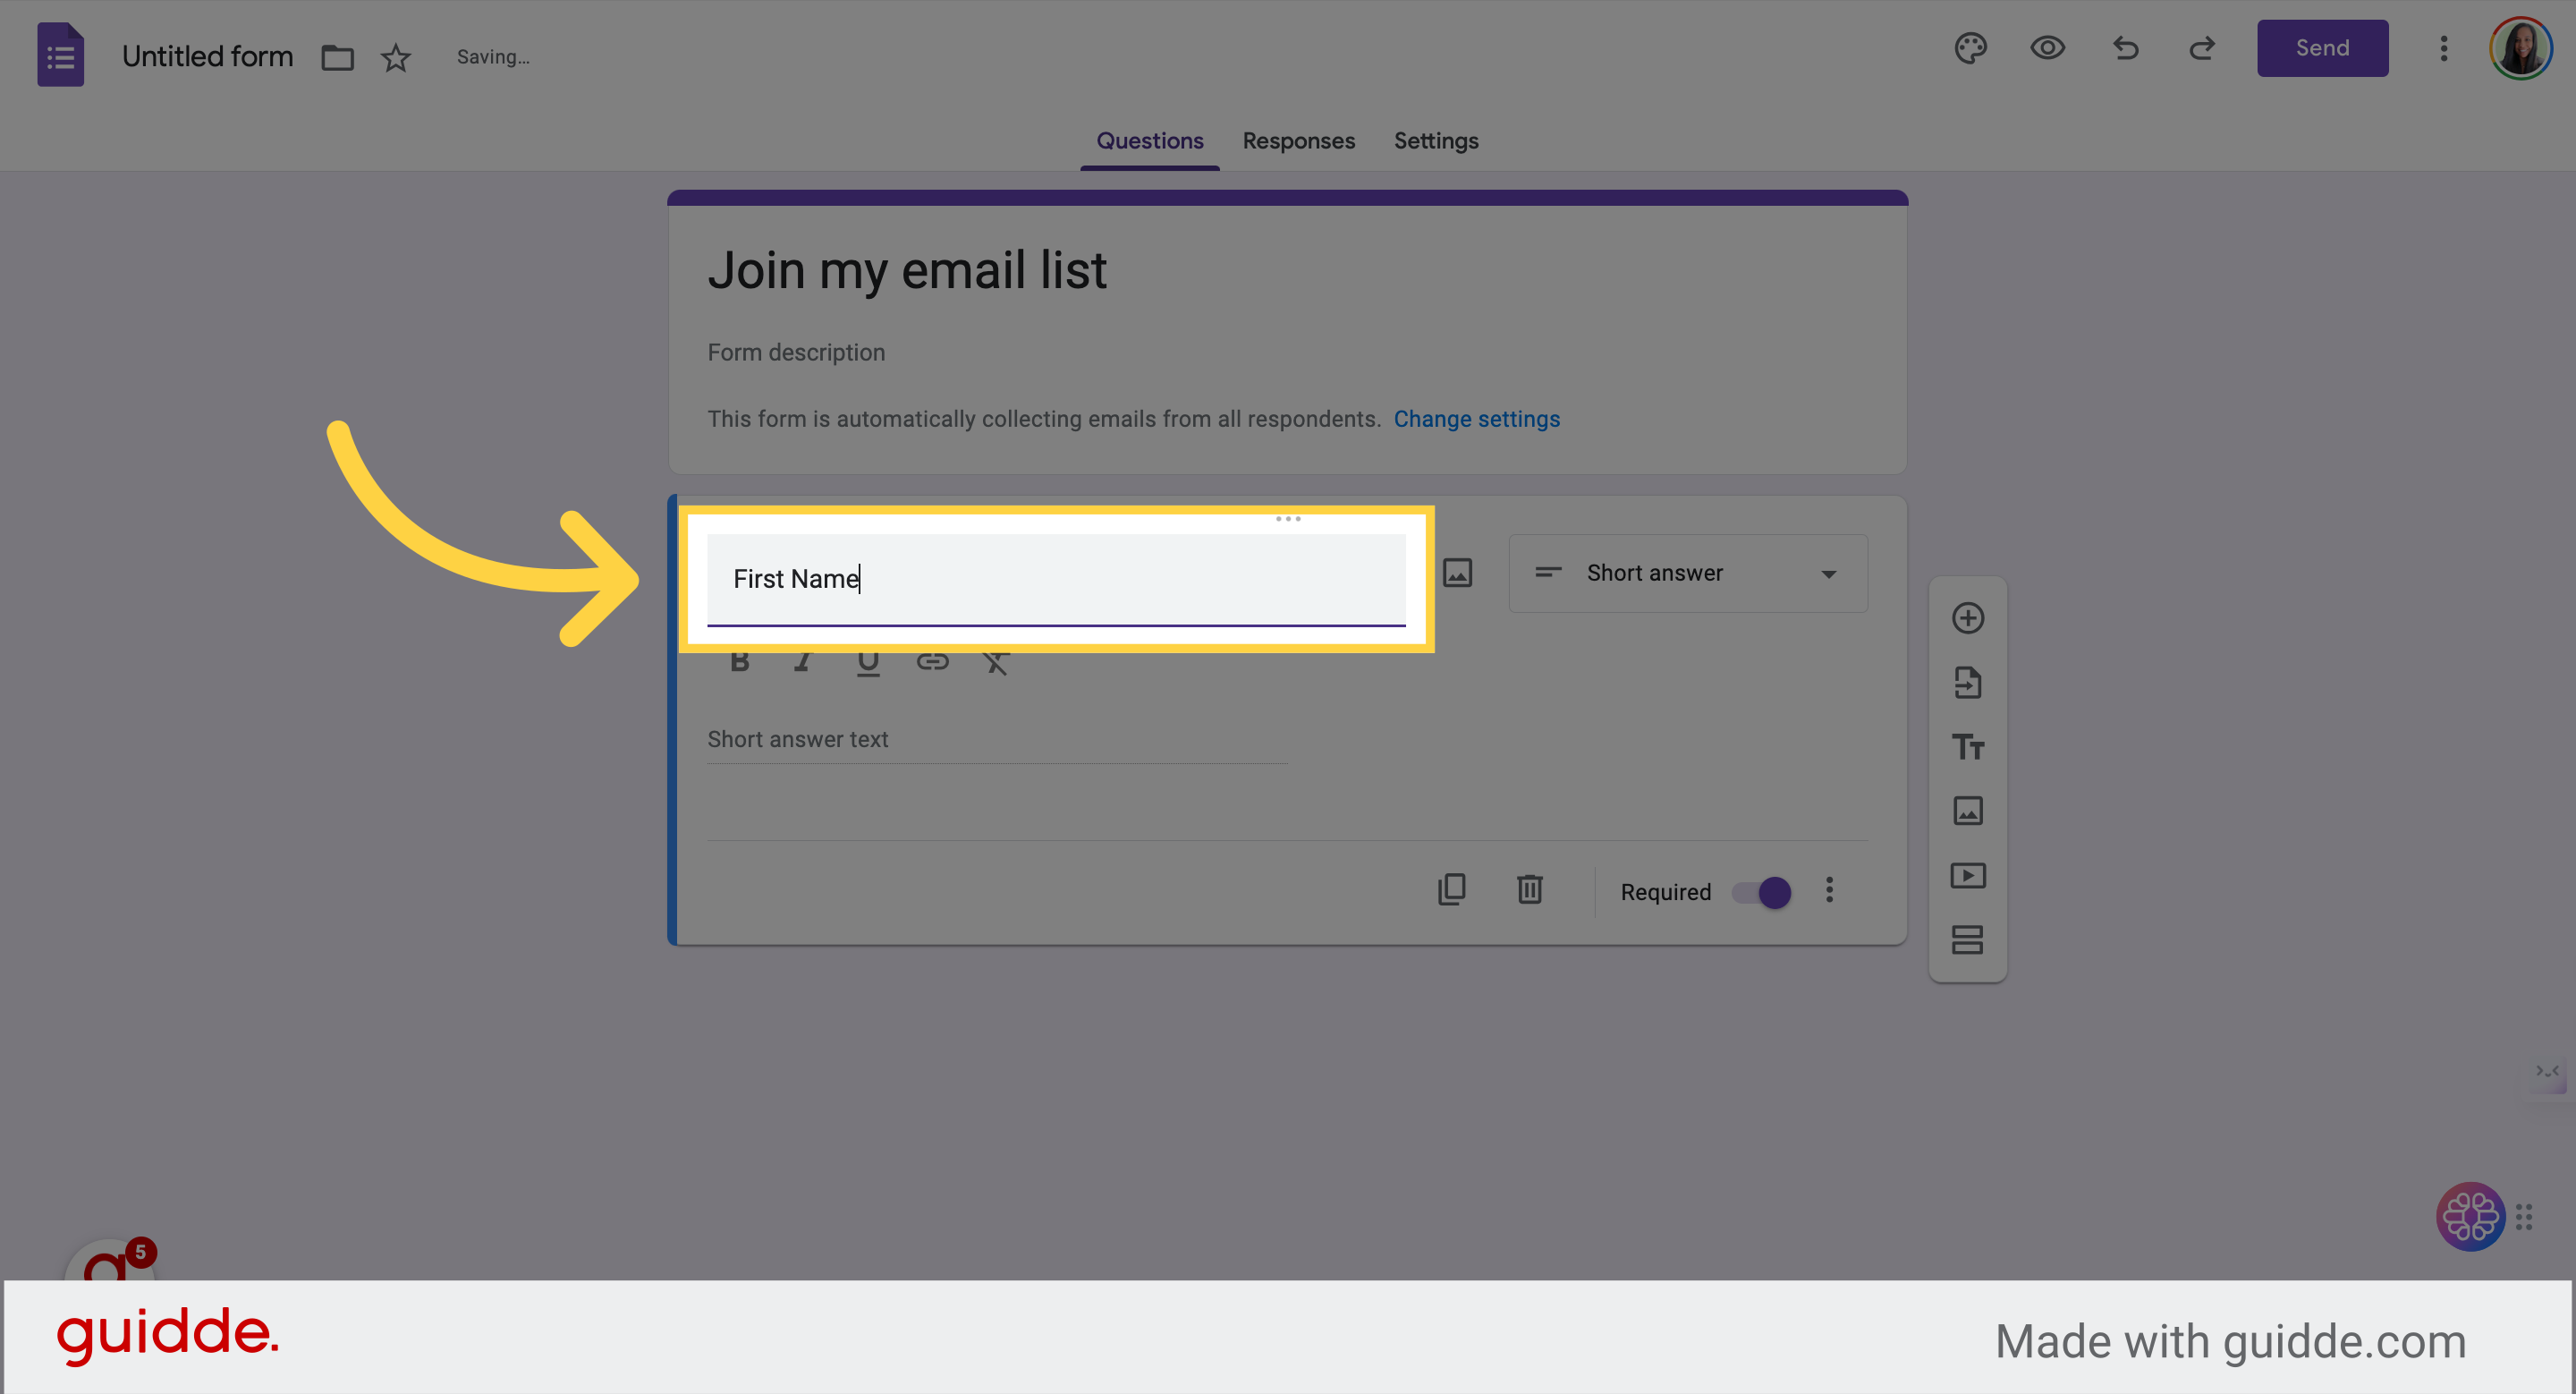
3. Click "Untitled Question"
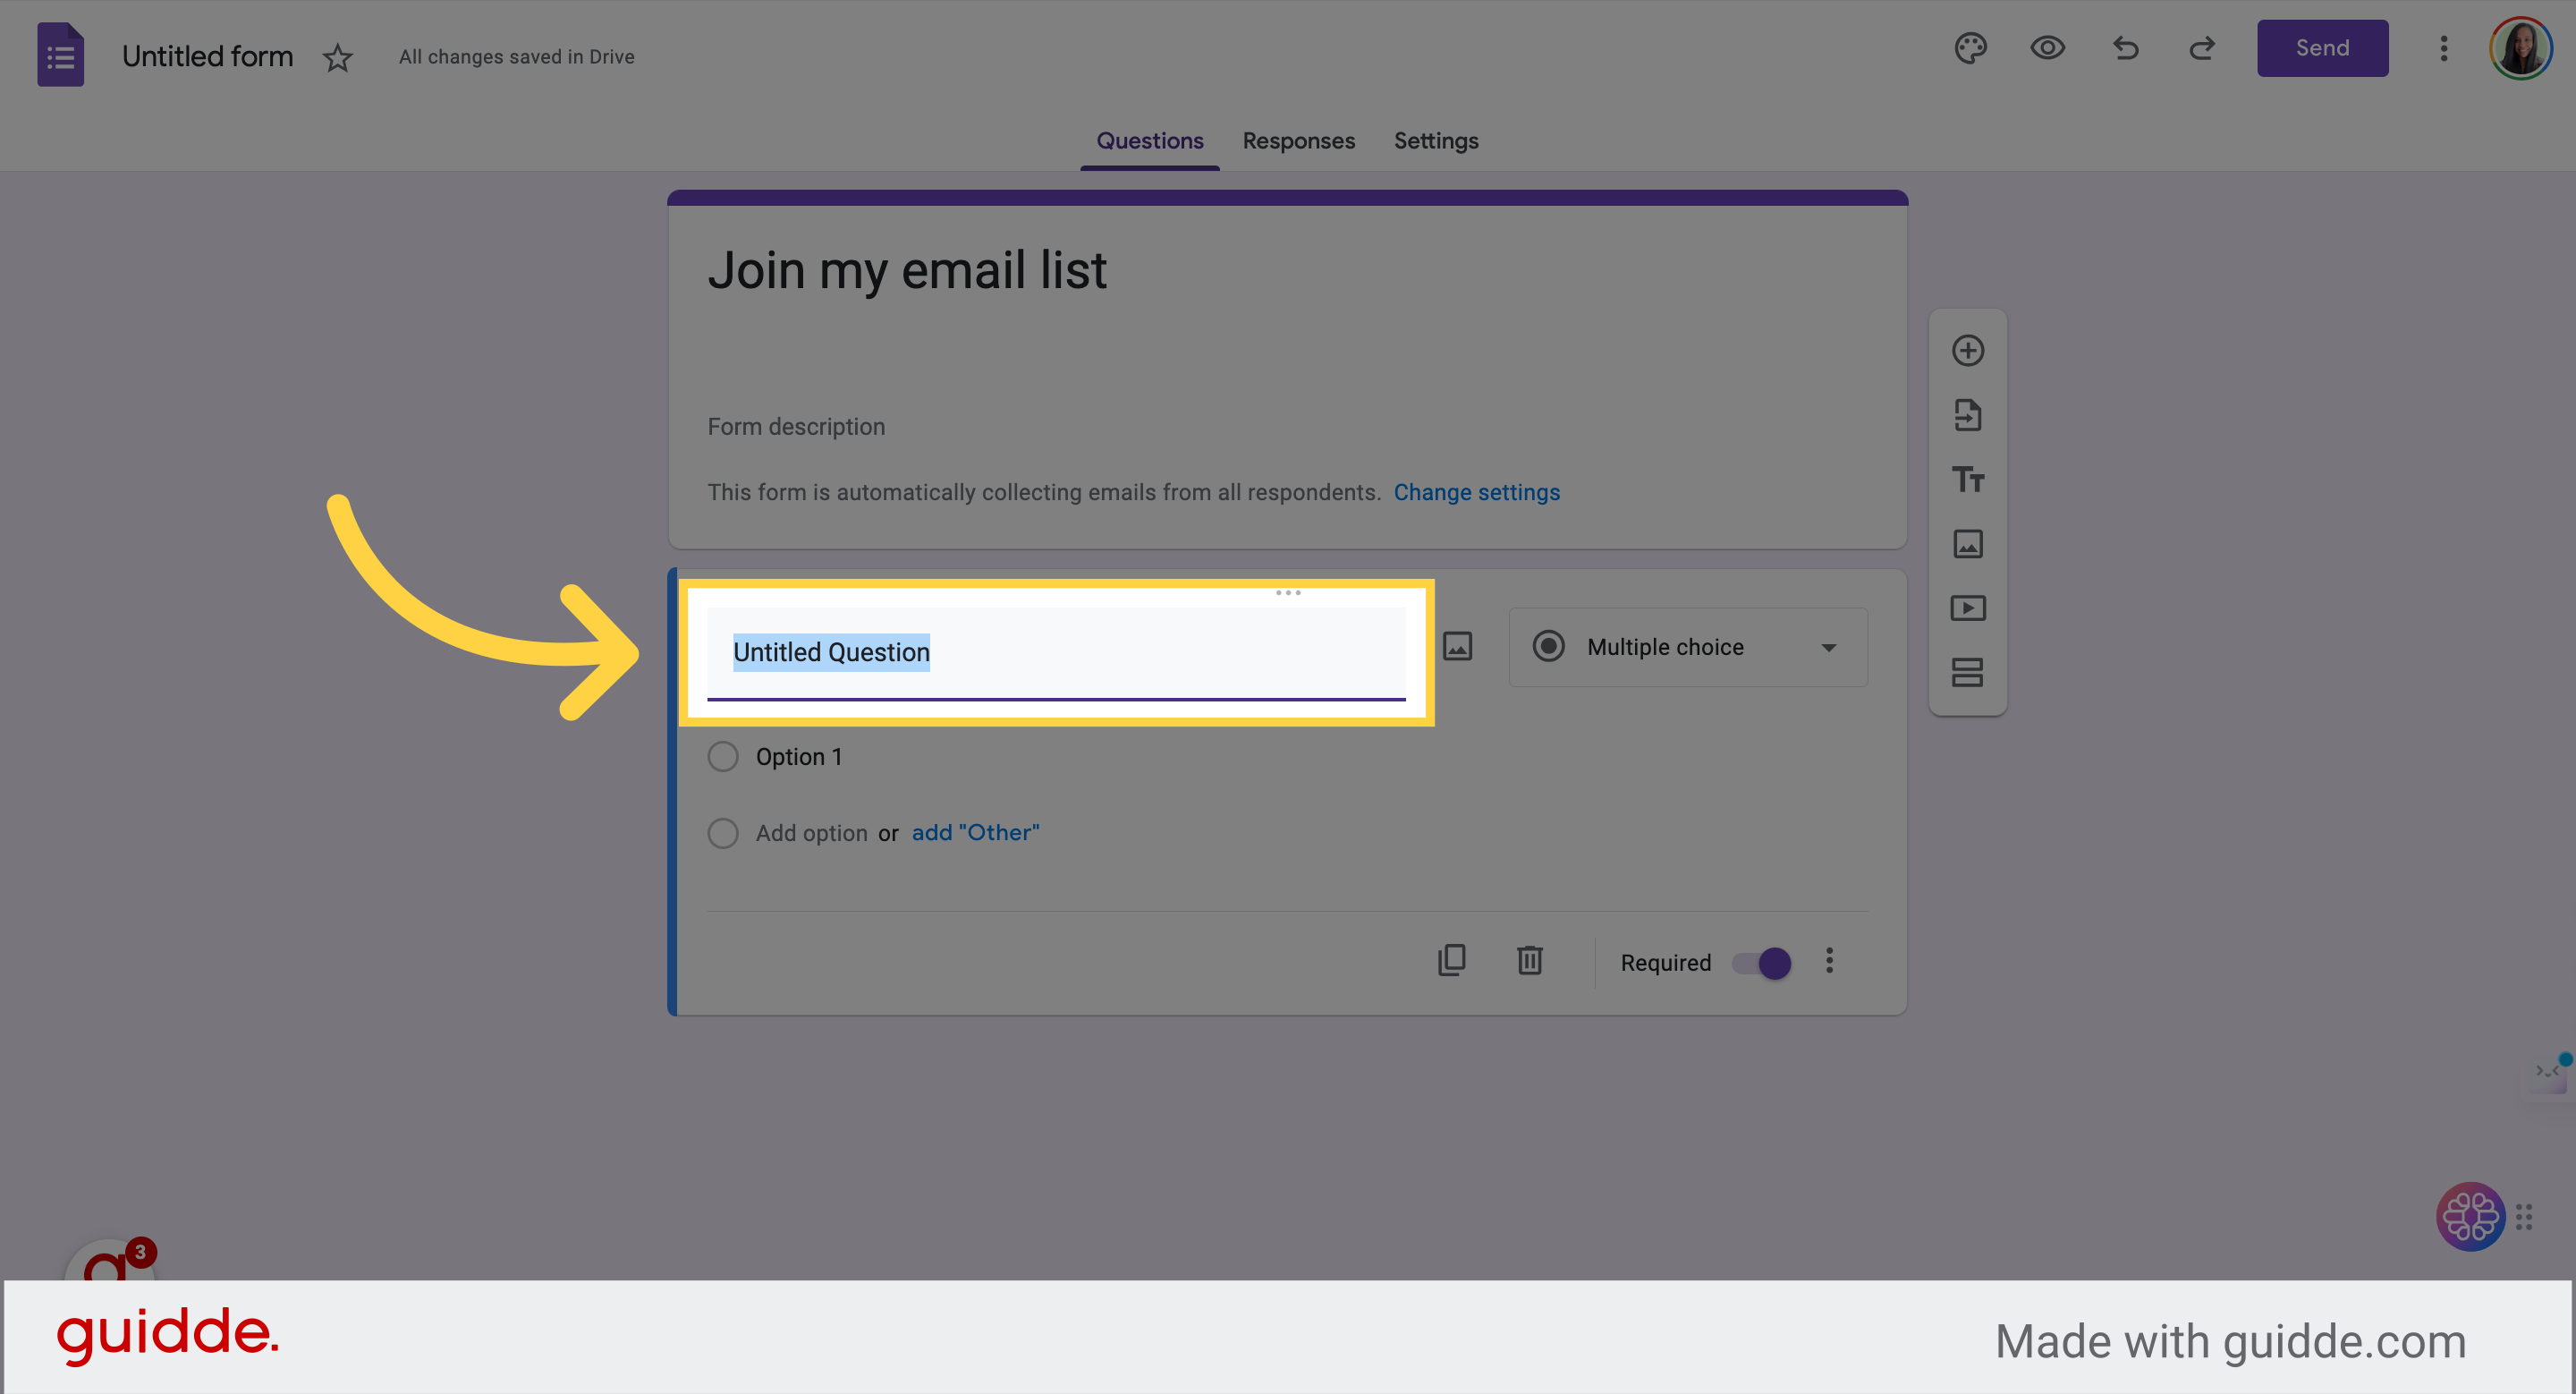
4. Type "First Name"
Having first name only is important for automated personalization later
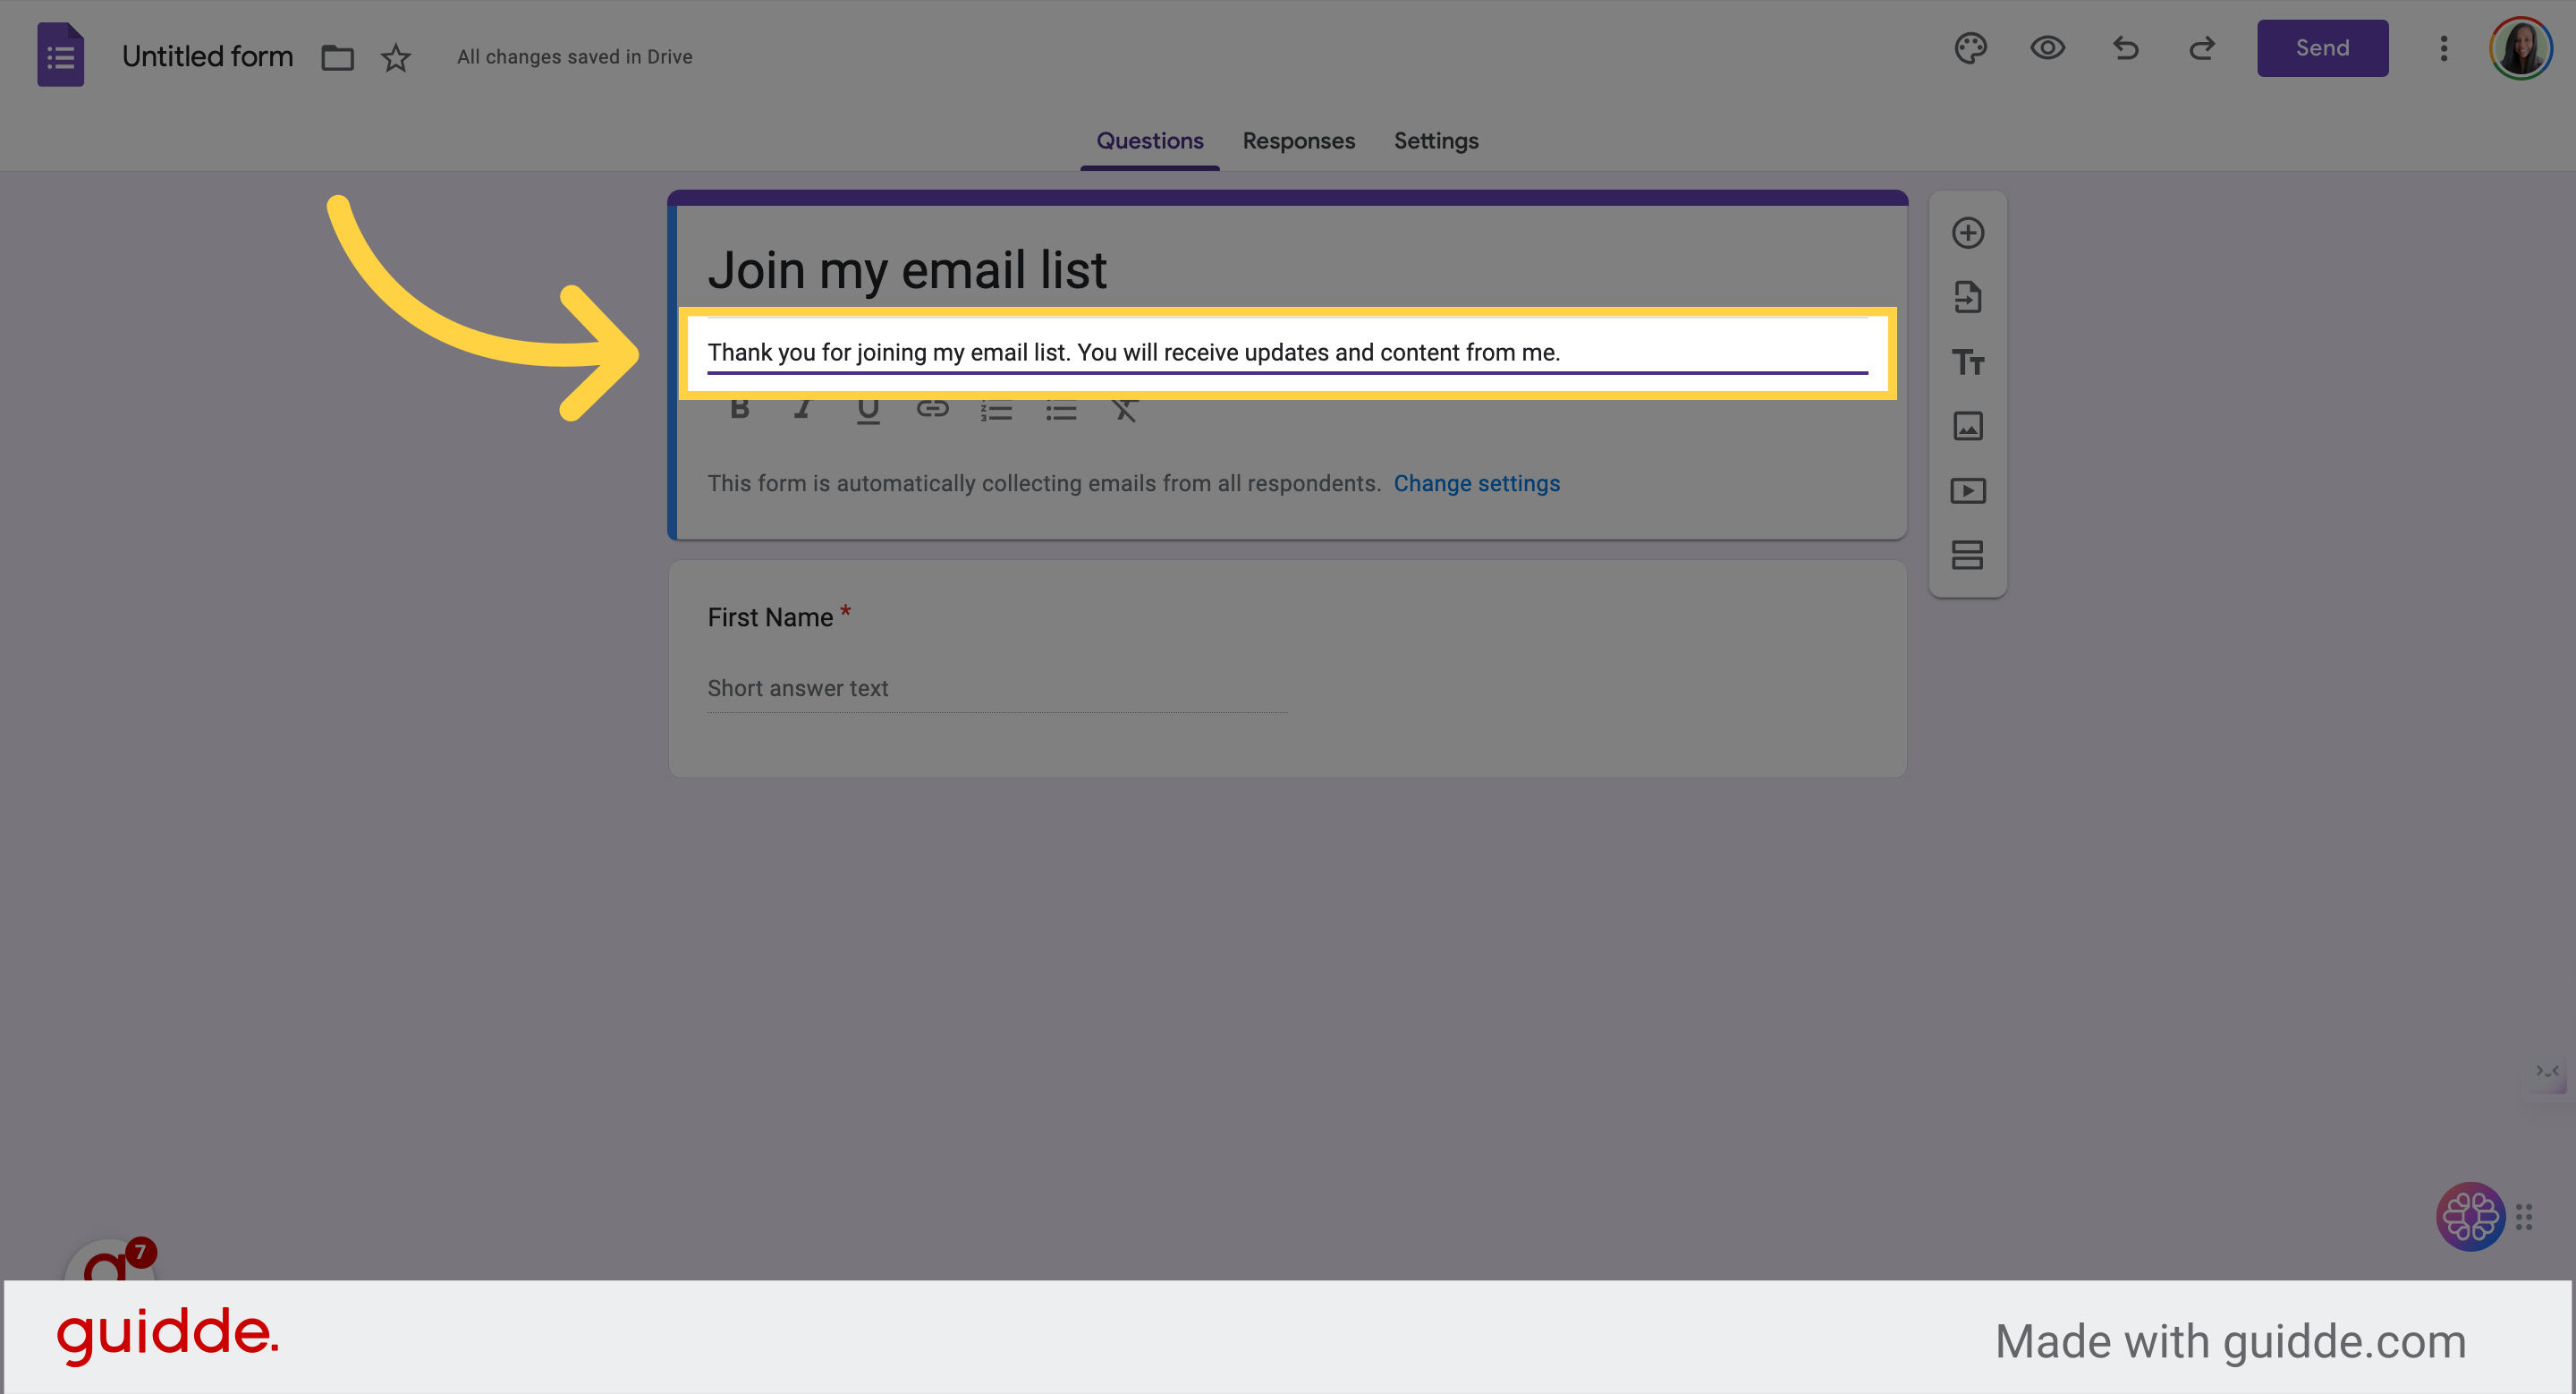
5. Add a description to your form
Example: "Thank you for joining my email list. You will receive updates and content from me."
Section 2: Automating responses to database
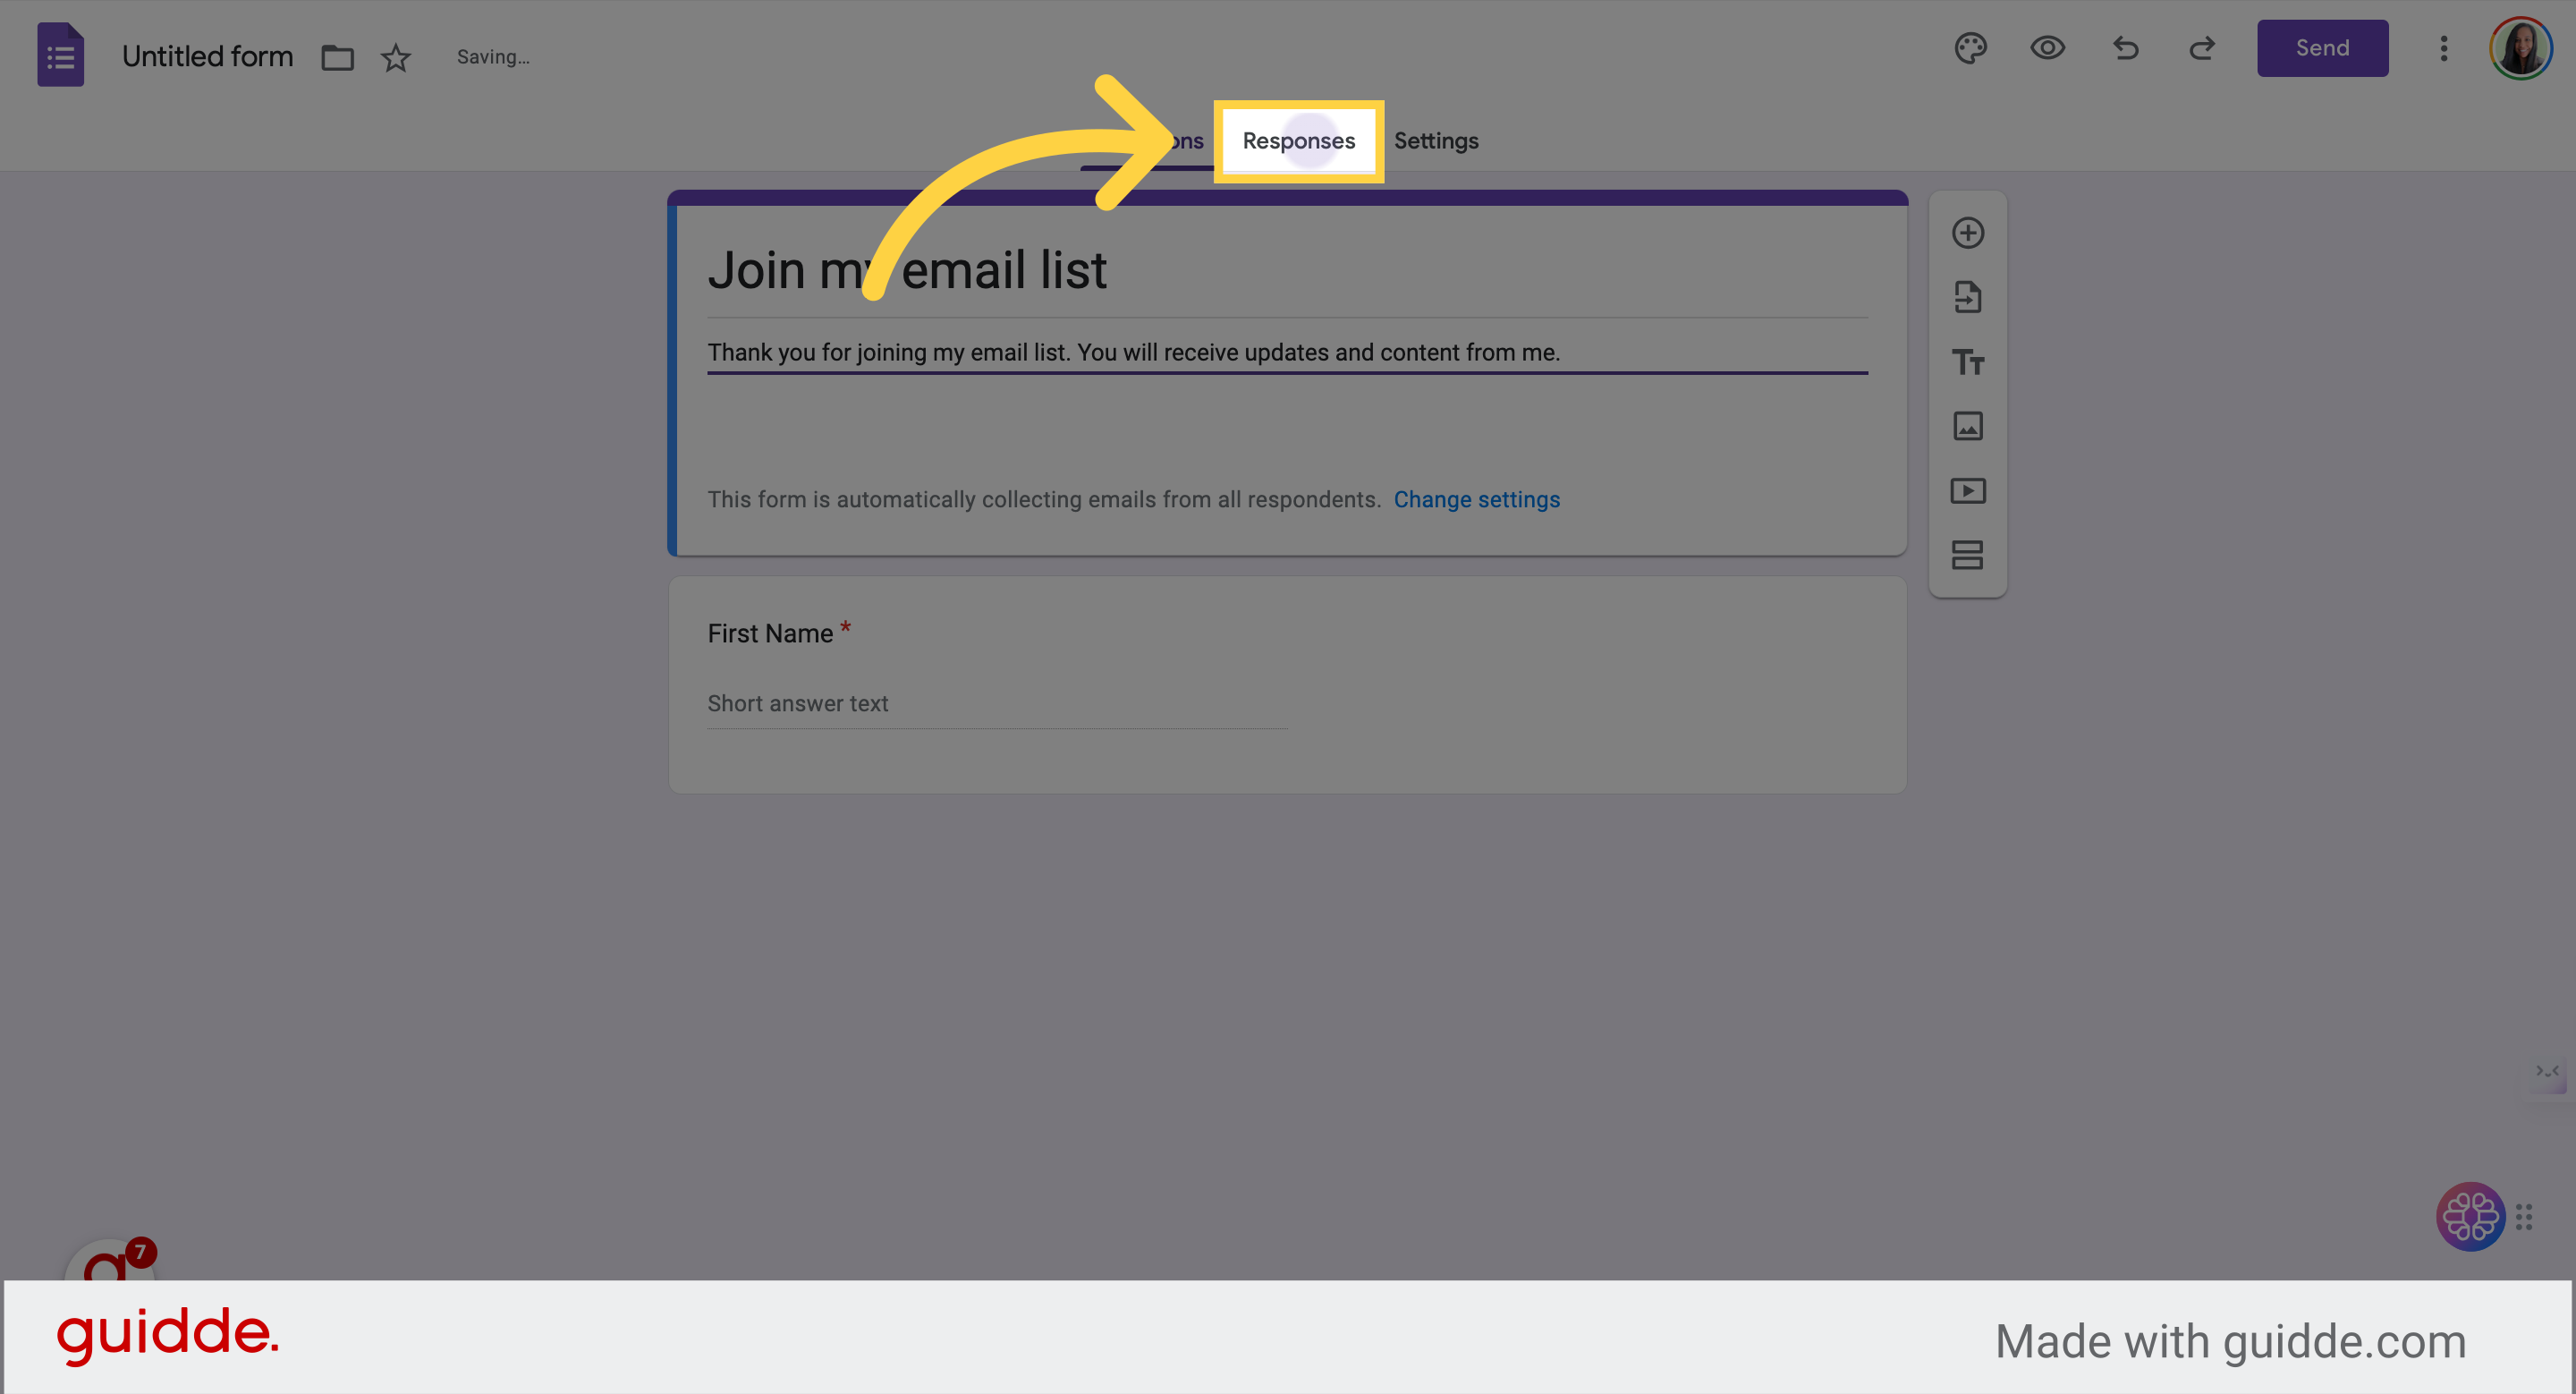
6. Send responses to a spreadsheet
Click on the "Responses" field
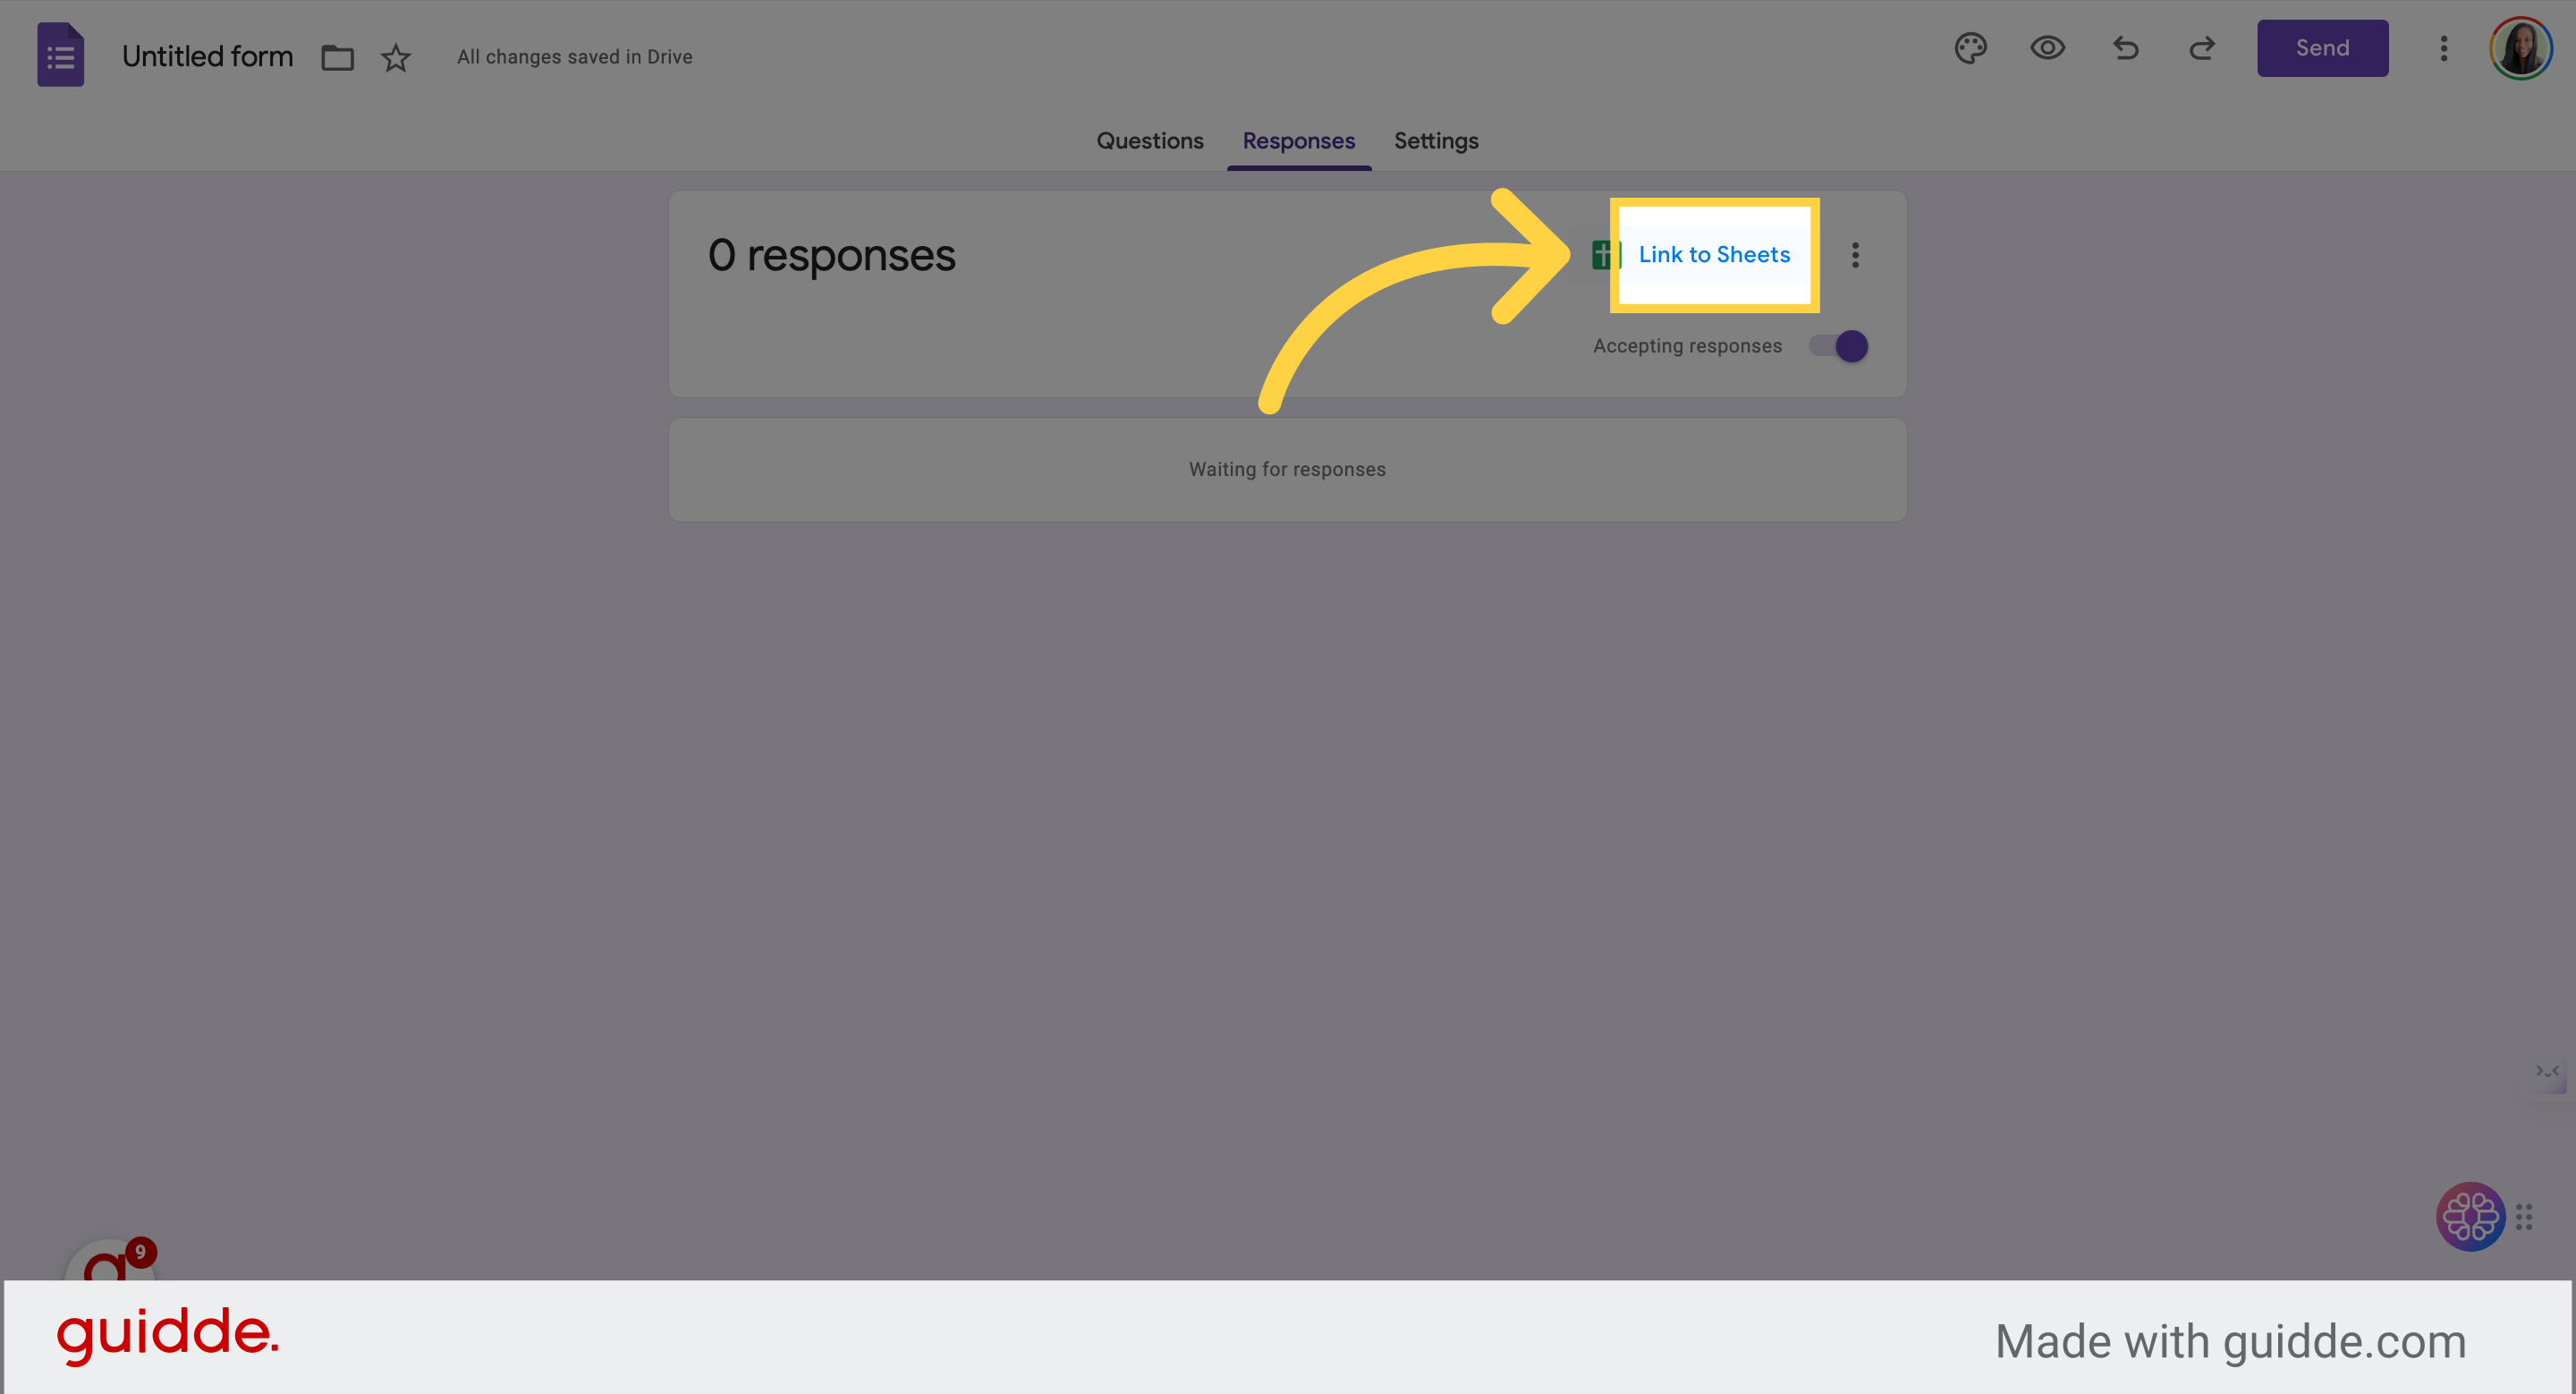
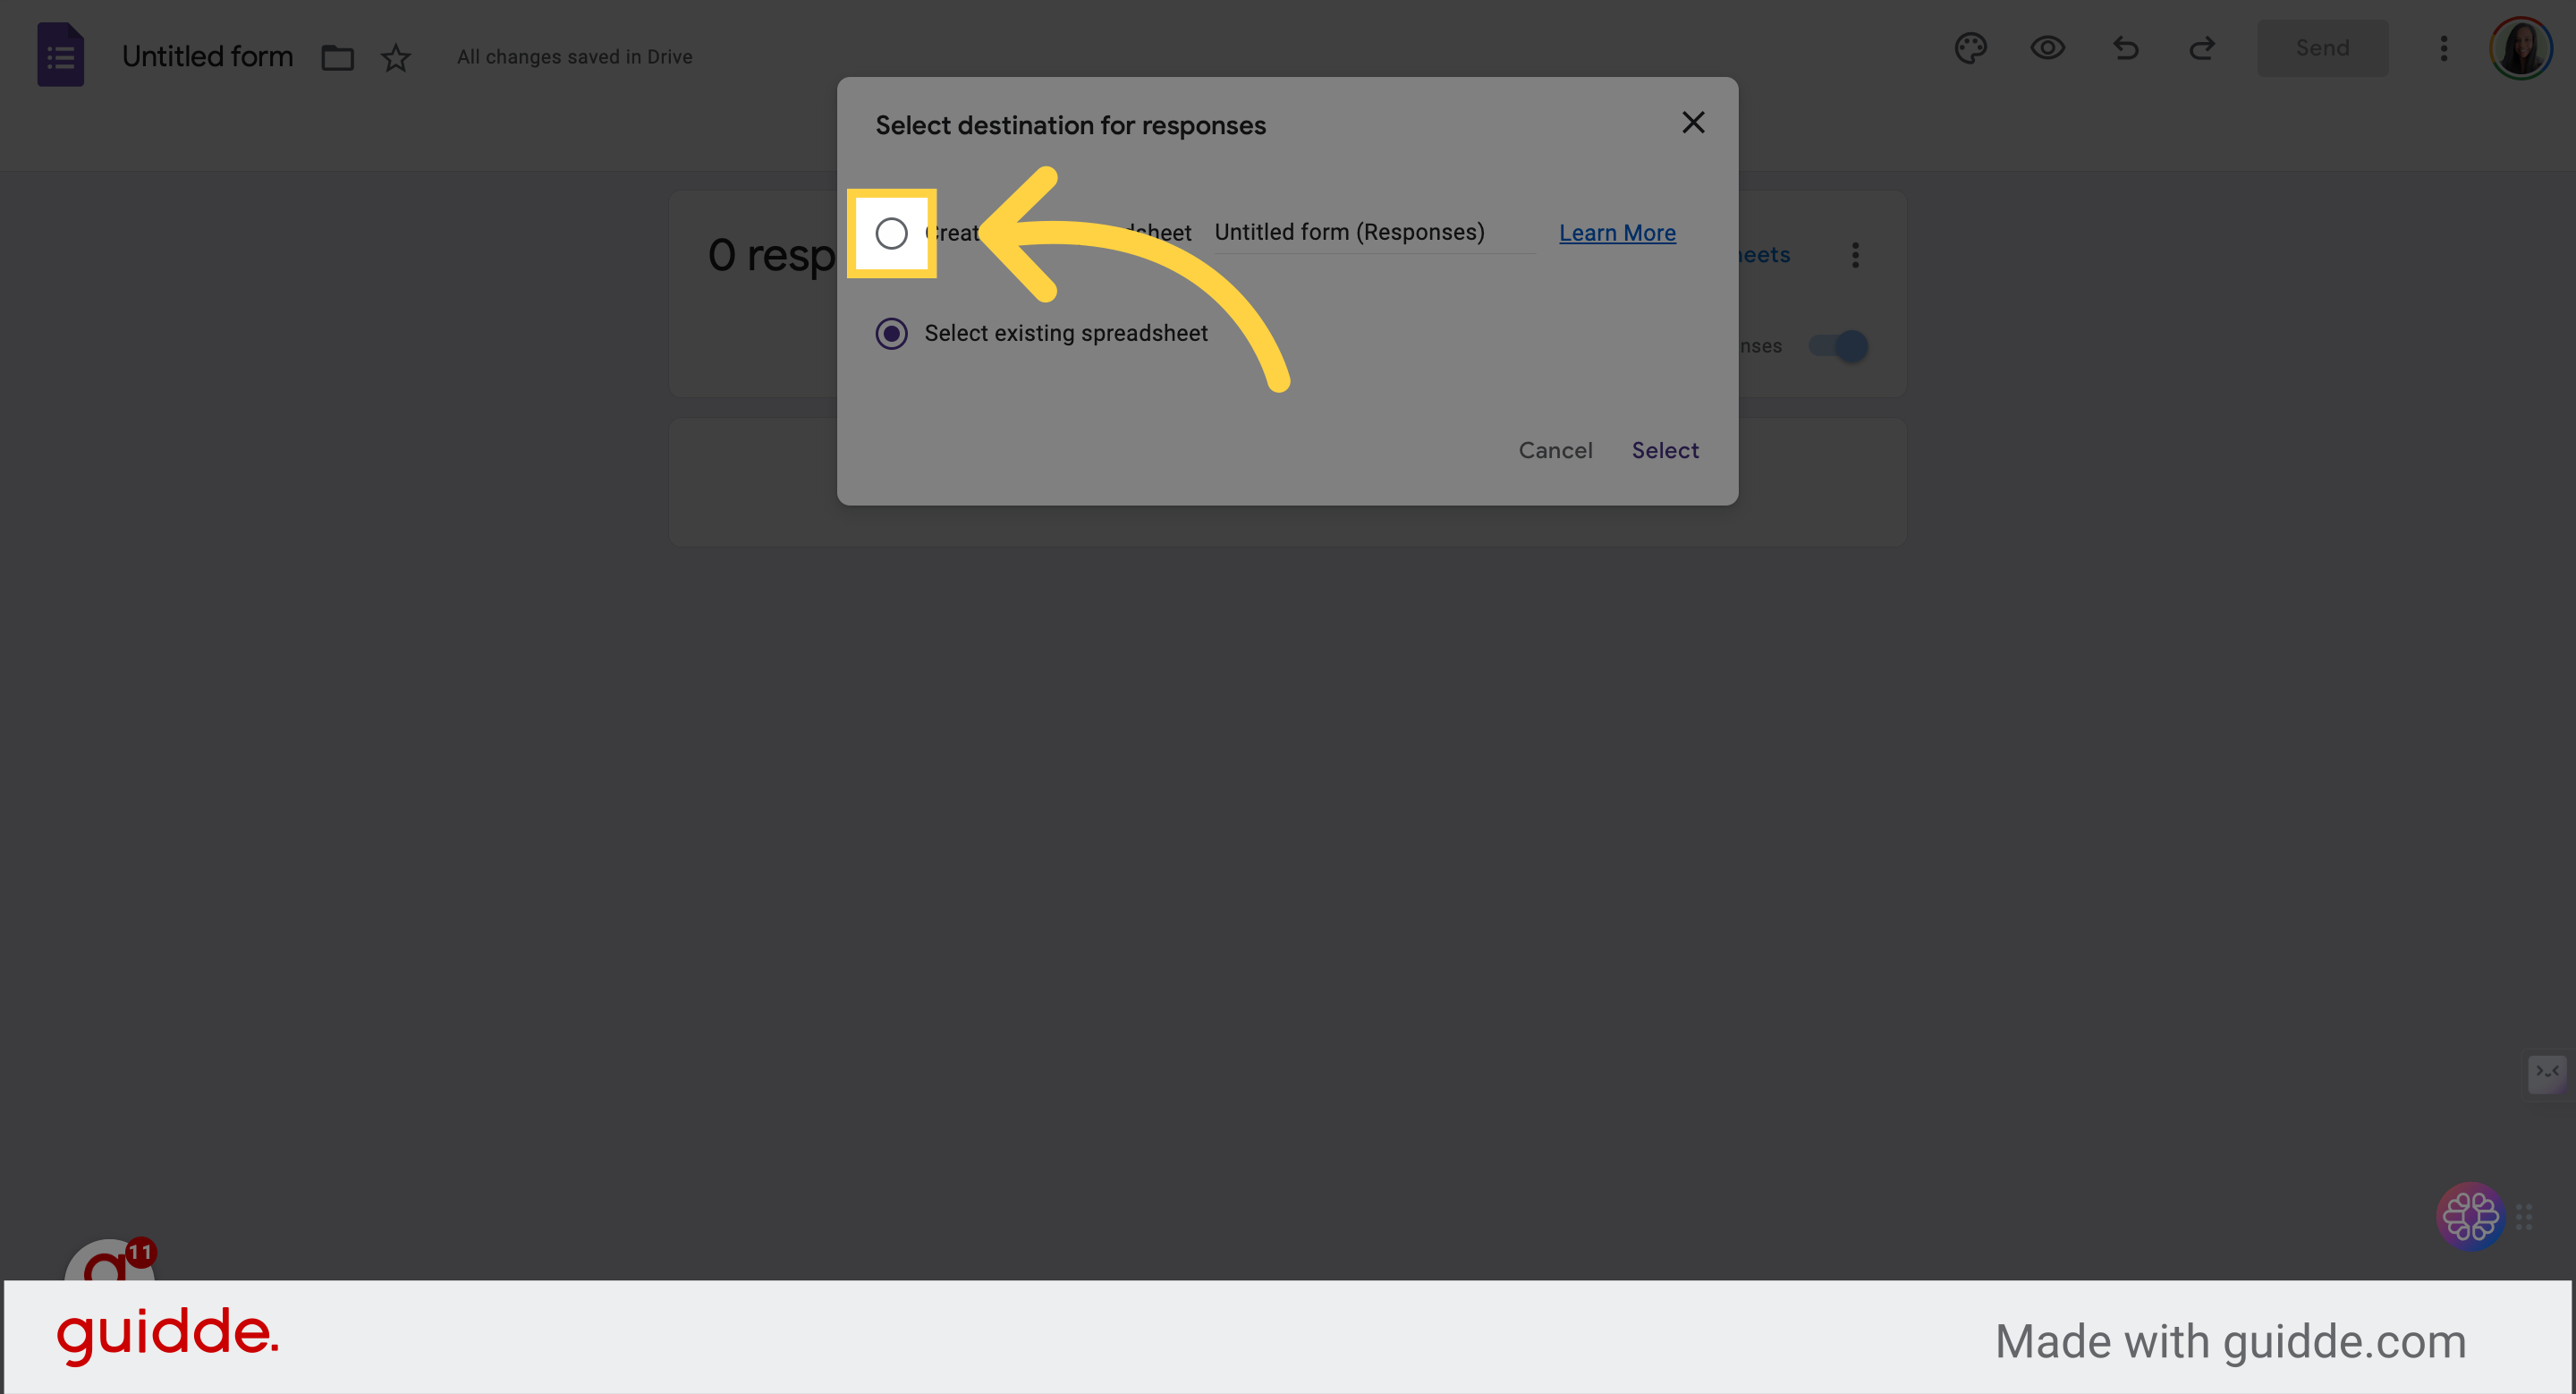
7. Connect to new or existing database
Select the option to "Link to Sheets"
8. Choose either option
Press select when done
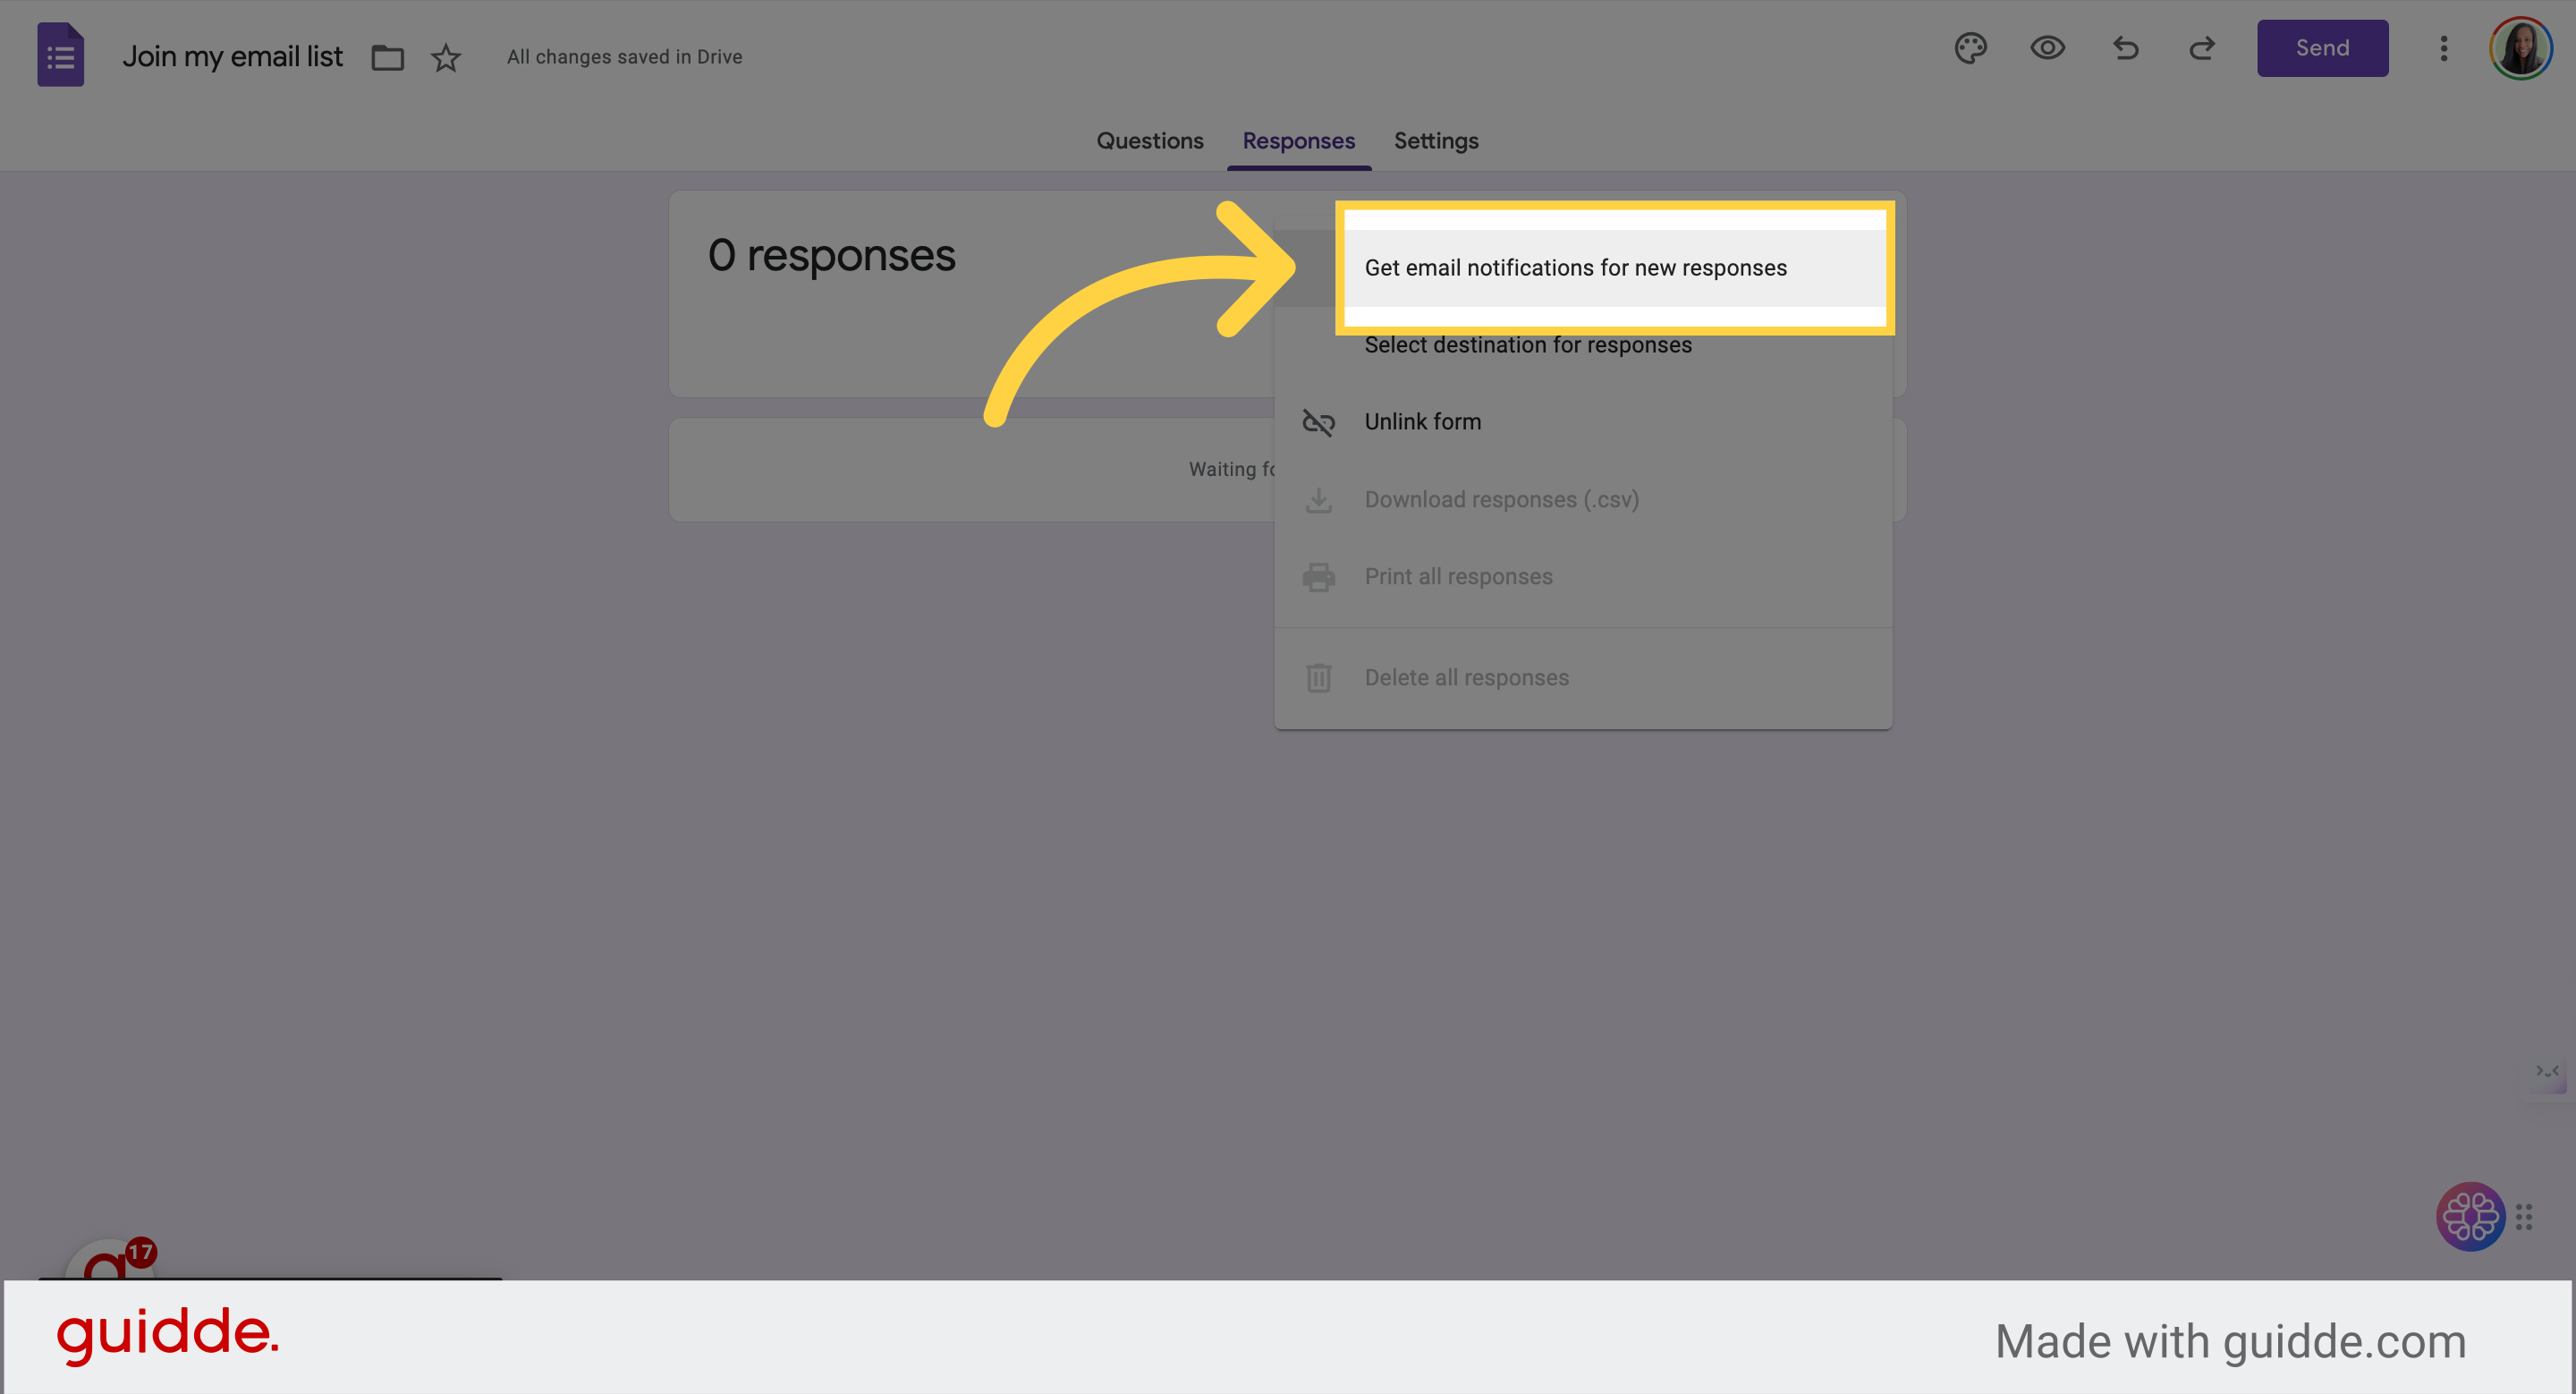
9. Option to get email notifications
Click the three dots in the upper right corner and select the "get email notifications for new responses" option
Section 3: Finalizing in Settings
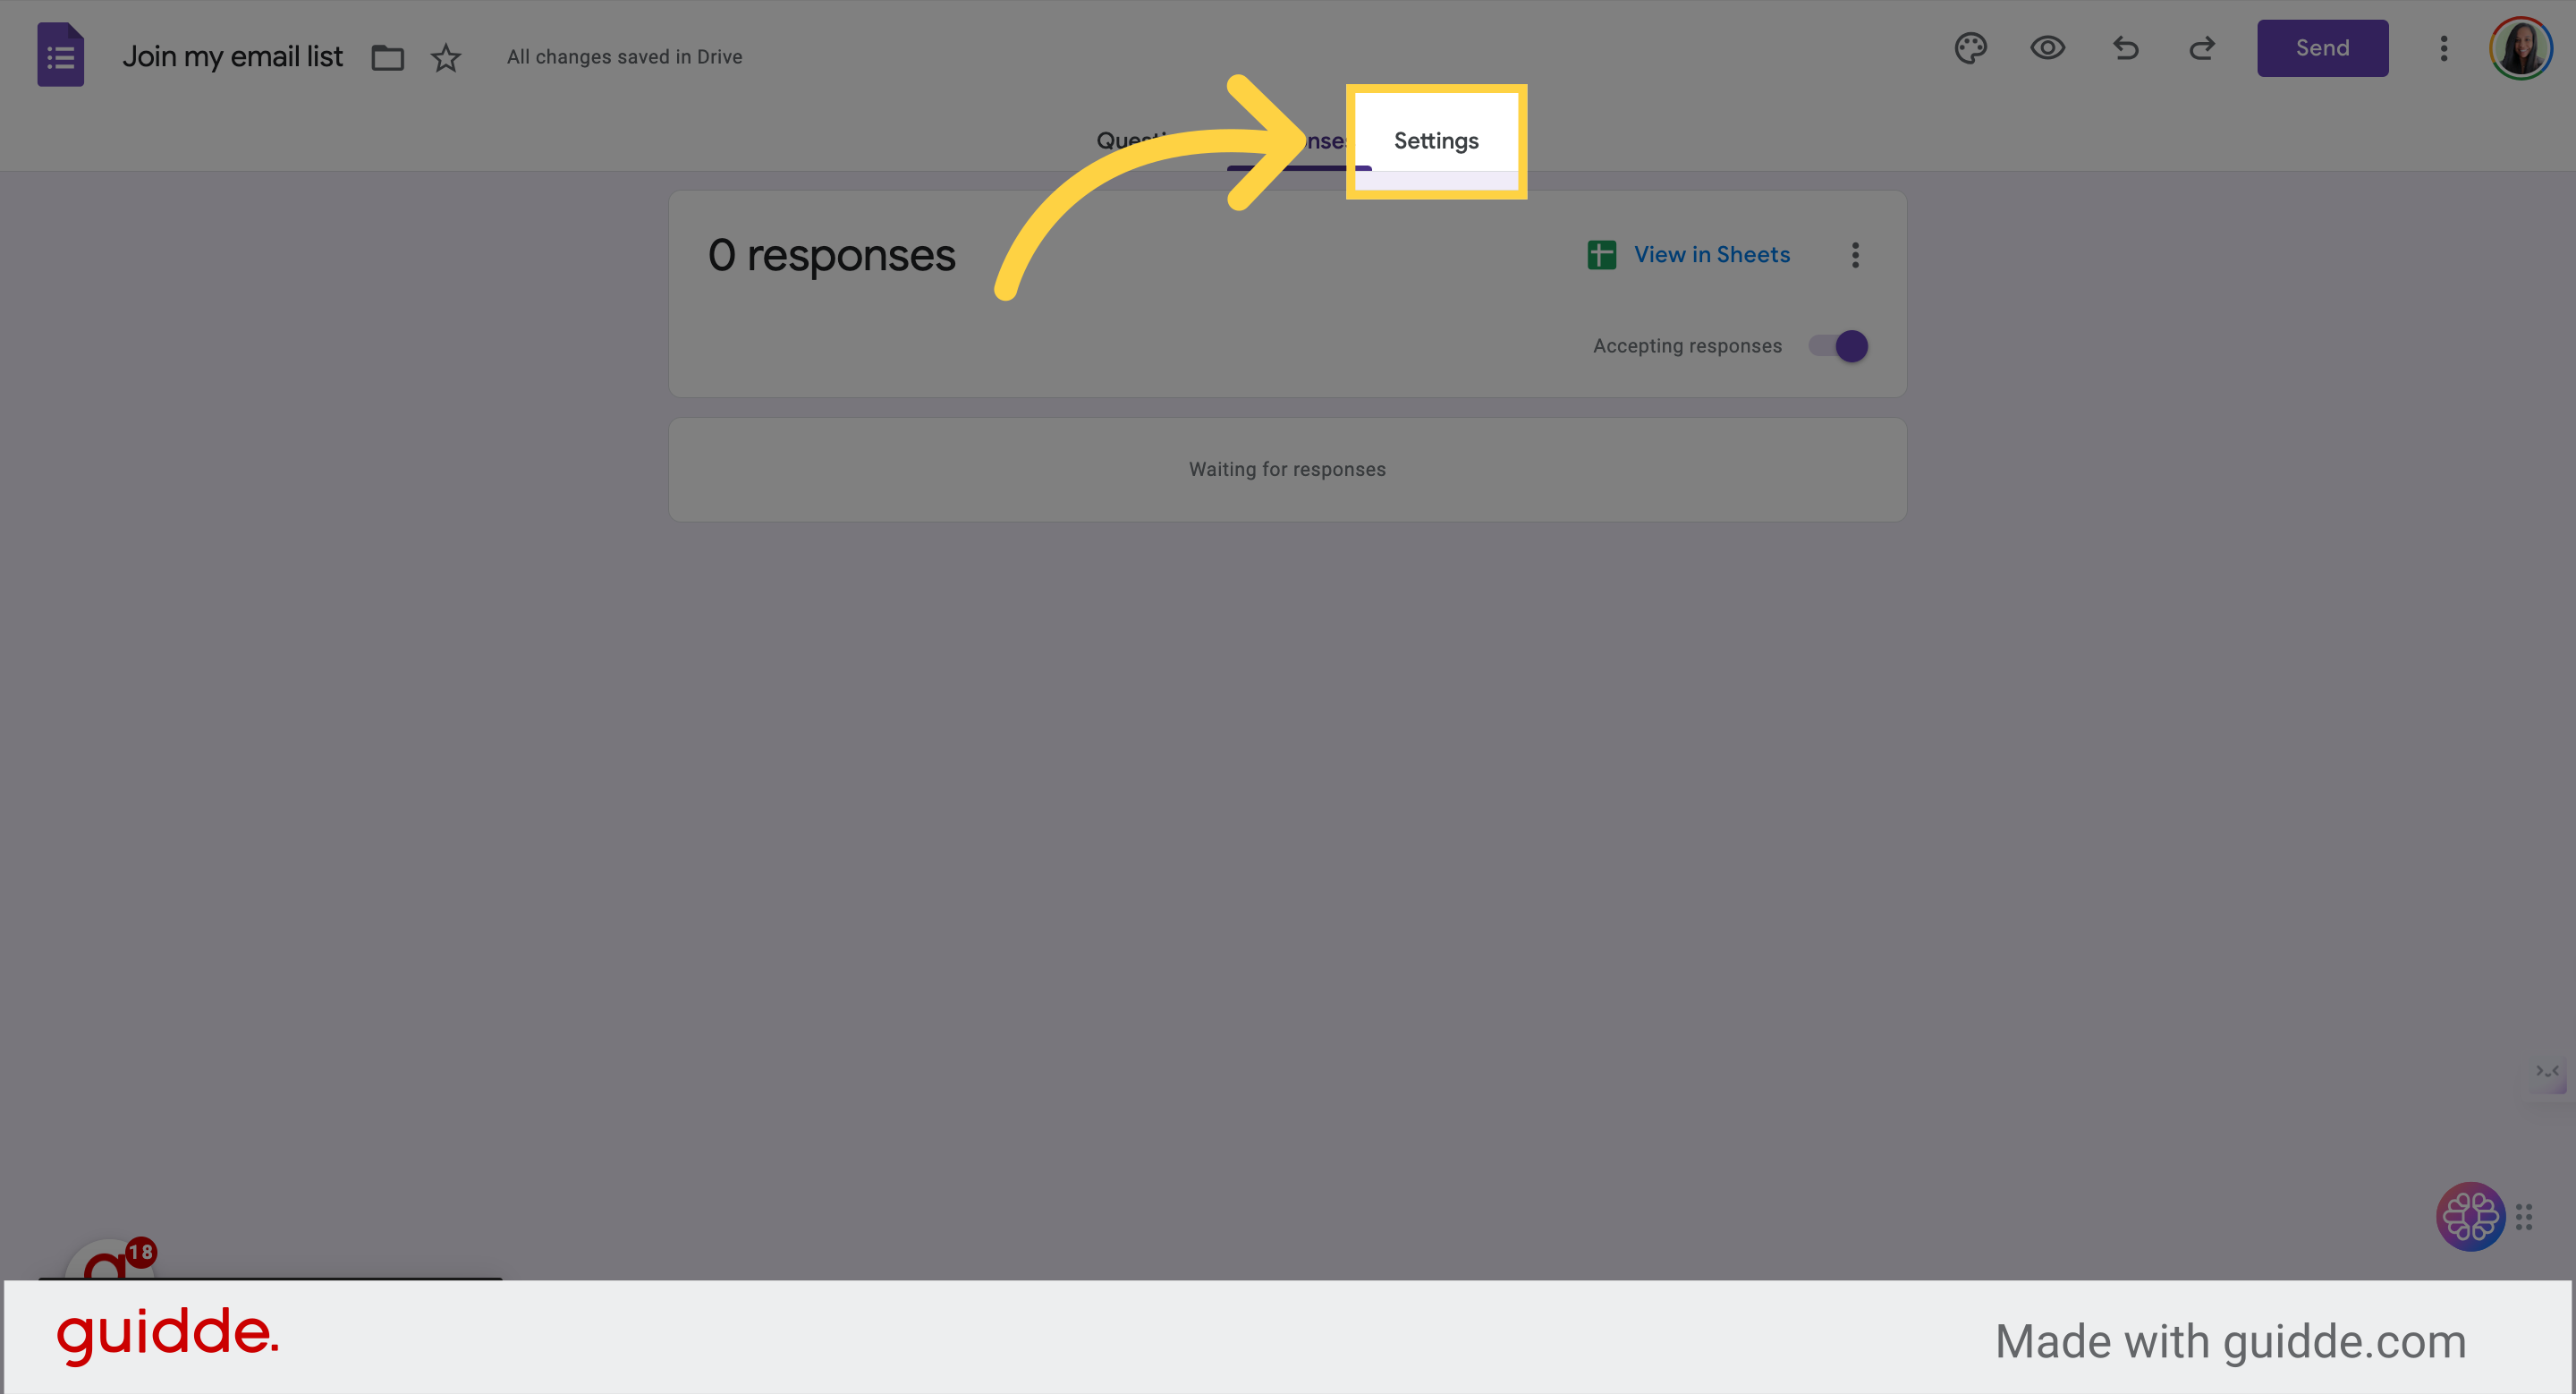
10. Update Settings
Choose the "Settings" option
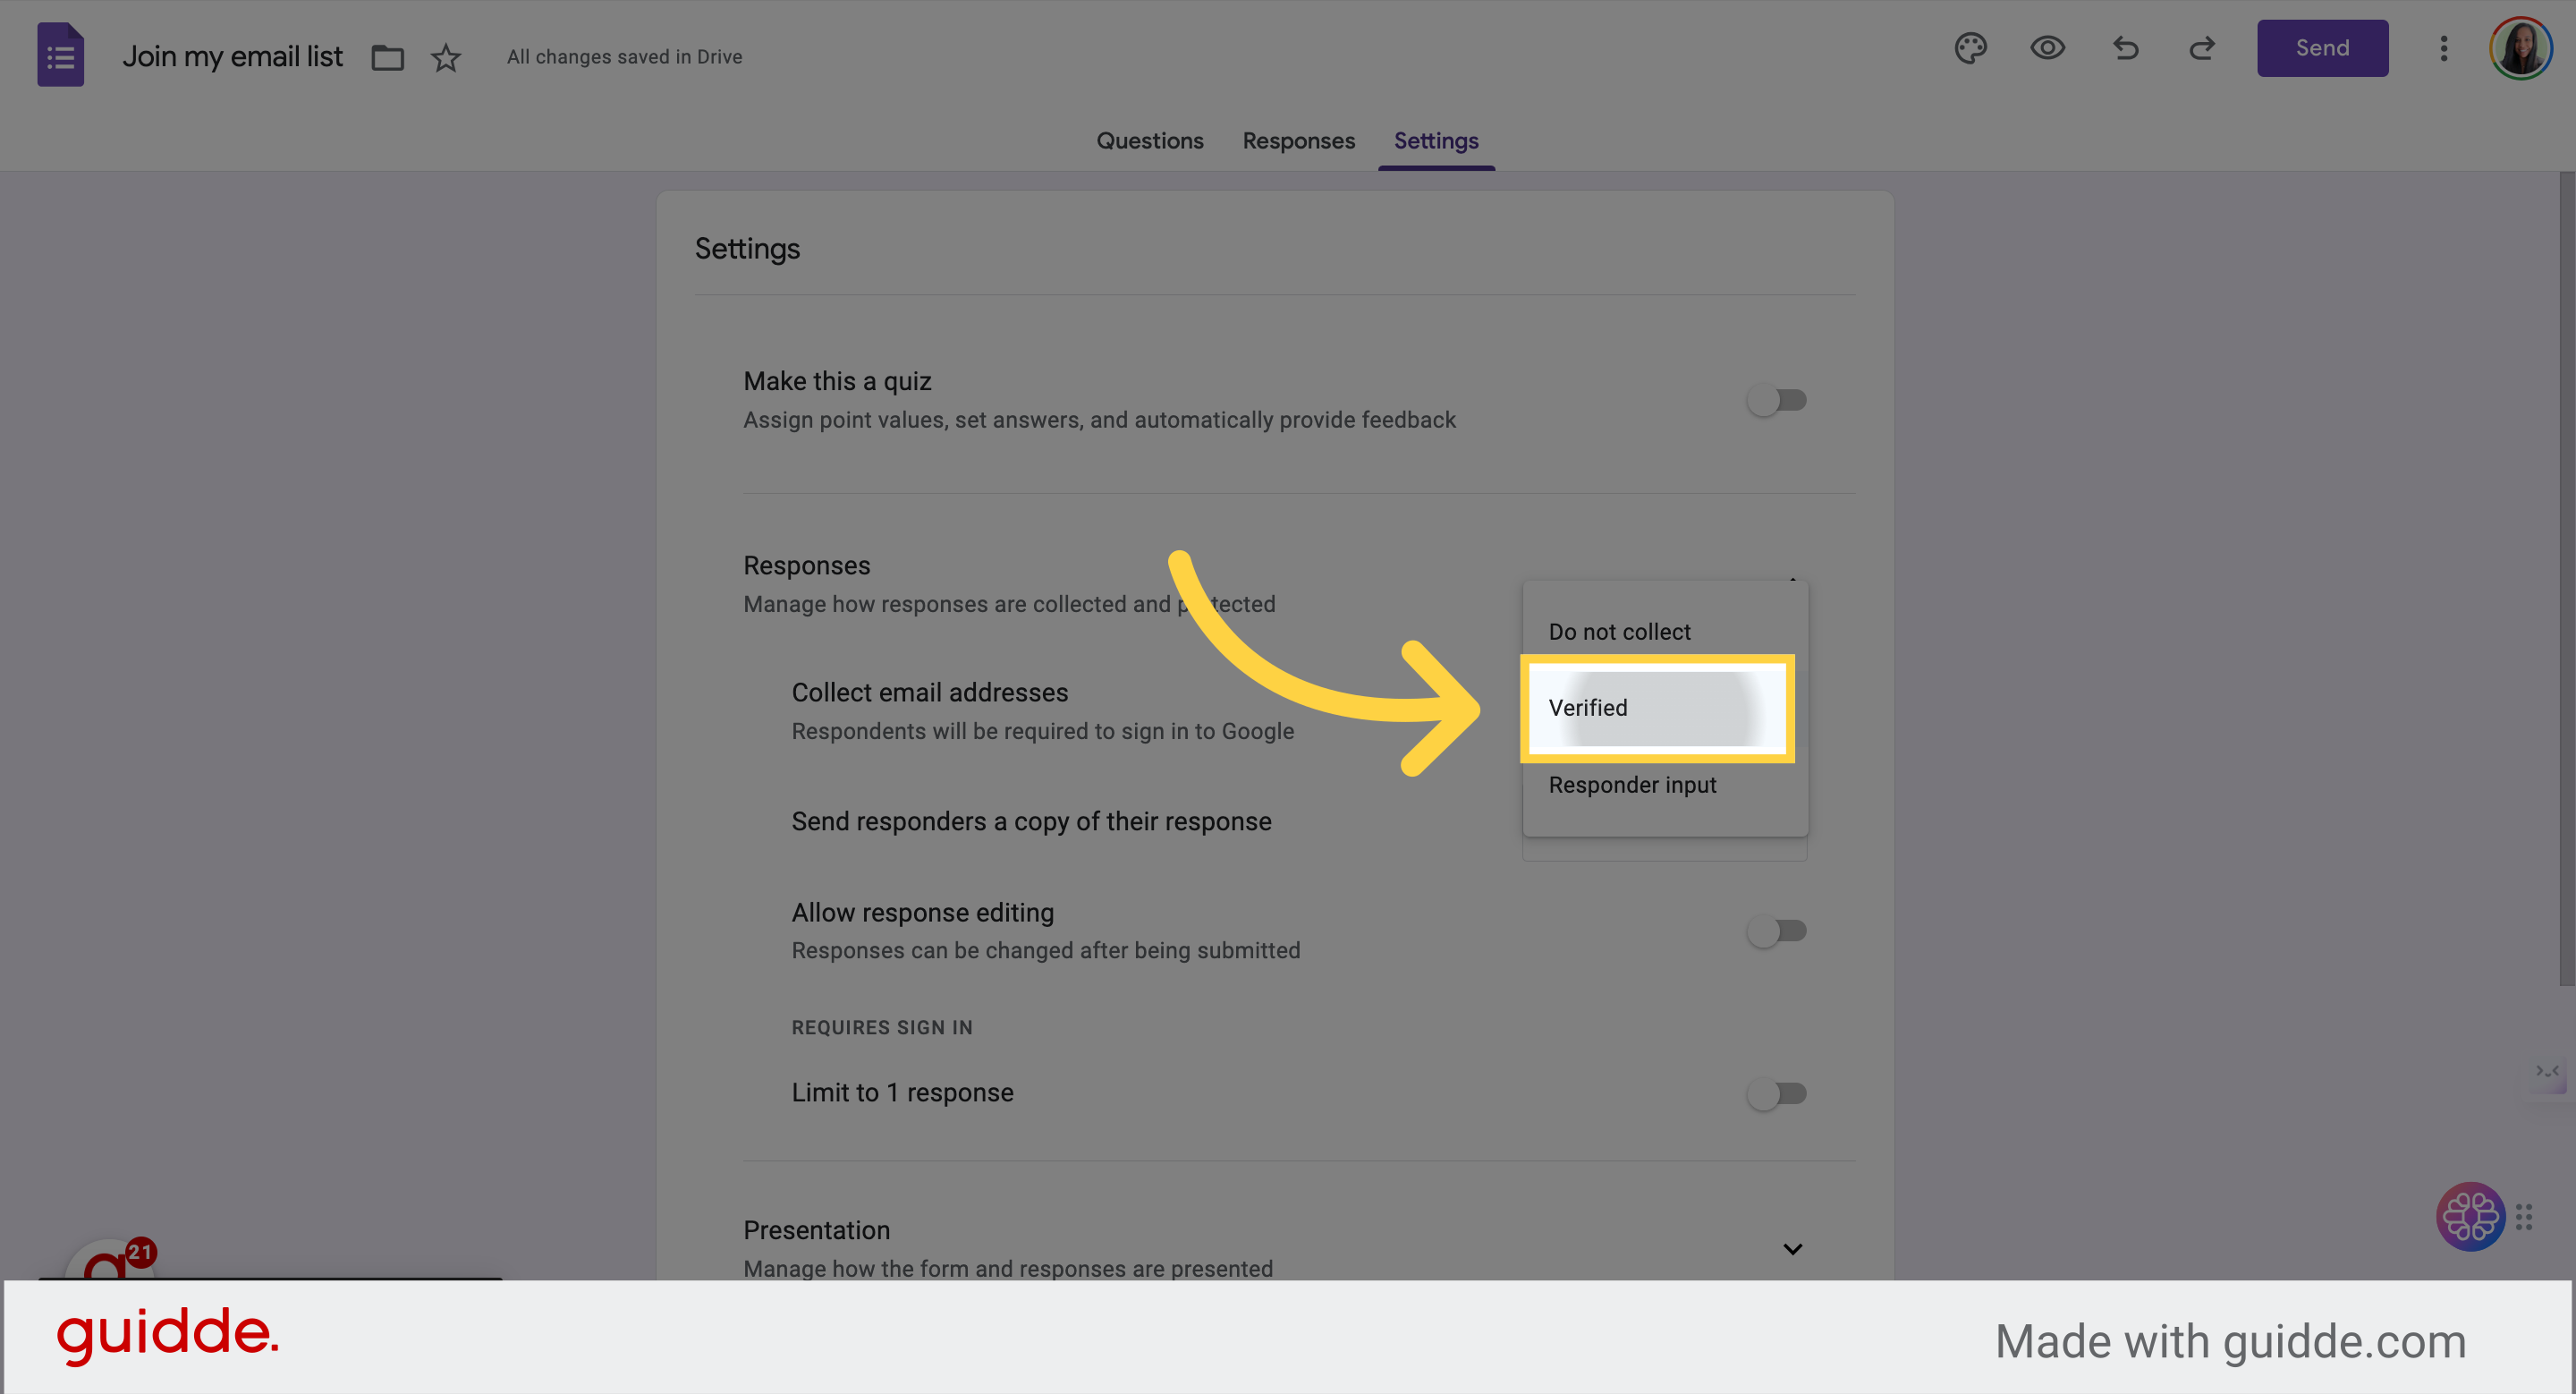
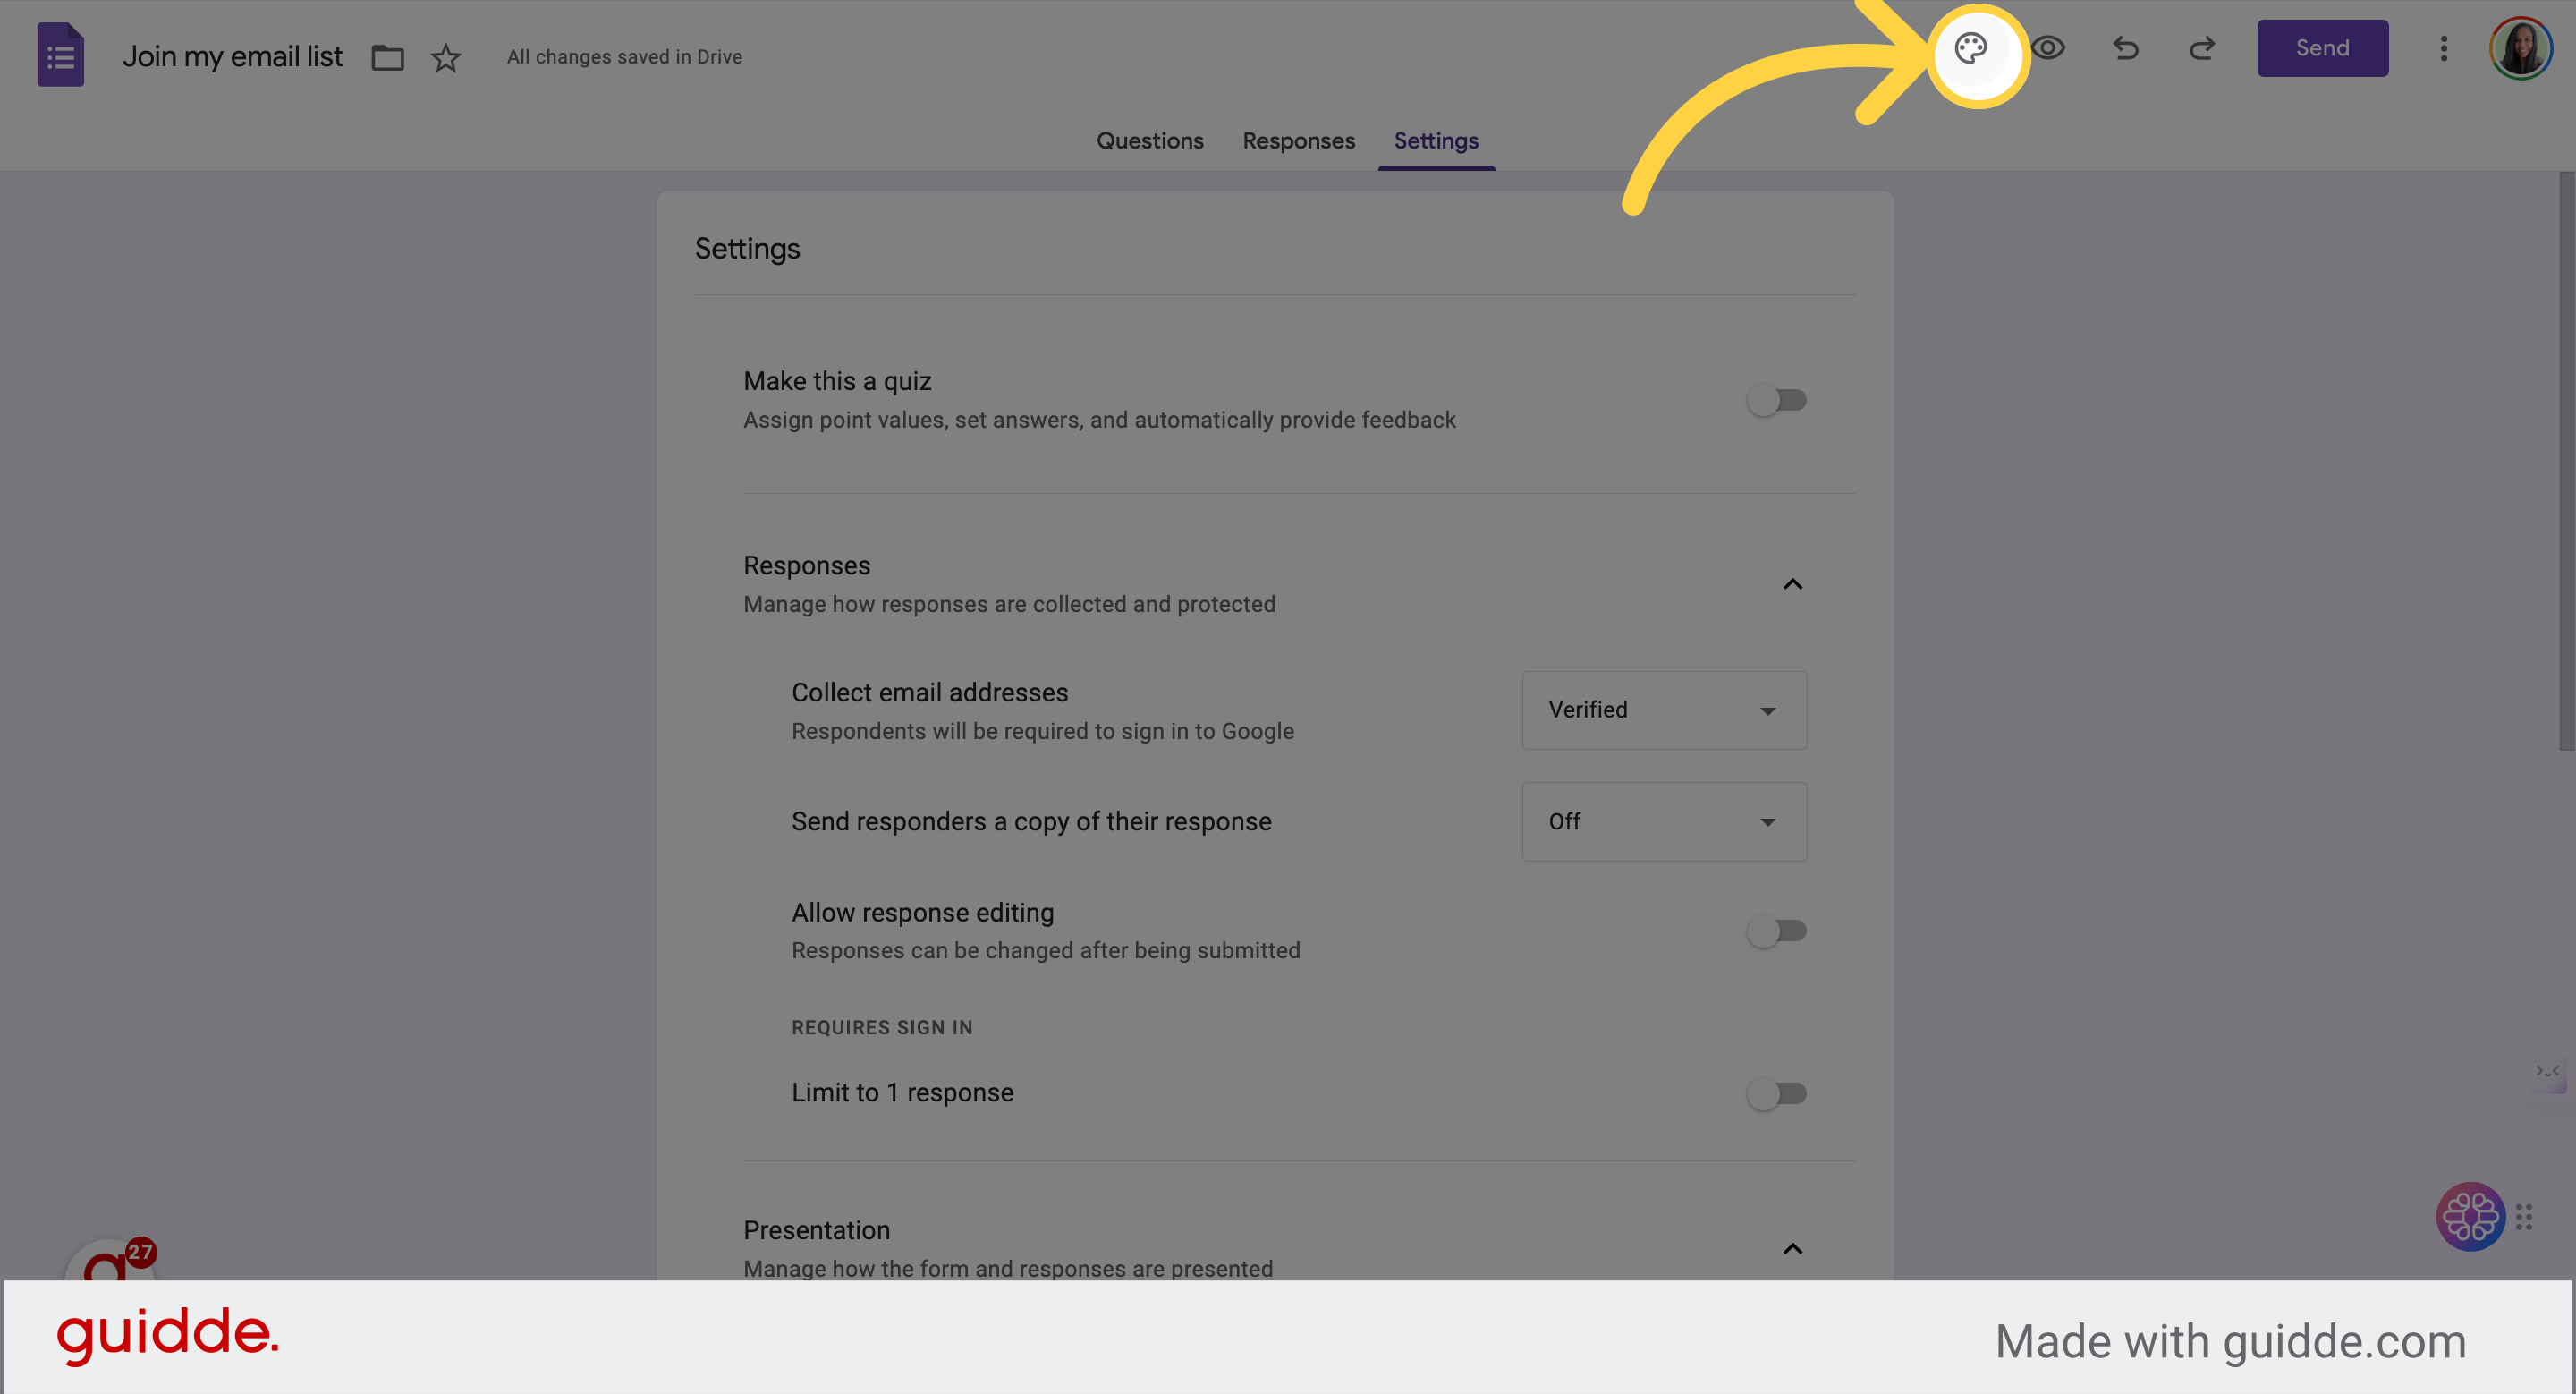
11. Choose verified emails
Click on the "Verified" field under Responses and Collect email addresses
12. Add a link in confirmation page
Select the option to "Edit" confirmation message
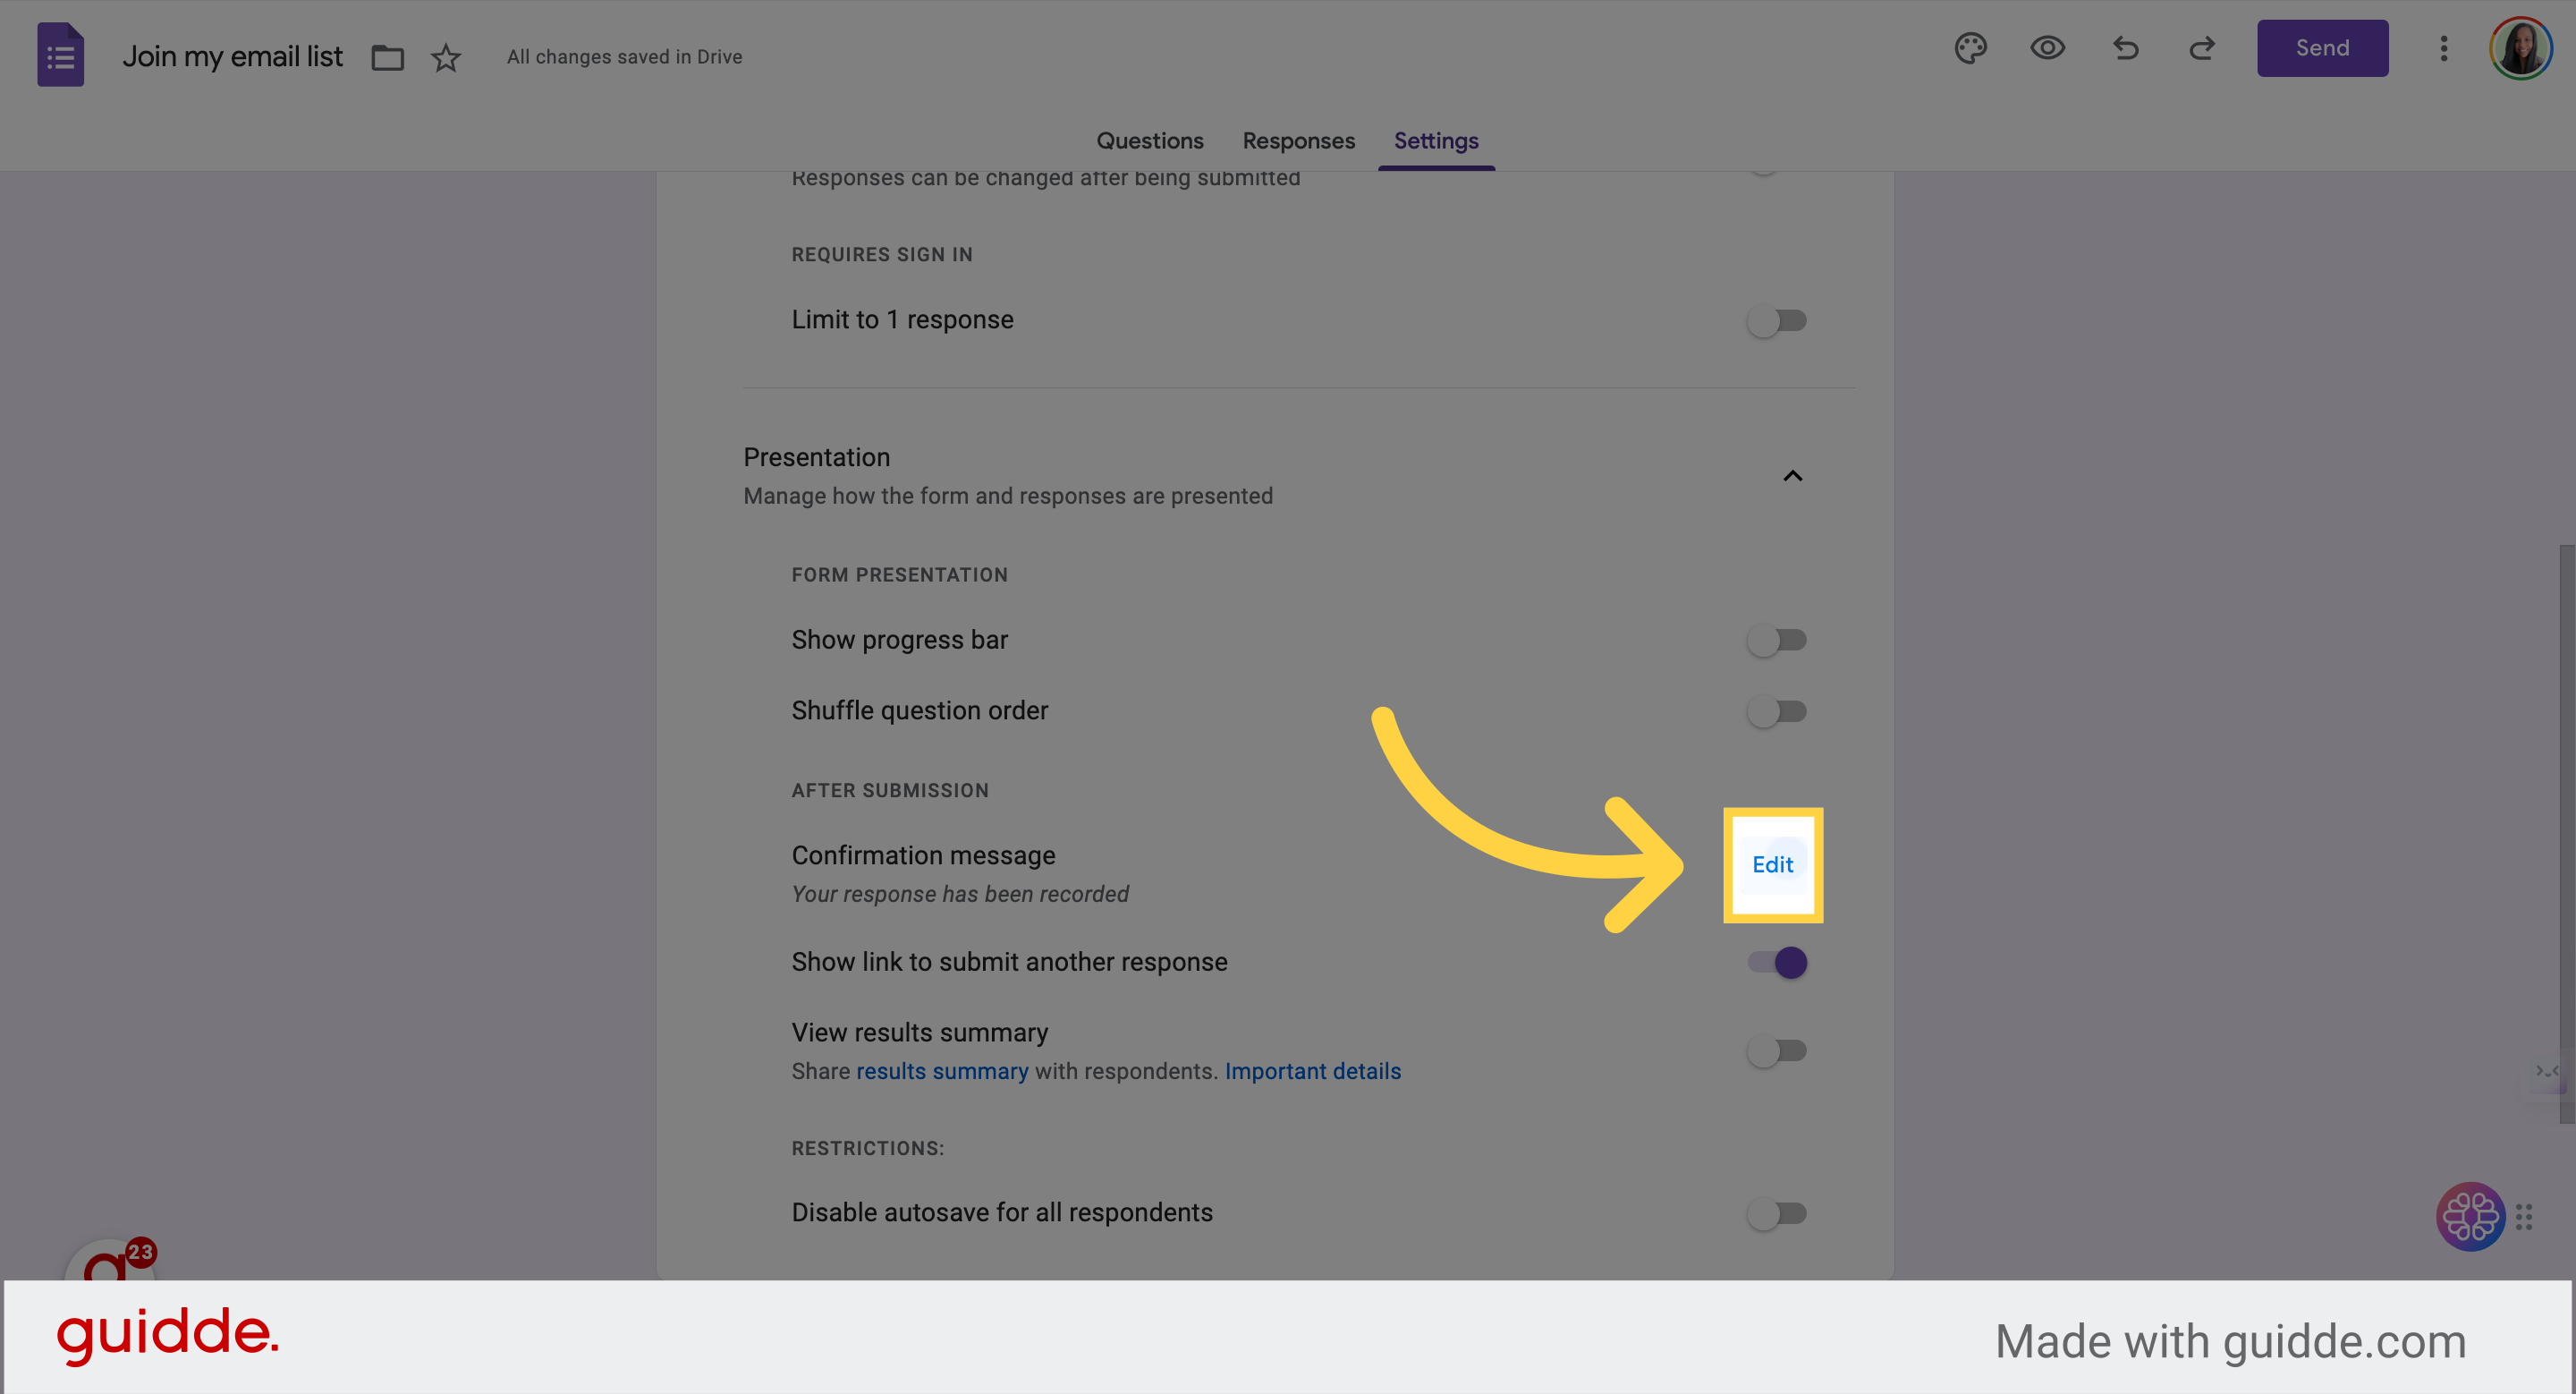
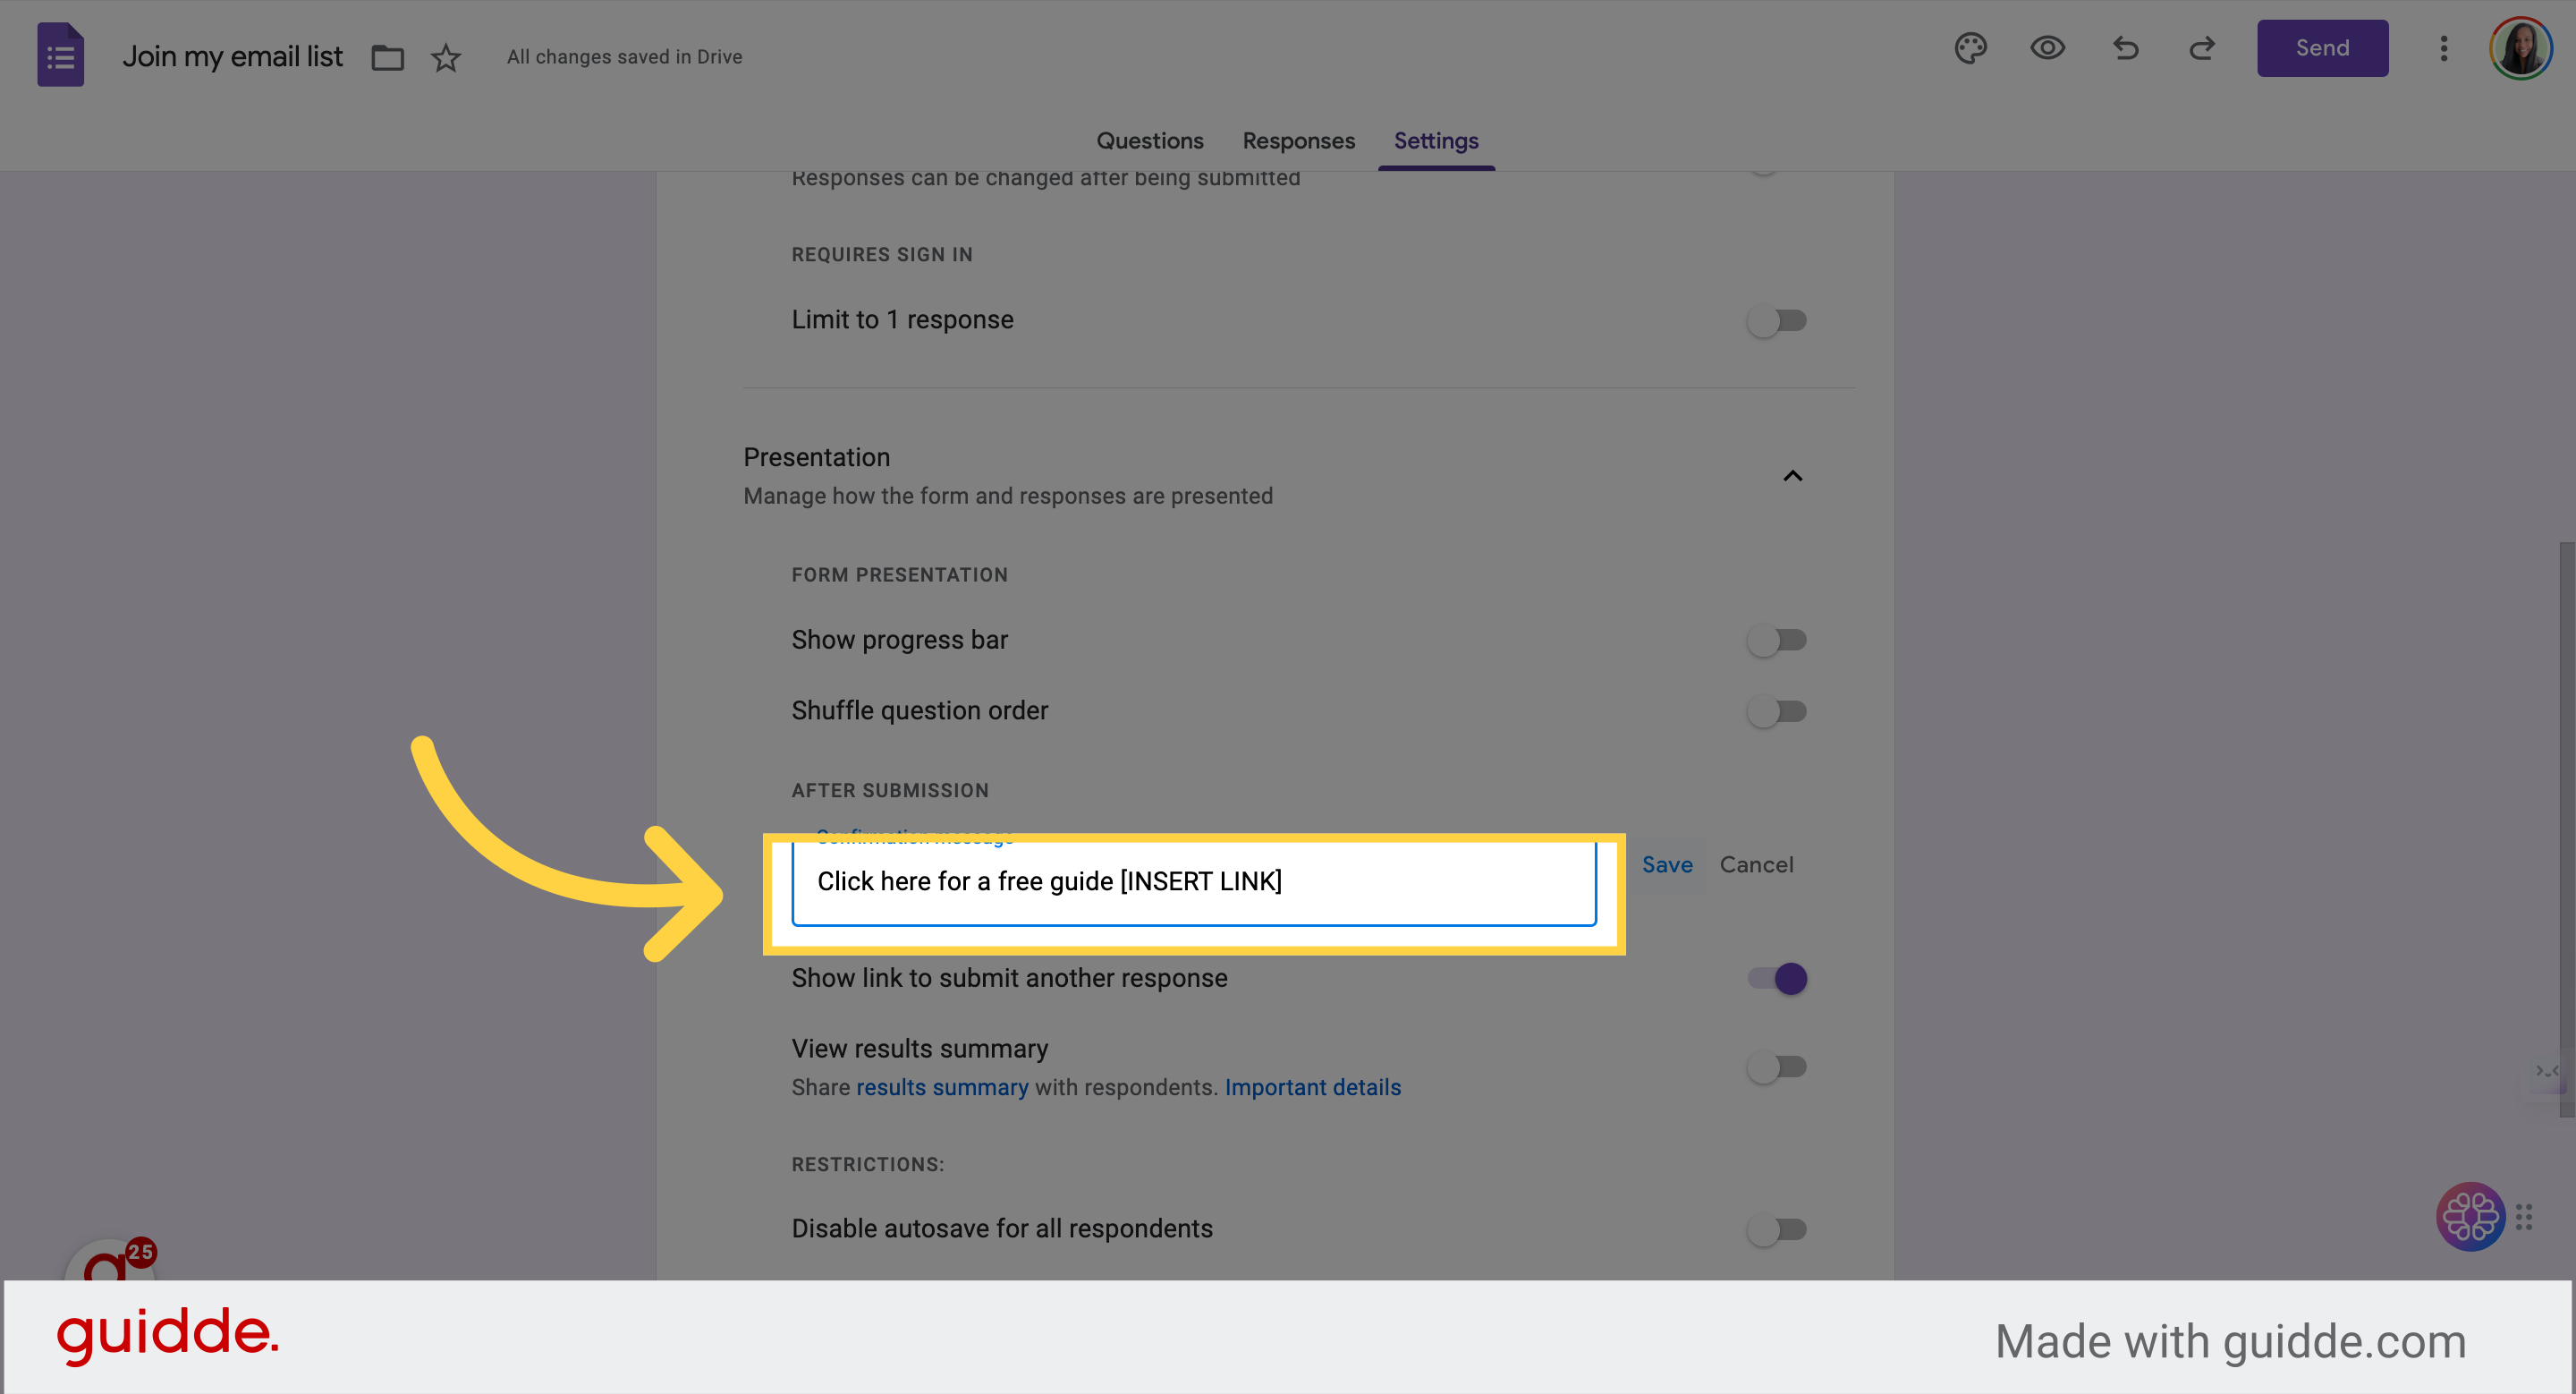
13. Add the information you'd like to include
Example "Click here for a free guide [INSERT LINK]"
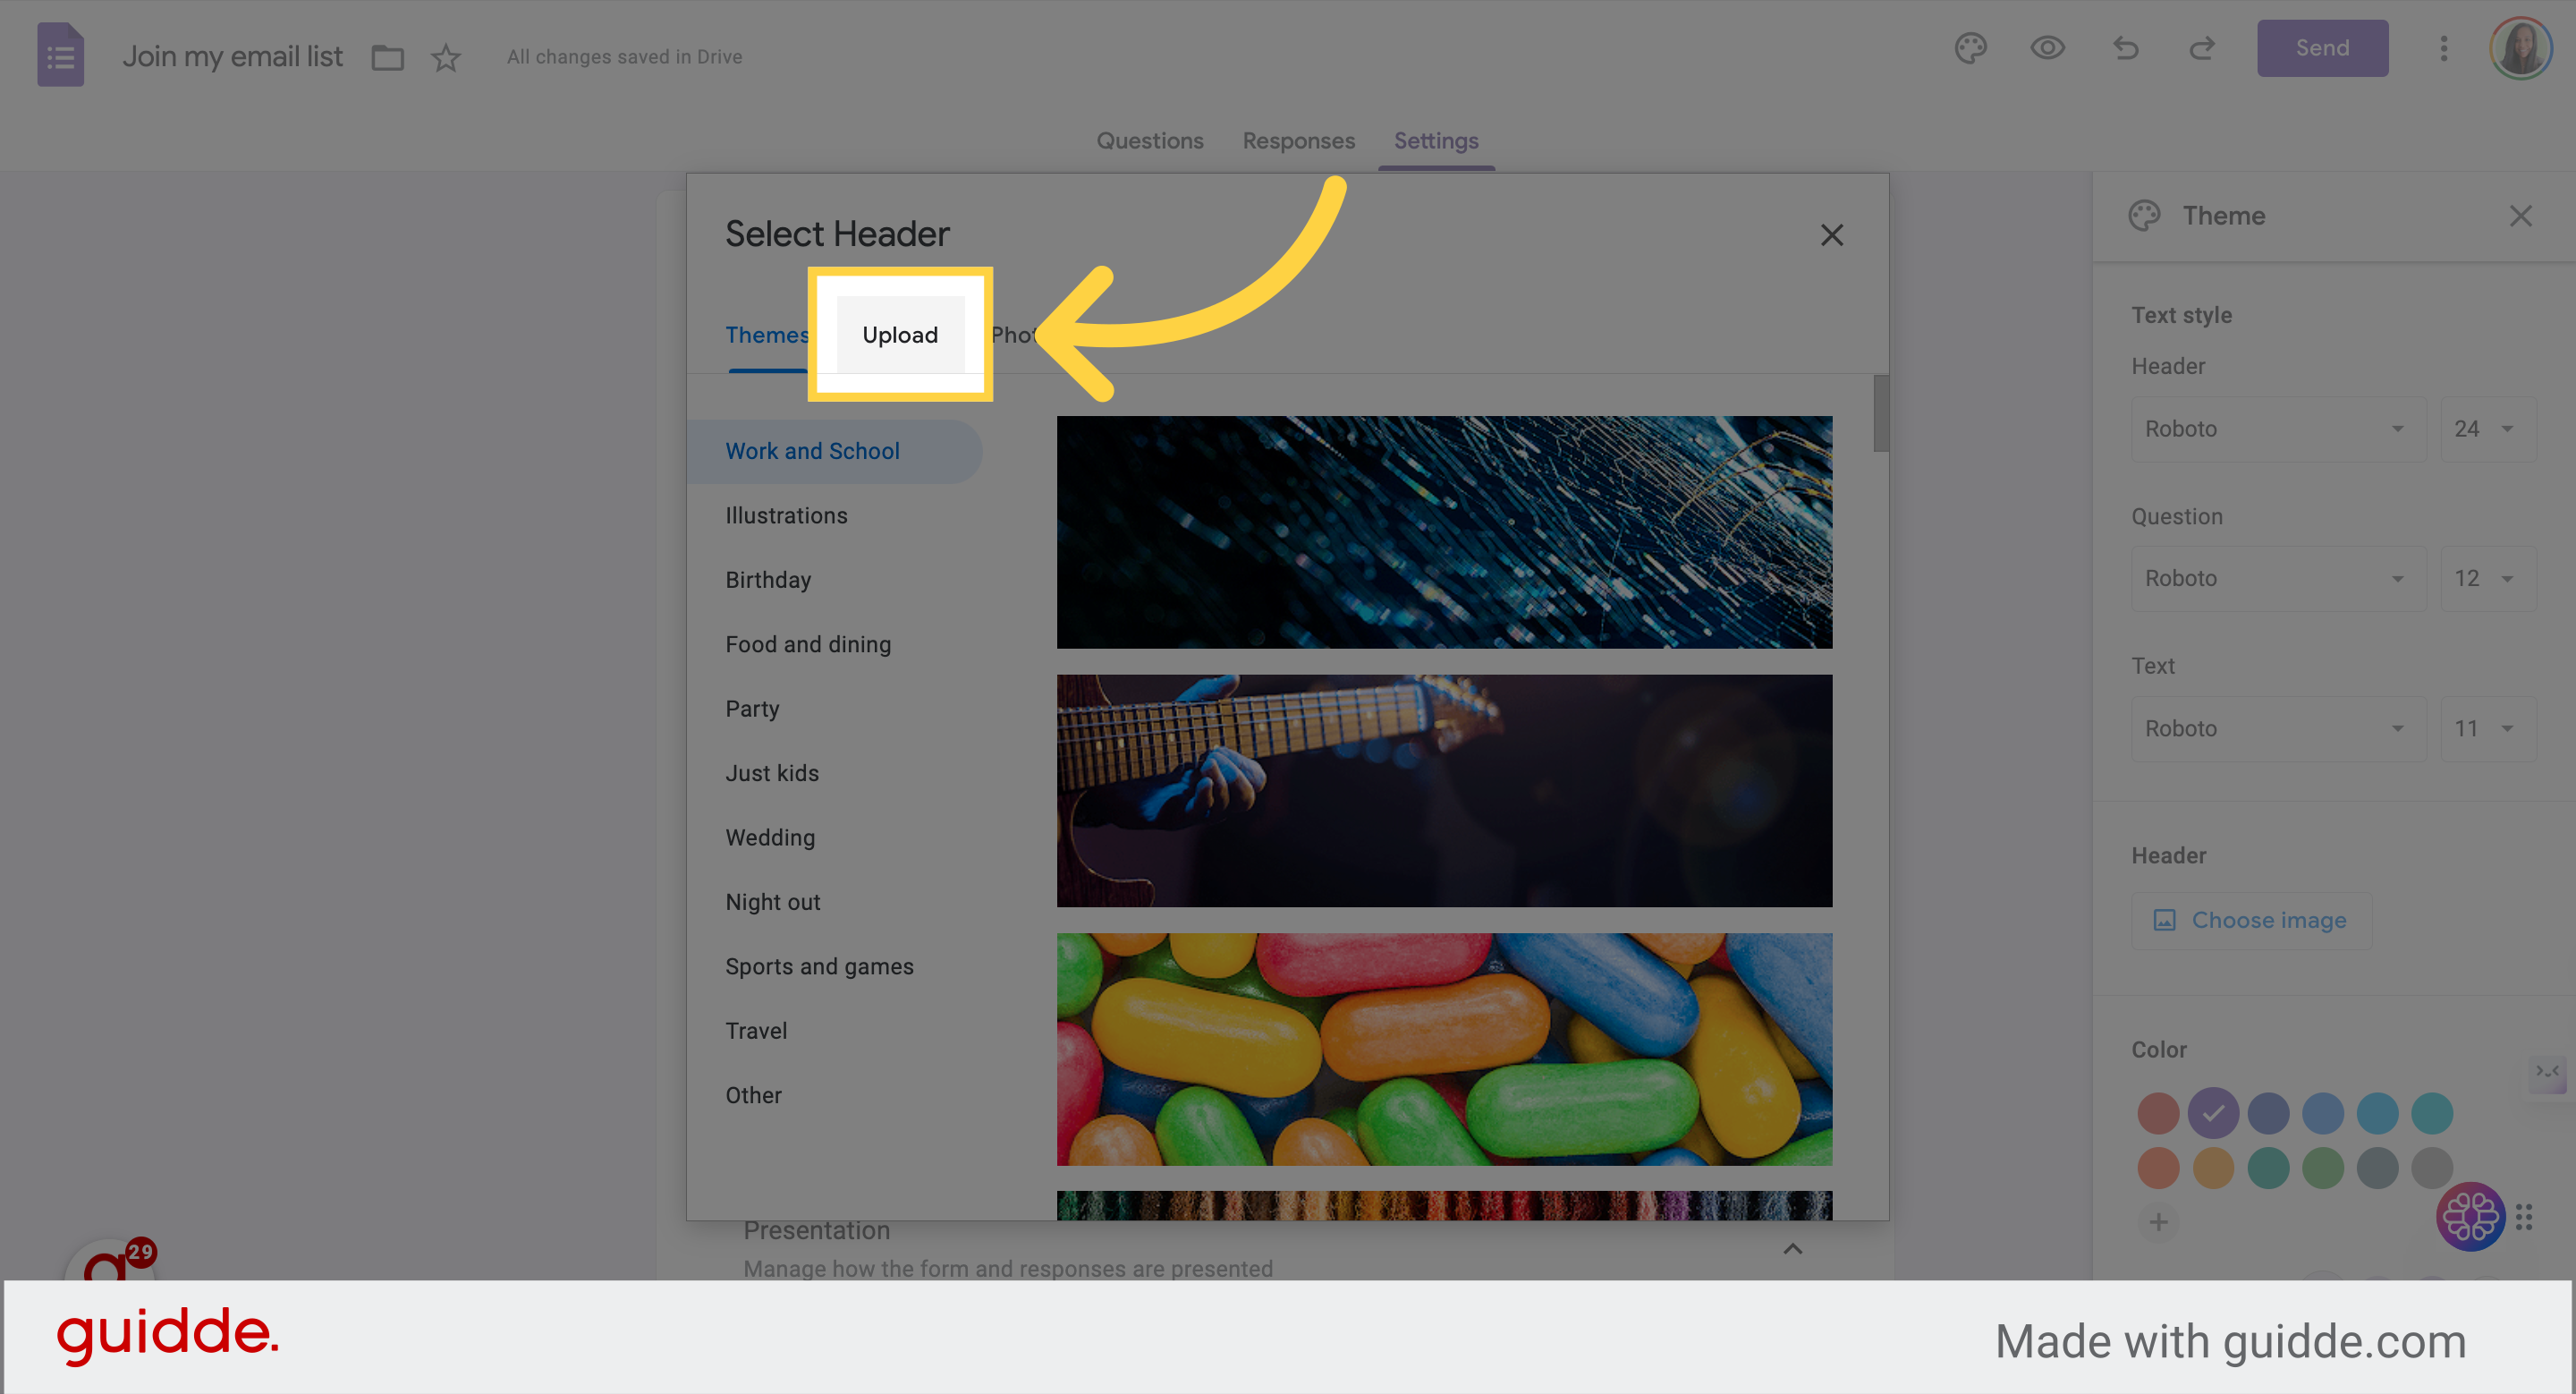
14. Change formatting of form
Click paint button
15. Add an image and change background color
Click "choose image"
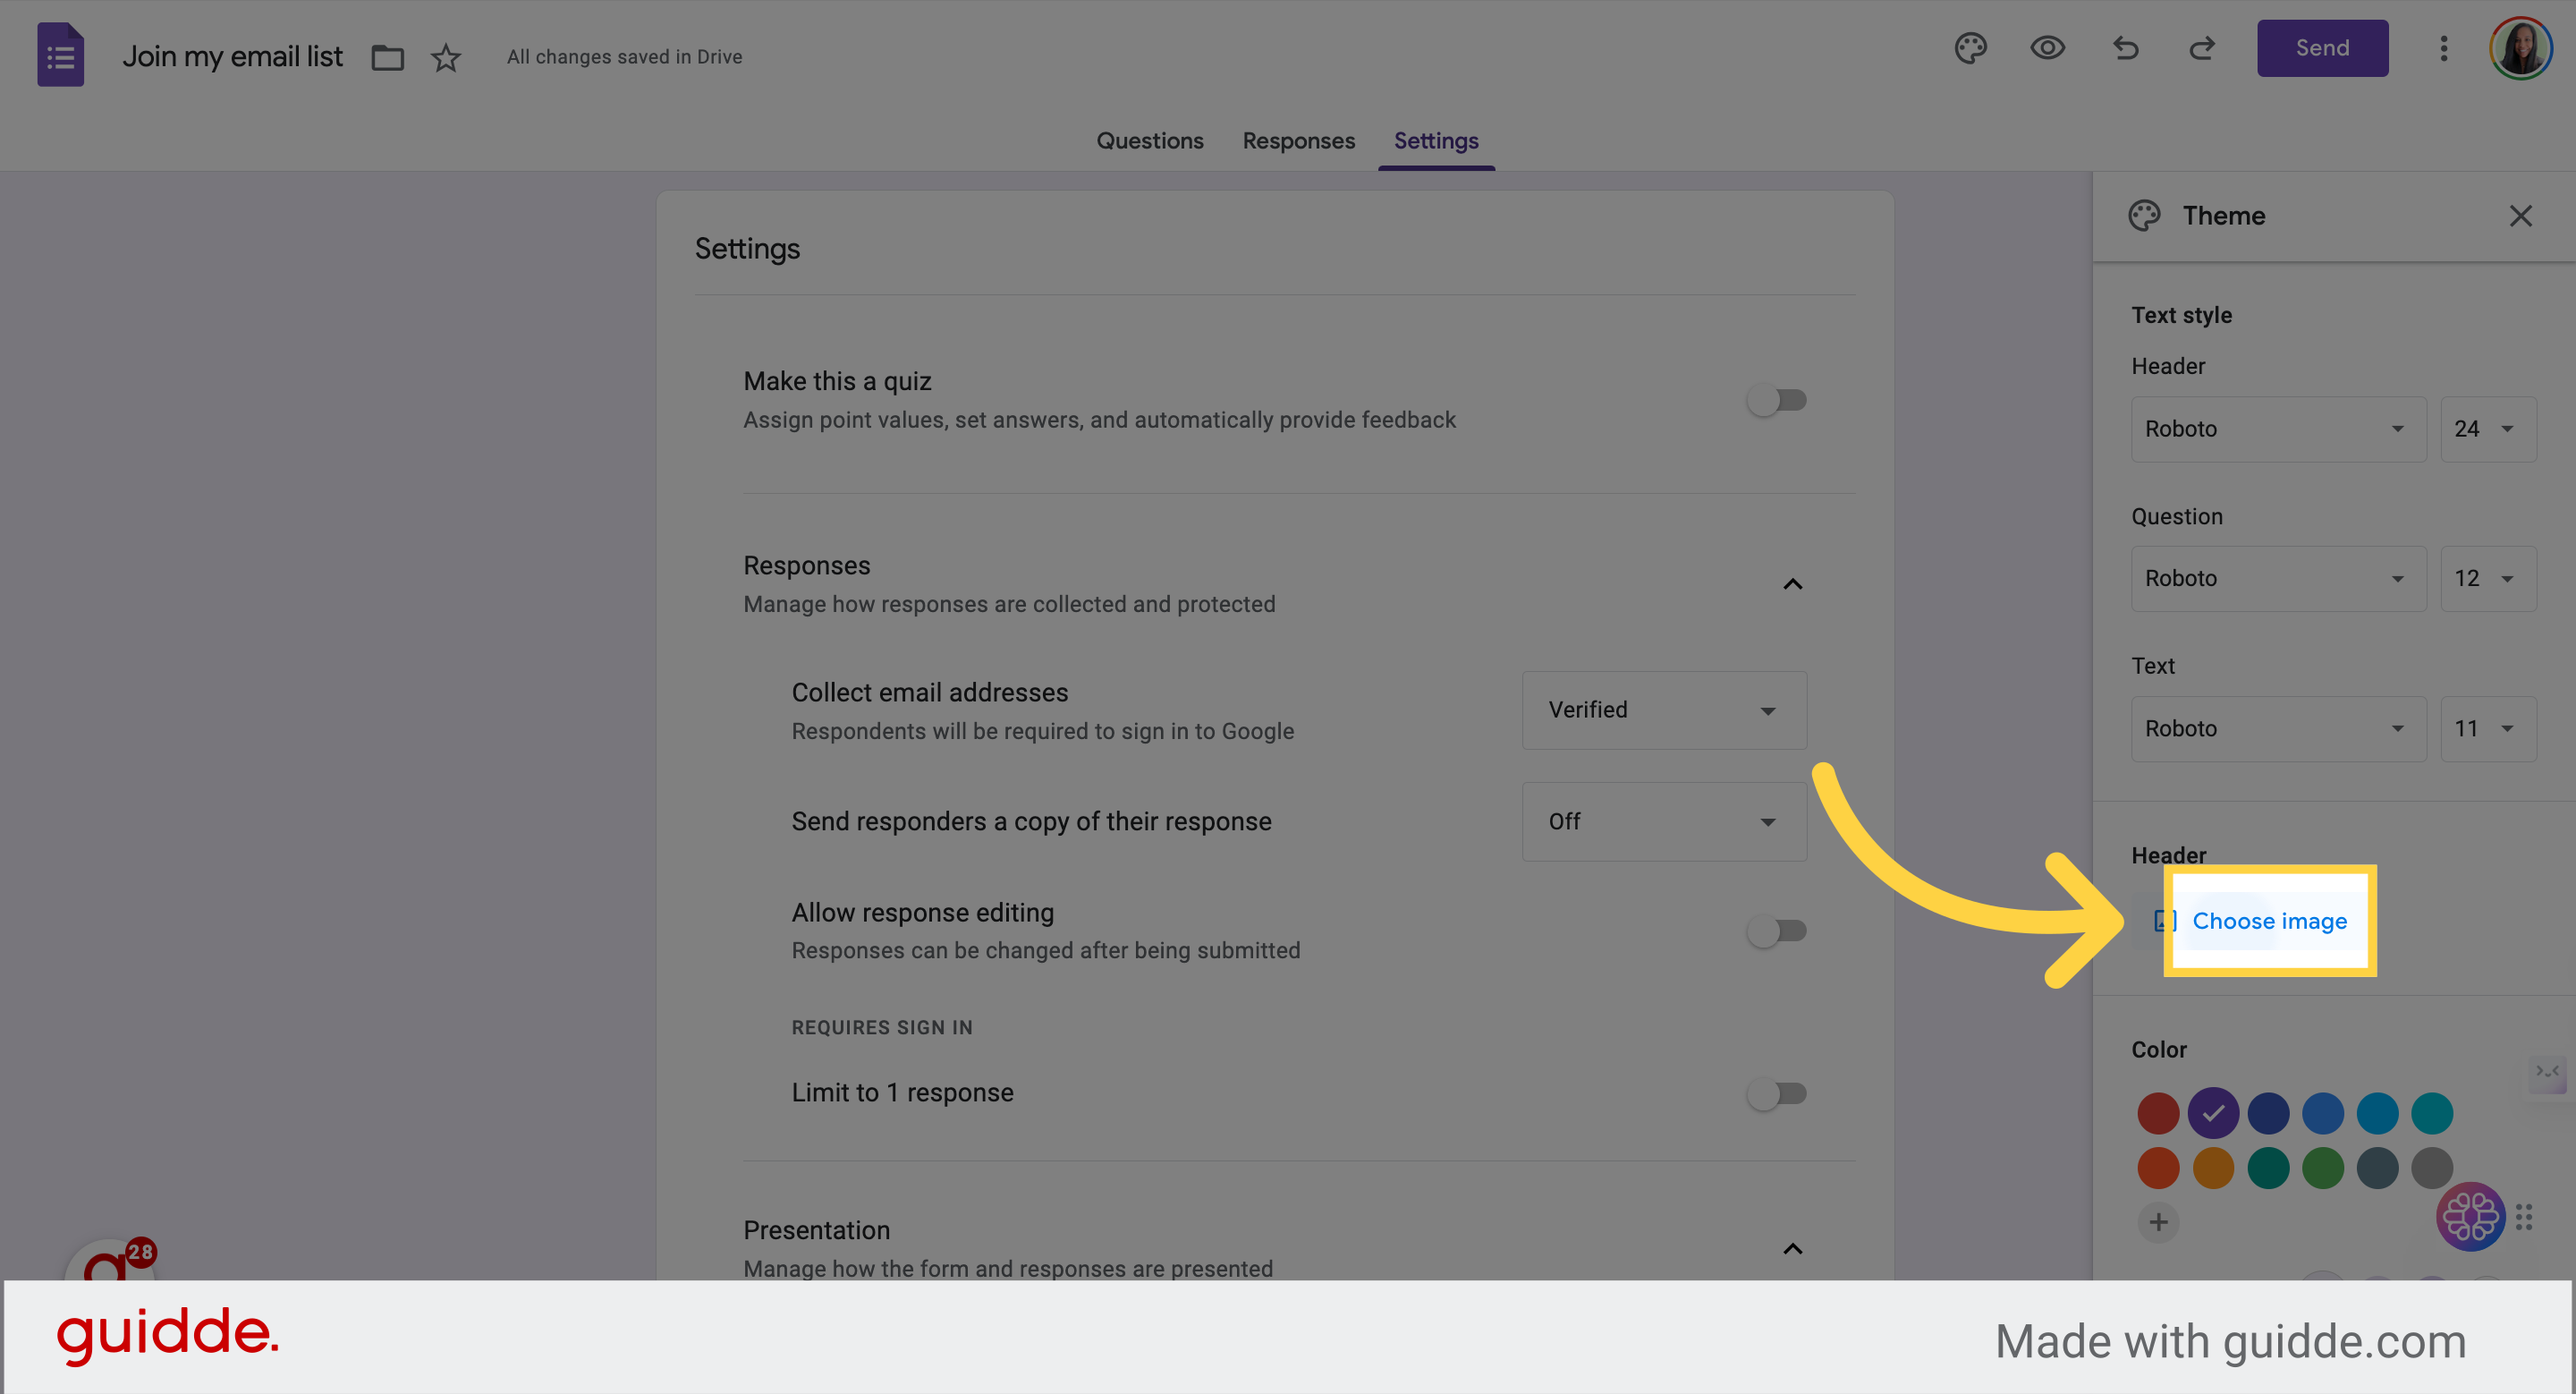
16. Upload image
Upload image or choose from selection
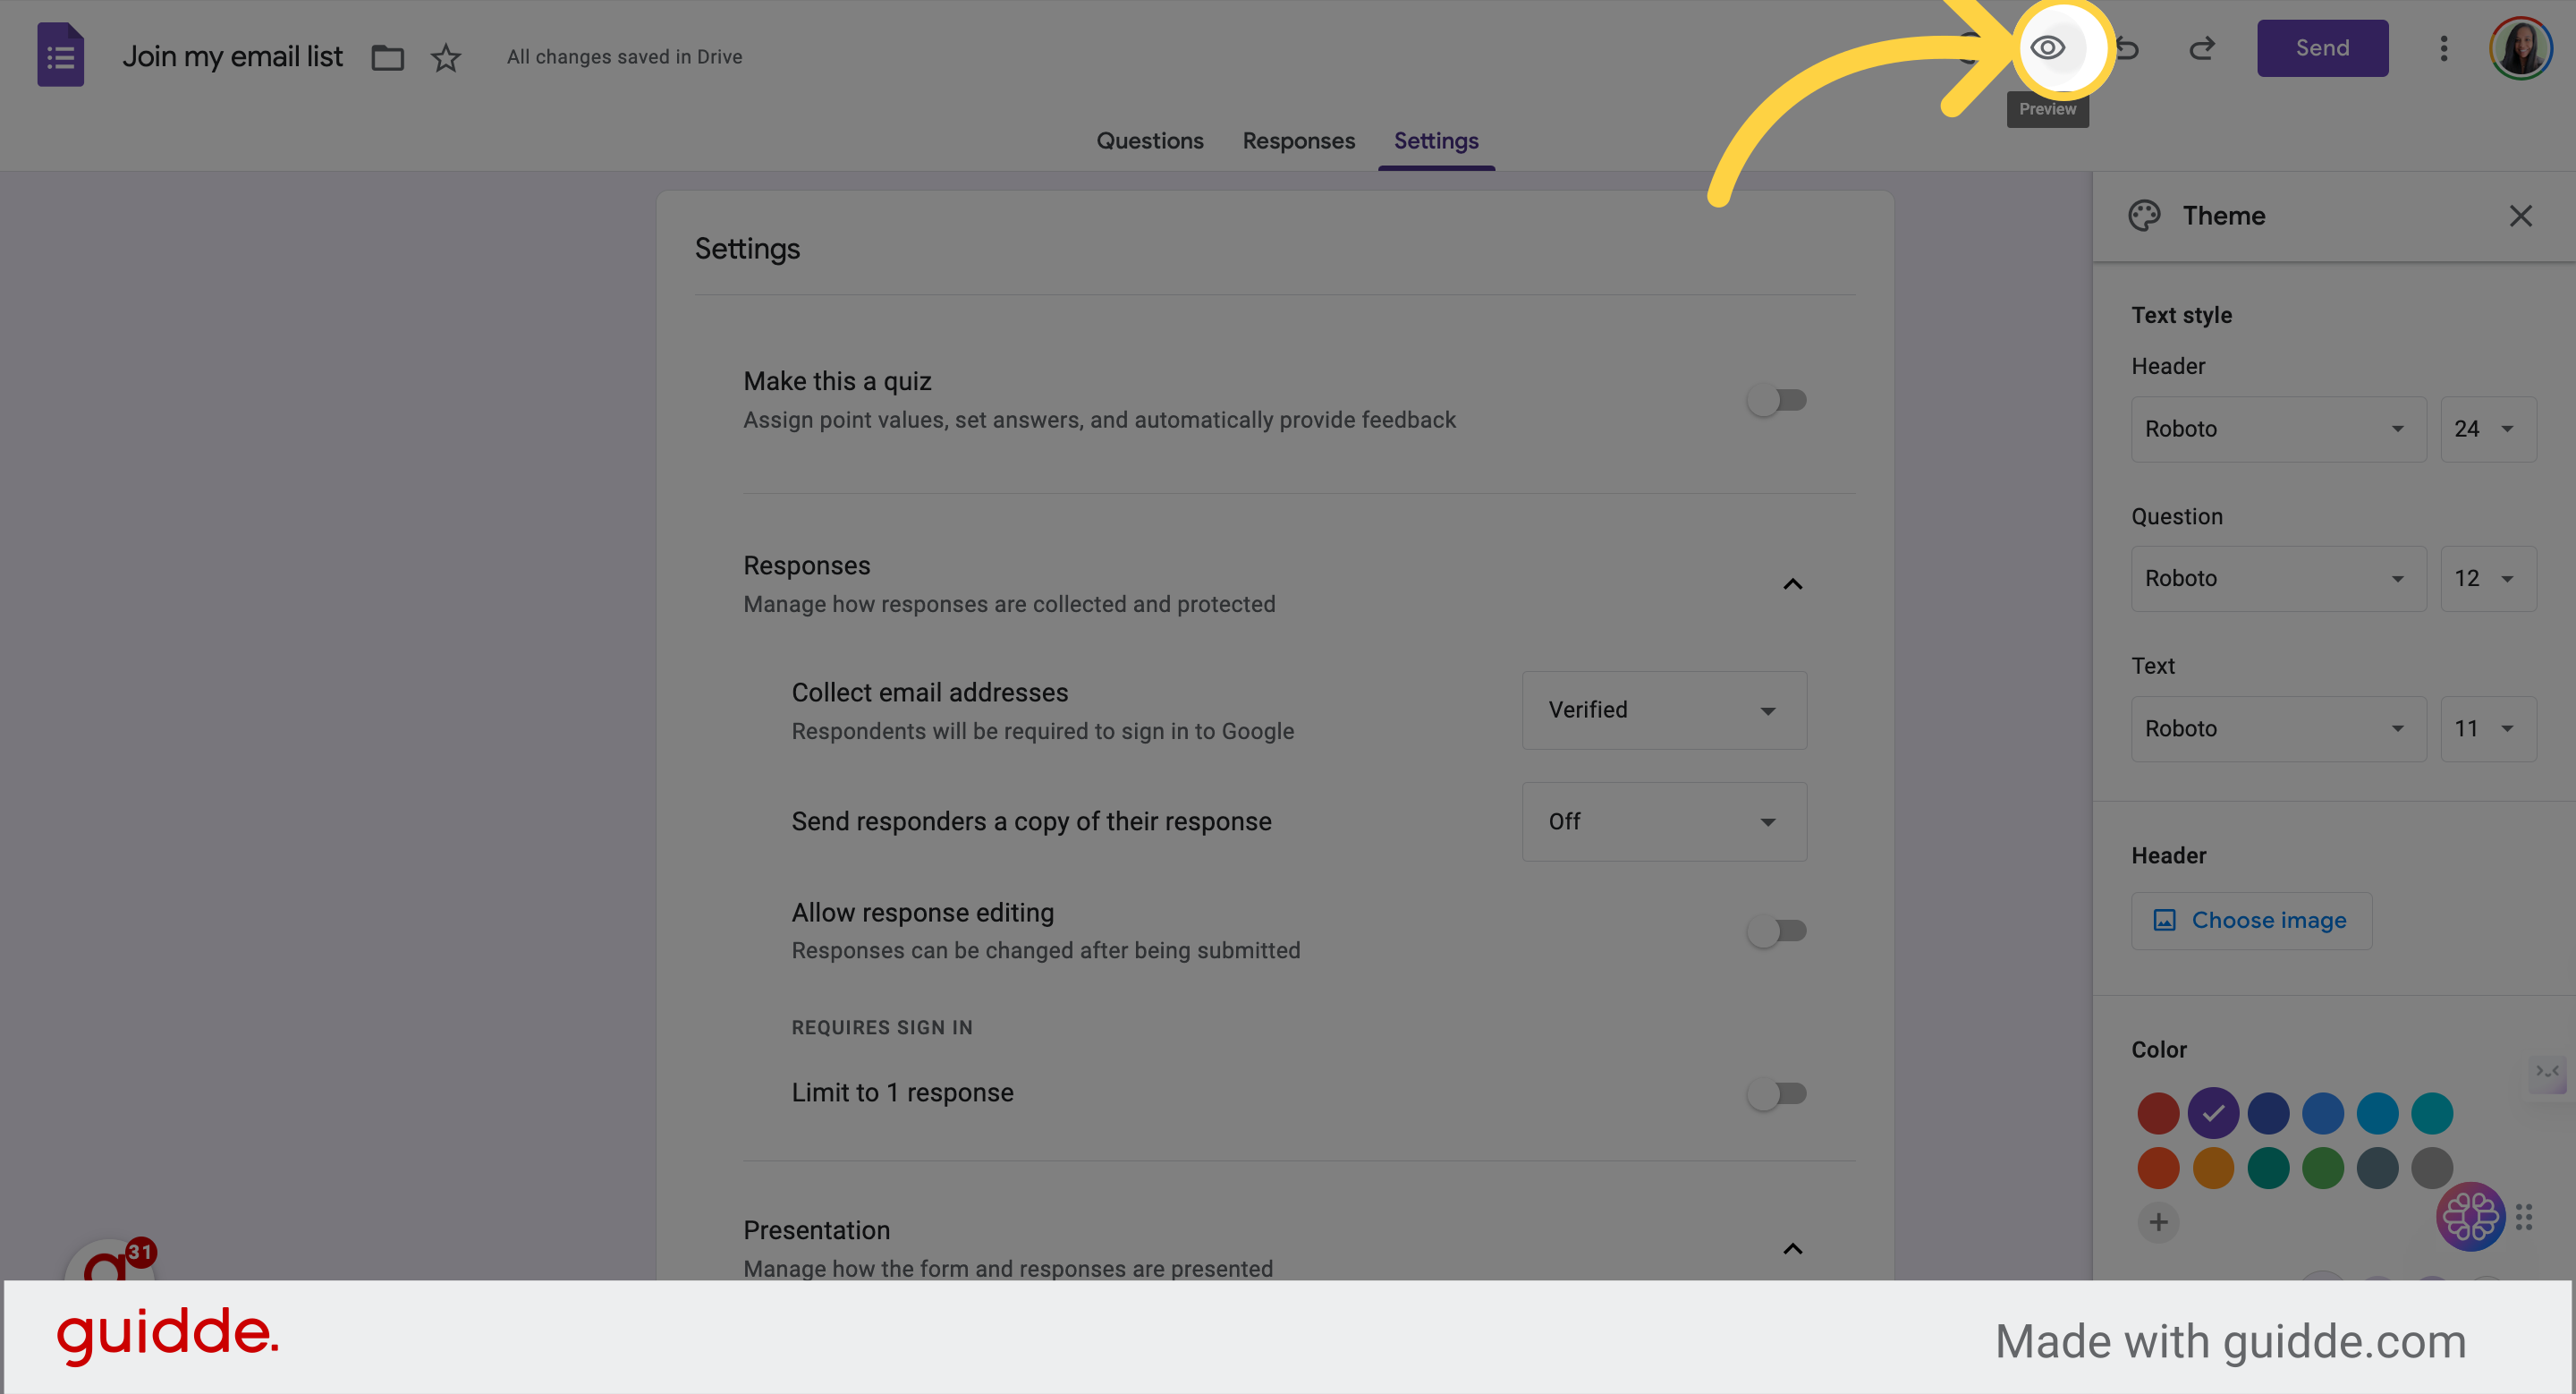
17. Always preview before sending
Click the eye to preview and complete your own form
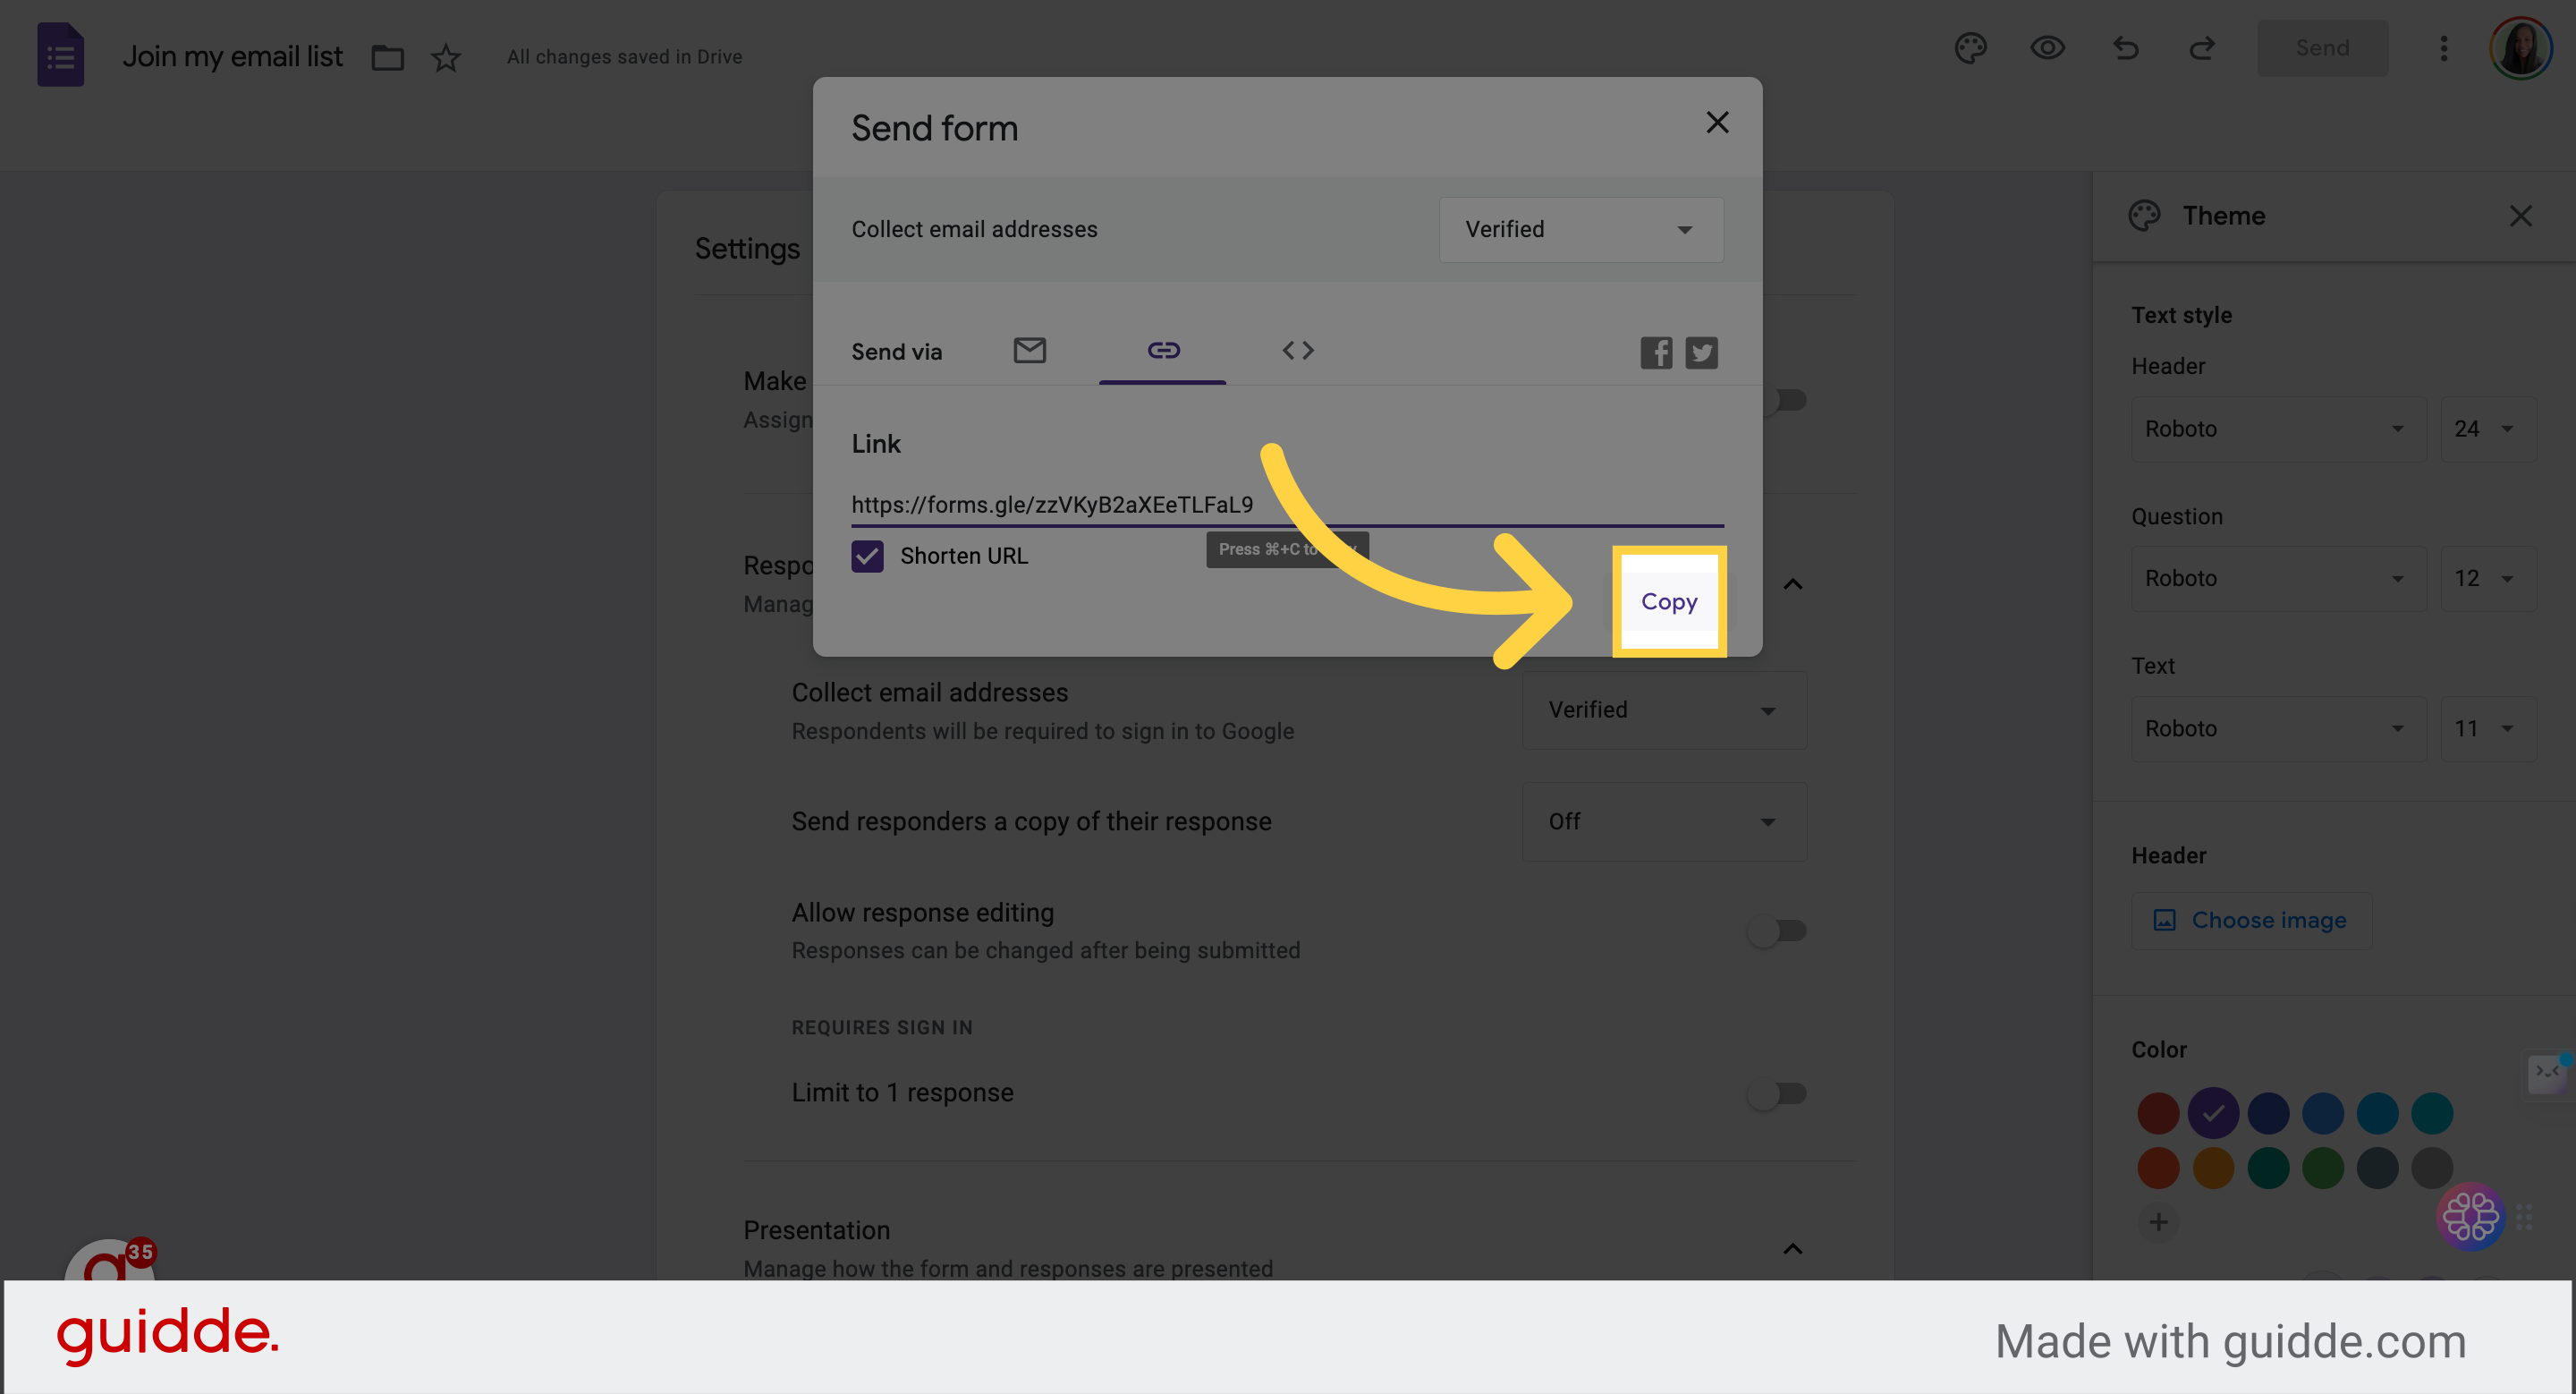
Click on "Send"
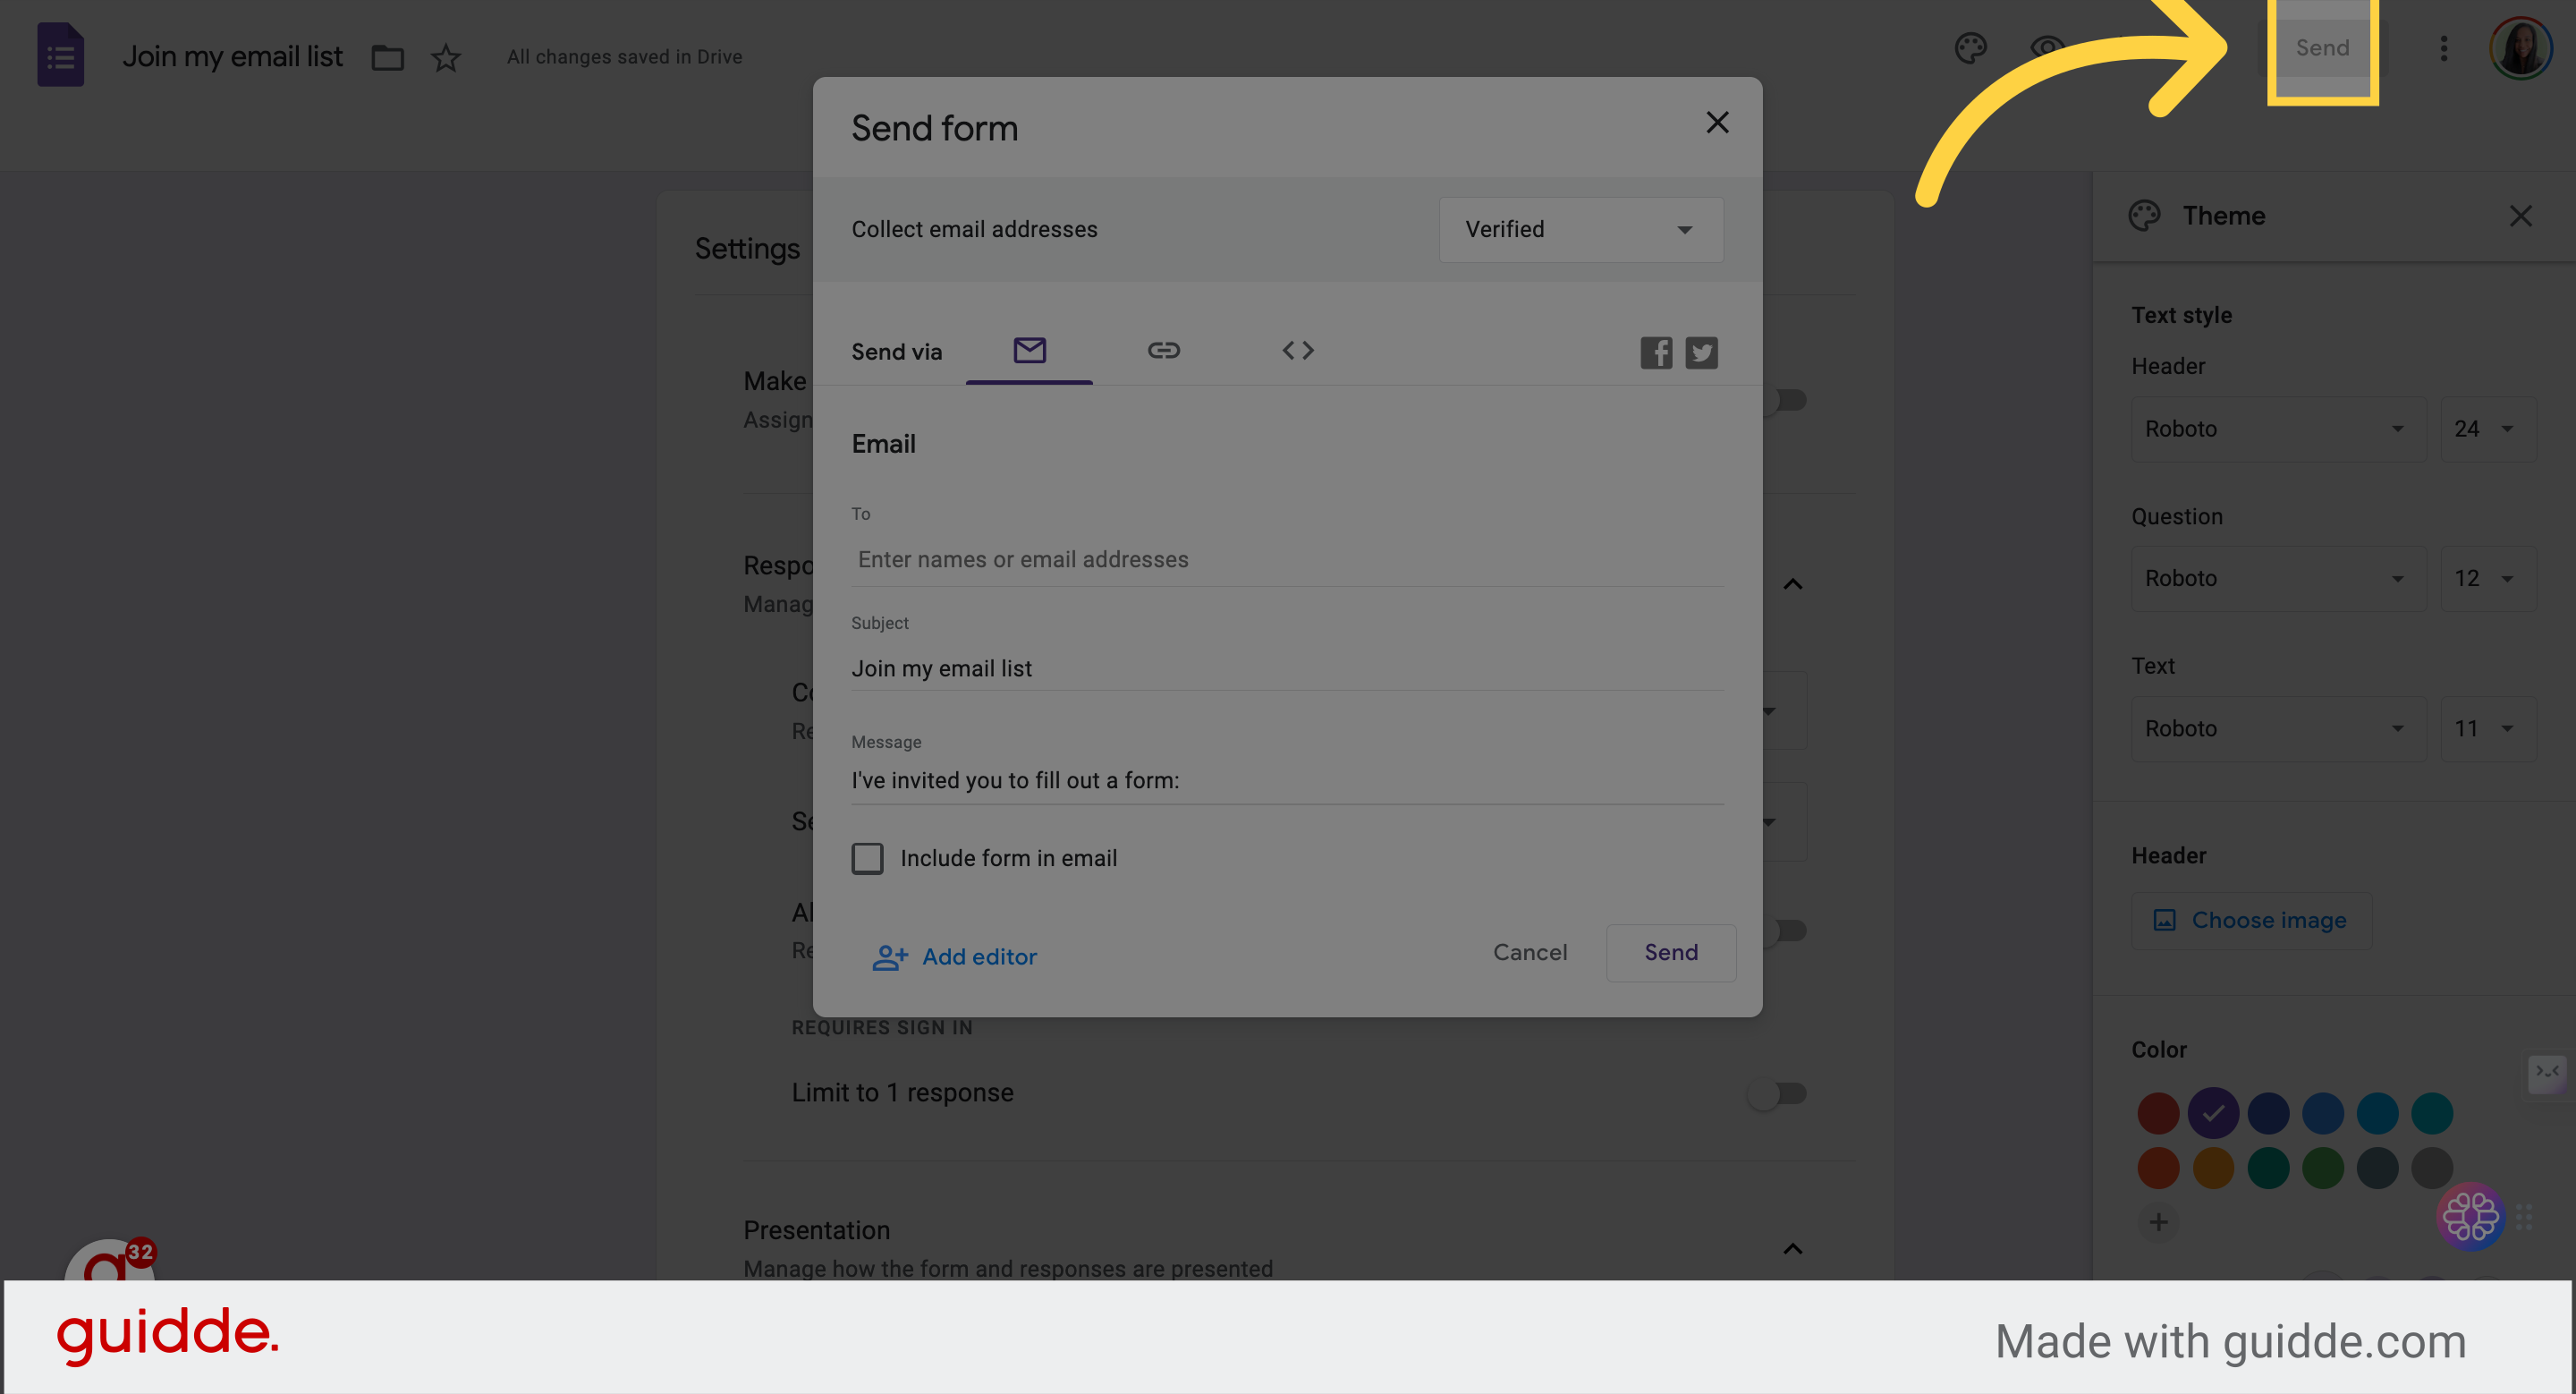
Choose emails to send to or click link button
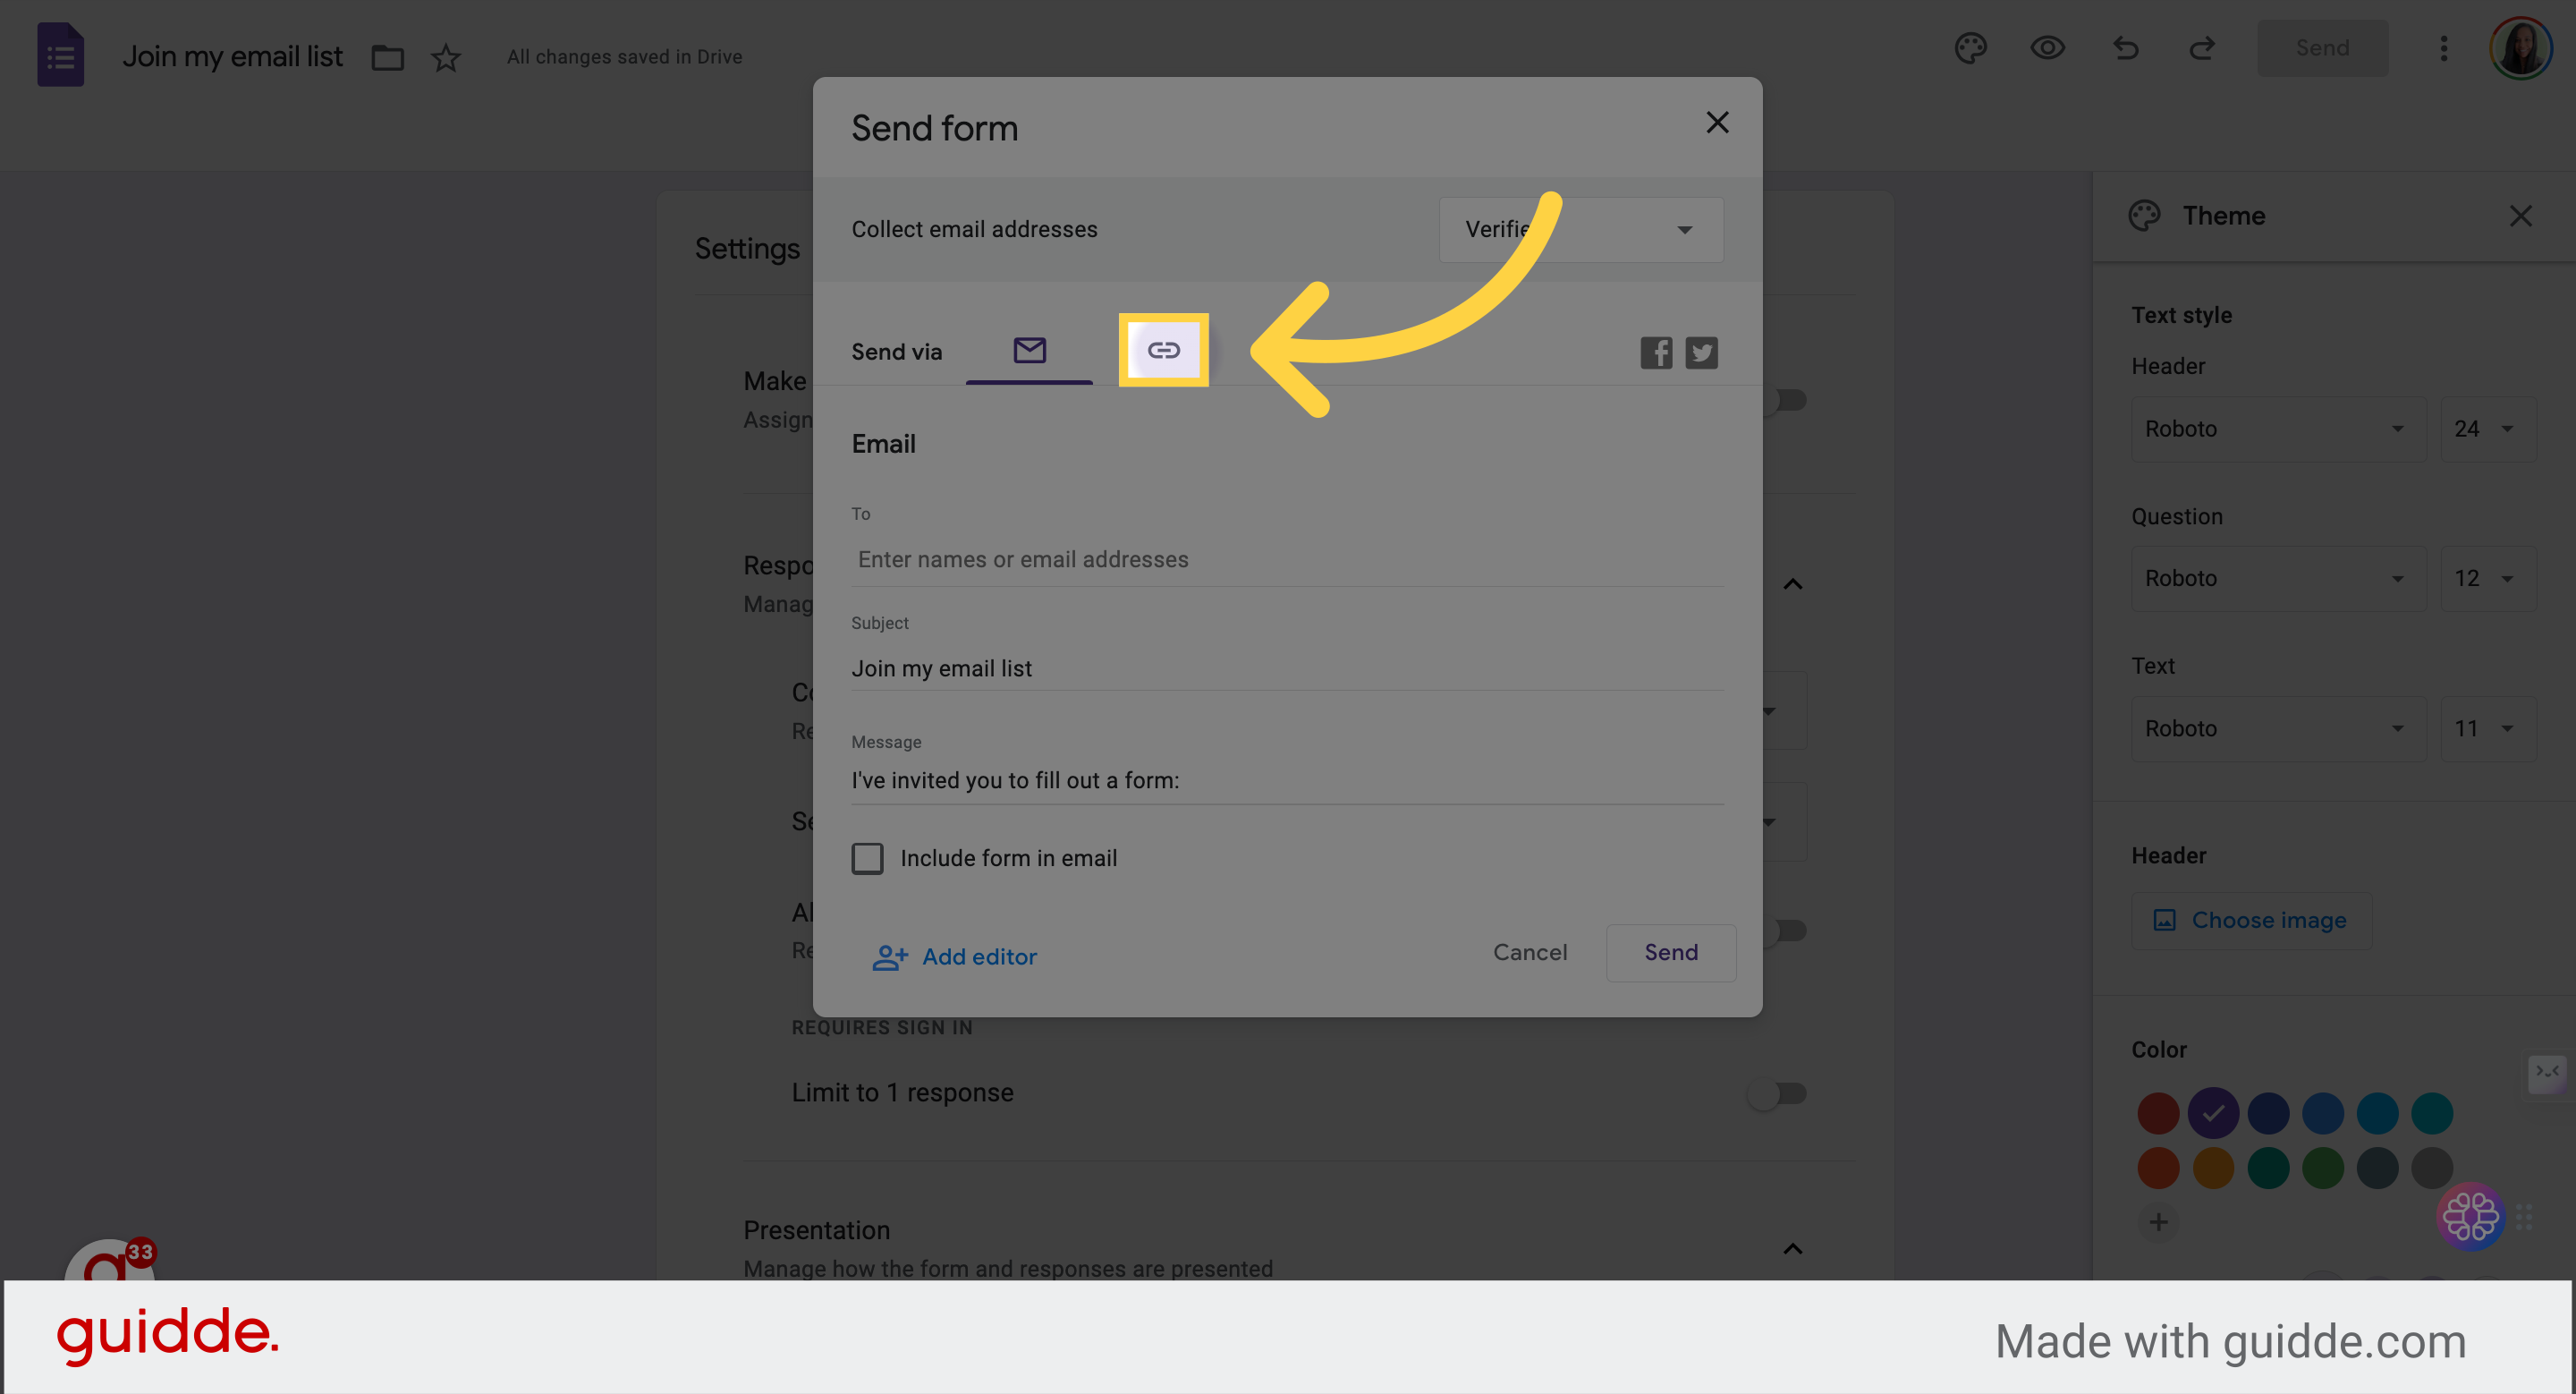
20. Option: Shorten link
Click box to shorten link
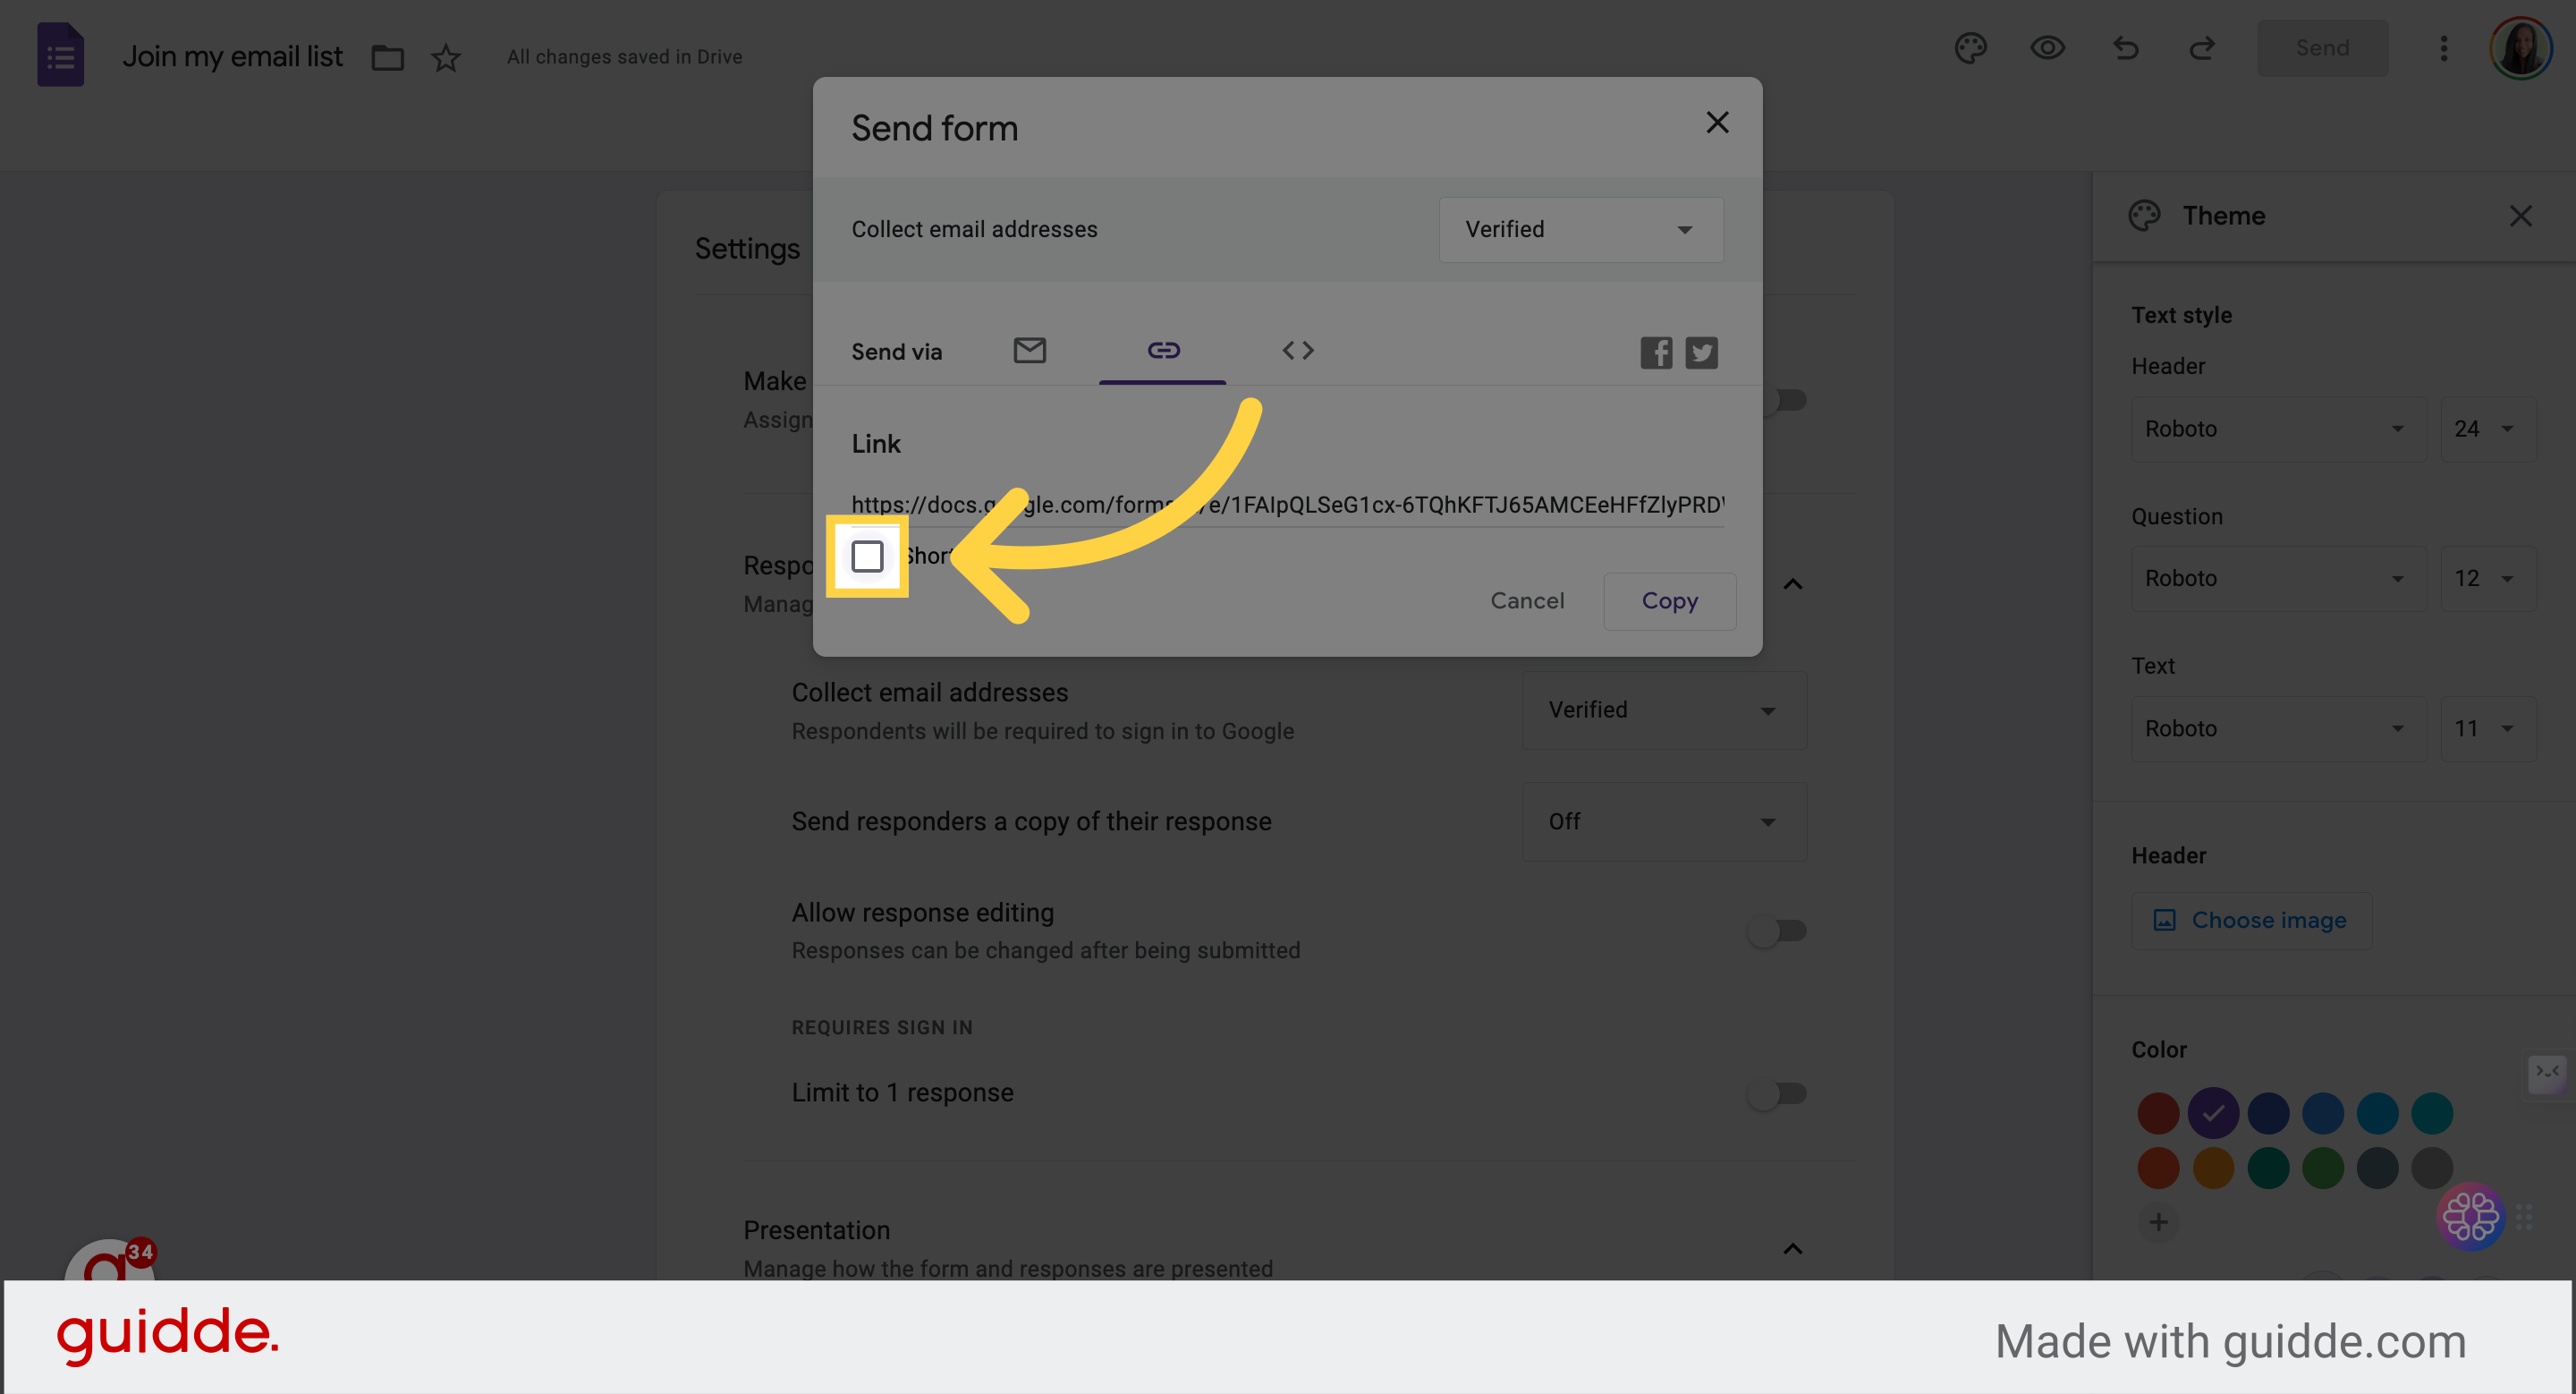
Click "copy" and paste link in message, post, or wherever you want to share